![]()
| Maintenance - ACE High Pressure Filter |
|
|
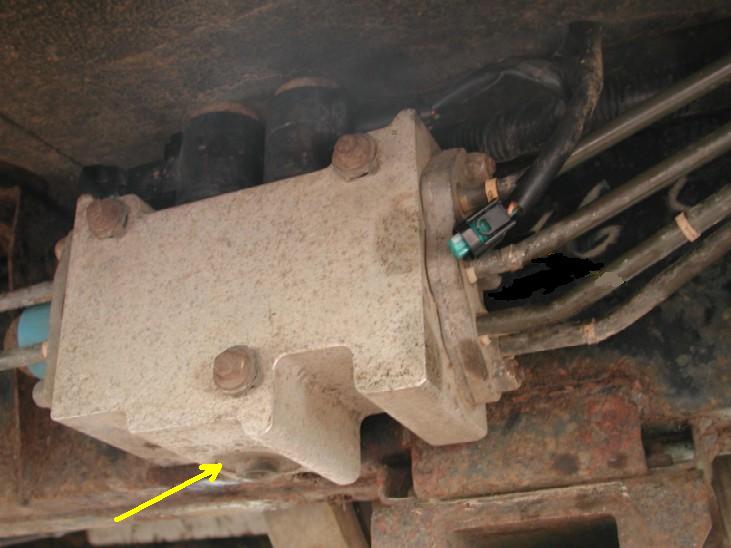
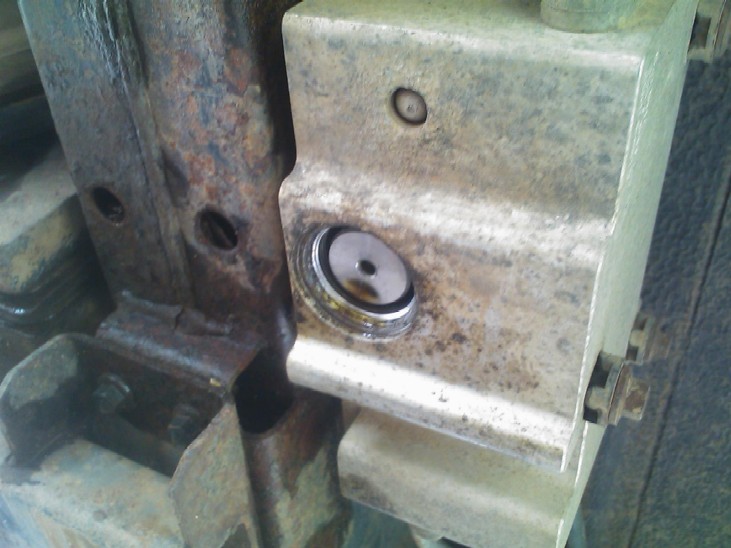
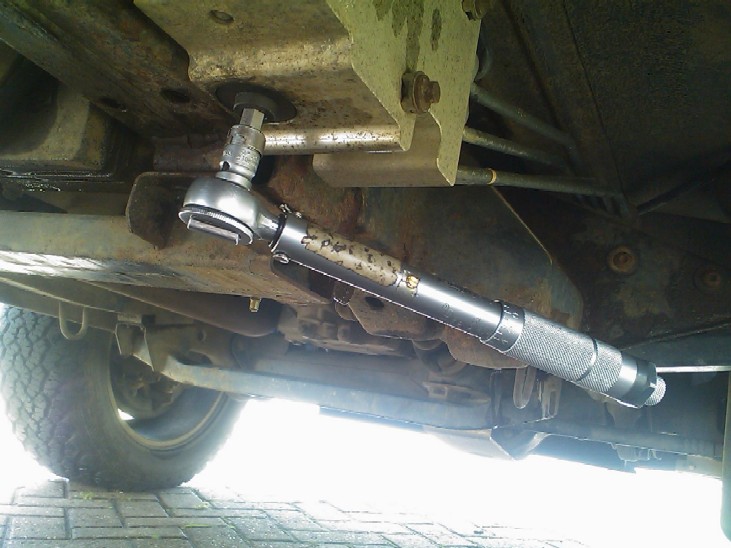
The ACE system is basically a hydraulic system for the suspension on the Discovery 2, and as with most, if not all hydraulic systems, it has a filter that should be replaced at certain intervals. The filter should be replaced at 72,000 miles according to the maintenance check sheet, this can be found here is you wish to have a look. The filter is located in the bottom of the ACE valve block on the right hand chassis rail (arrowed below), its accessed by undoing the cap and then withdrawing the filter.
I was in 2 minds whether or not this would come undone as I had heard of several people having issues in removing the cap and they eventually gave up. So with this in mind I was "armed" for a fight!!. The Plug has a 10mm Hex drive in it, and as your probably aware, "if" that slips and chews up, then it will be VERY difficult to remove the plug. I first tried a 1/2" breaker bar on it and gave it a good tug, but it did not move at all, so at this point I was wondering whether to stop right there !!!.......but I decided I would continue and have aleast a good go at it. The route of the problem is down to the fact the block is made from ali and the cap is made from steal, so it's going to suffer from dissimilar metal corrosion and that in itself will be enough to "bind" it up. First off I made sure the hex drive part of the cap was free from dirt to make sure the allen key driver went in as far as possible. To try and "help" it, I used a standard plumbing blow torch and gave the cap and surrounding area a good warming, not to the point its glowing red!! as this would no be a good idea, I also did not want to boil the fluid inside either.
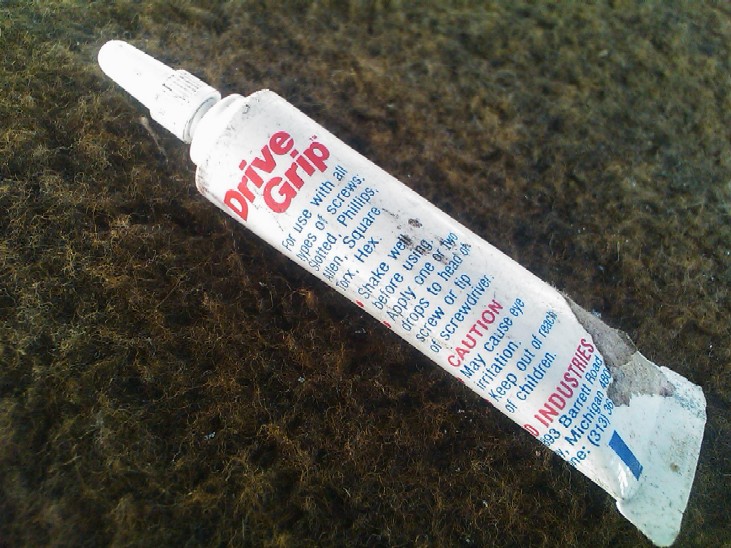
After heating it, I applied some "drive grip" which is a substance to help remove "chewed" nuts, screws etc, but applying it to the hex, would ensure it would be a good tight fit and it would reduce the possibility of it slipping.
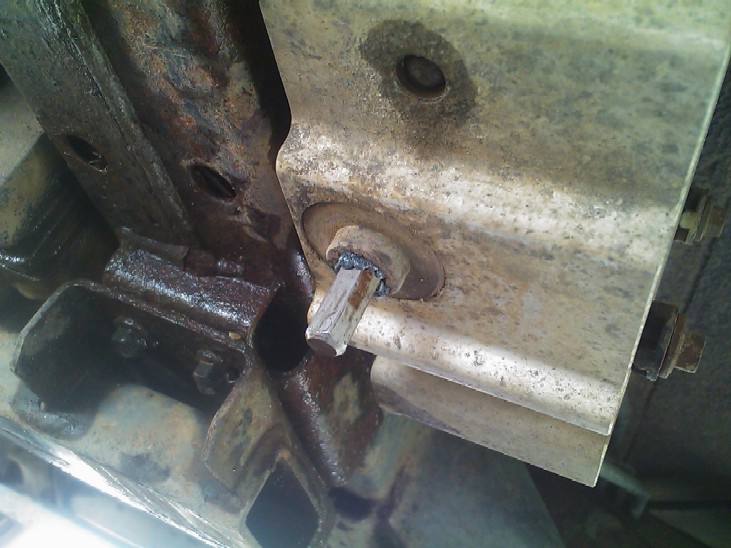
Here below is the hex in the cap an you can see the drive grip has been squeezed out as it was pushed in, so now it should be very snug!!.
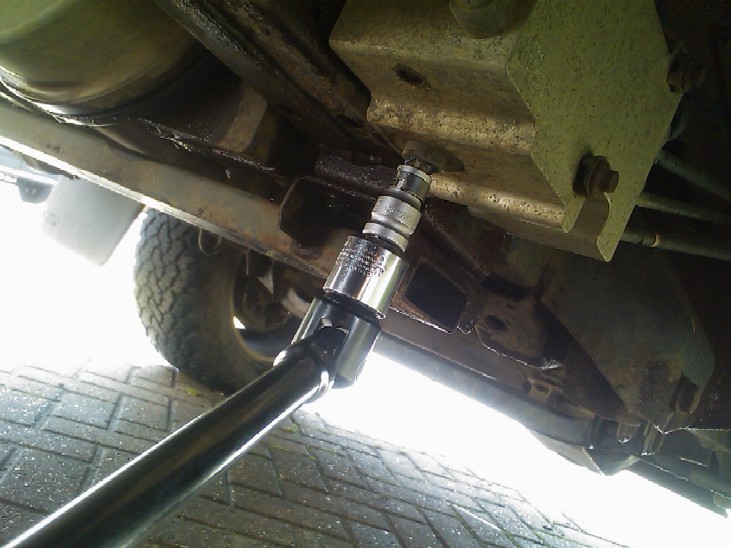
I had already tried a 1/2" breaker bar, but that proved to be not enough, so I got the big one out!!.....a 1.5m 3/4" drive bar that I had bought to do my front hub a while ago, stepped it down to the 1/2" drive socket and went for it!!....
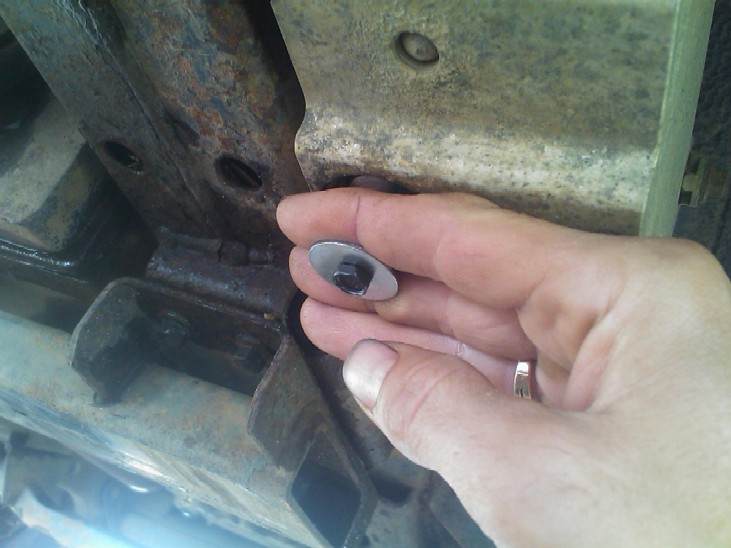
After a pretty good heave!!!!, it went ;o) and was then able to be undone with a normal ratchet. Im not sure if it was the big bar, the drive grip or the heat I had applied, I don't care really, just happy it got the job done without it slipping and chewing the cap up!!. Once the cap is undone, you do loose a "little" fluid, but to be honest not a lot really and certainly nothing to worry about. Here's the cap, it also has an "o" ring on it to.
Once the cap is off this is what you will see.......
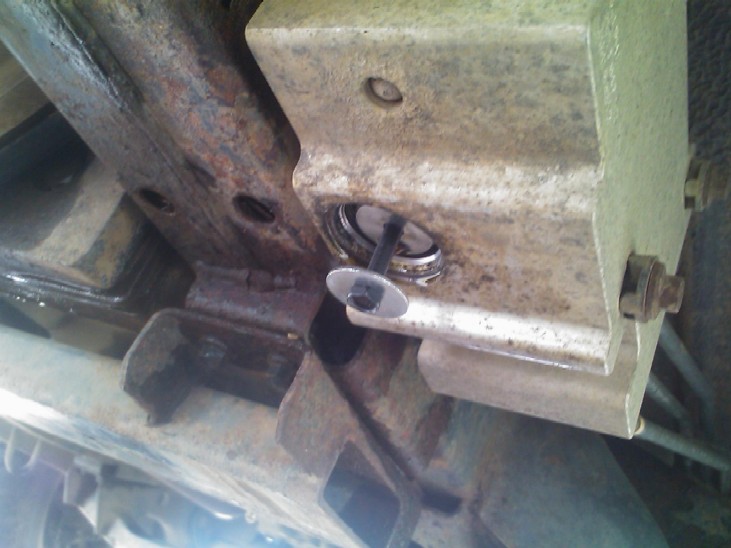
Now, the filter has a threaded hole in the bottom of it, this is a M6 thread and is there for you to screw a bolt in to aid pulling the filter out. DO NOT TWIST the filter whilst removing it from the block. To make it easier to "pull" on the bolt, I added a penny washer so it would be easier to use 2 fingers on it,
I was not sure how tight it would be, but a firm even pressure with 2 fingers and she popped out,........you will loose a small amount of fluid again when the filter is removed.
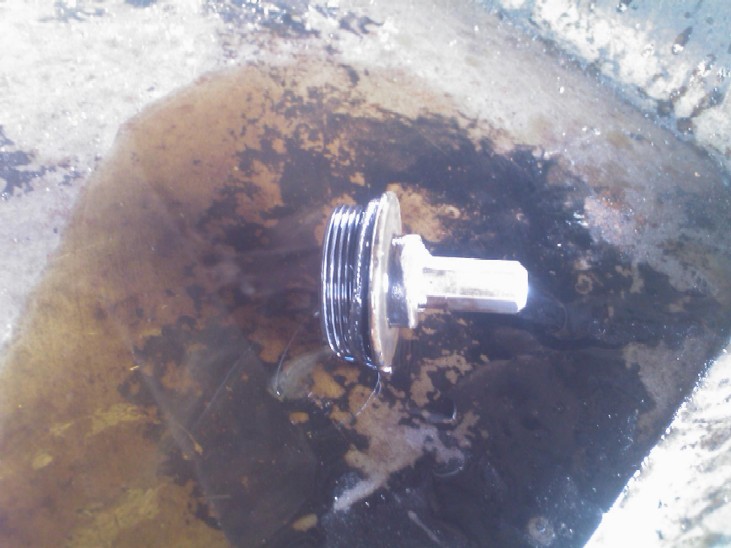
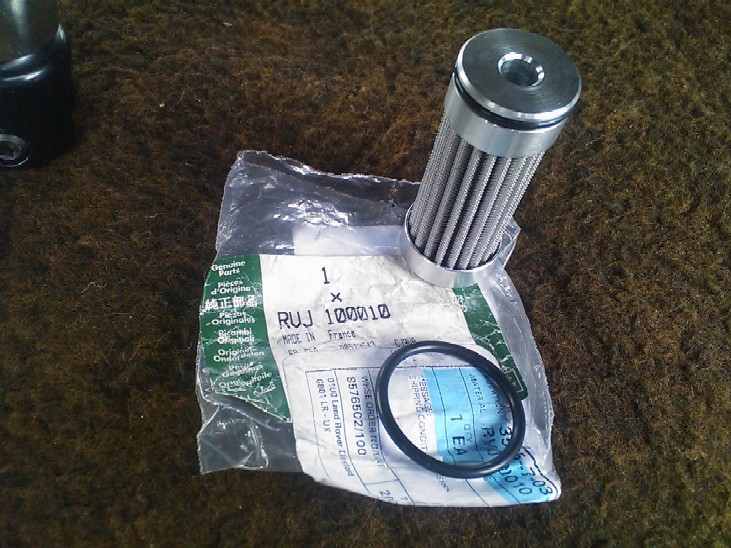
Here's what the new filter looks like, it "should" have an "o"ring on the top of the filter and you will need a new seal for the cap to.
The filter is VERY similar to those used on aircraft systems, and is made from a metal gauze, which means it can be cleaned which is what I will do with my old one. Incidentally, the old filter did not look very dirty at all really, but its worth while changing it if you have a new one and want some peace of mind. Smear some ACE fluid onto the seal on the filter, and slave in the bolt and pop the new filter back in the valve block WITHOUT twisting it. Once its fully home, clean up and fit the new "o"ring to the cap, again apply a smear of ACE fluid to the seal, make sure the cap thread / area on the block looks clean and re-install the cap. Using a torque wrench, tighten the cap to 35NM or 26lbsFt.
Run the car and check for leaks, top up the reservoir if necessary and that's it job done!!! |