
FABIA vRS MKII
Replacing Spark Plugs 1.4 TSi Engine
The spark plugs on the 1.4 Twin charger engine are known to be problematic and cause even terminal engine failure if they break down. VW or Skoda should we say changed the spec and gapping of the plugs a few times and many owners replace the VAG plugs which are actually NGK with Denso Iridium plugs. In this guide thats what I have used after reading good feedback on them. The biggest issue for me is the plugs are supposed to be longlife @ 20,000 miles, now I'm a firm believer that "long life" whether it be oil, plugs or whatever is not something I abide by and will always replace things earlier than recommended, and it seems the plugs on this engine is definitley something that breaks that rule. So if you don't know the history of your vehicle and if or when the plugs have been replaced, then do it as soon as possible.......
This guide is applicable to the 1.4 TSi CAVE amd later CTHE engine fitted to the Fabia MKII vRS and other VAG group vehicles.
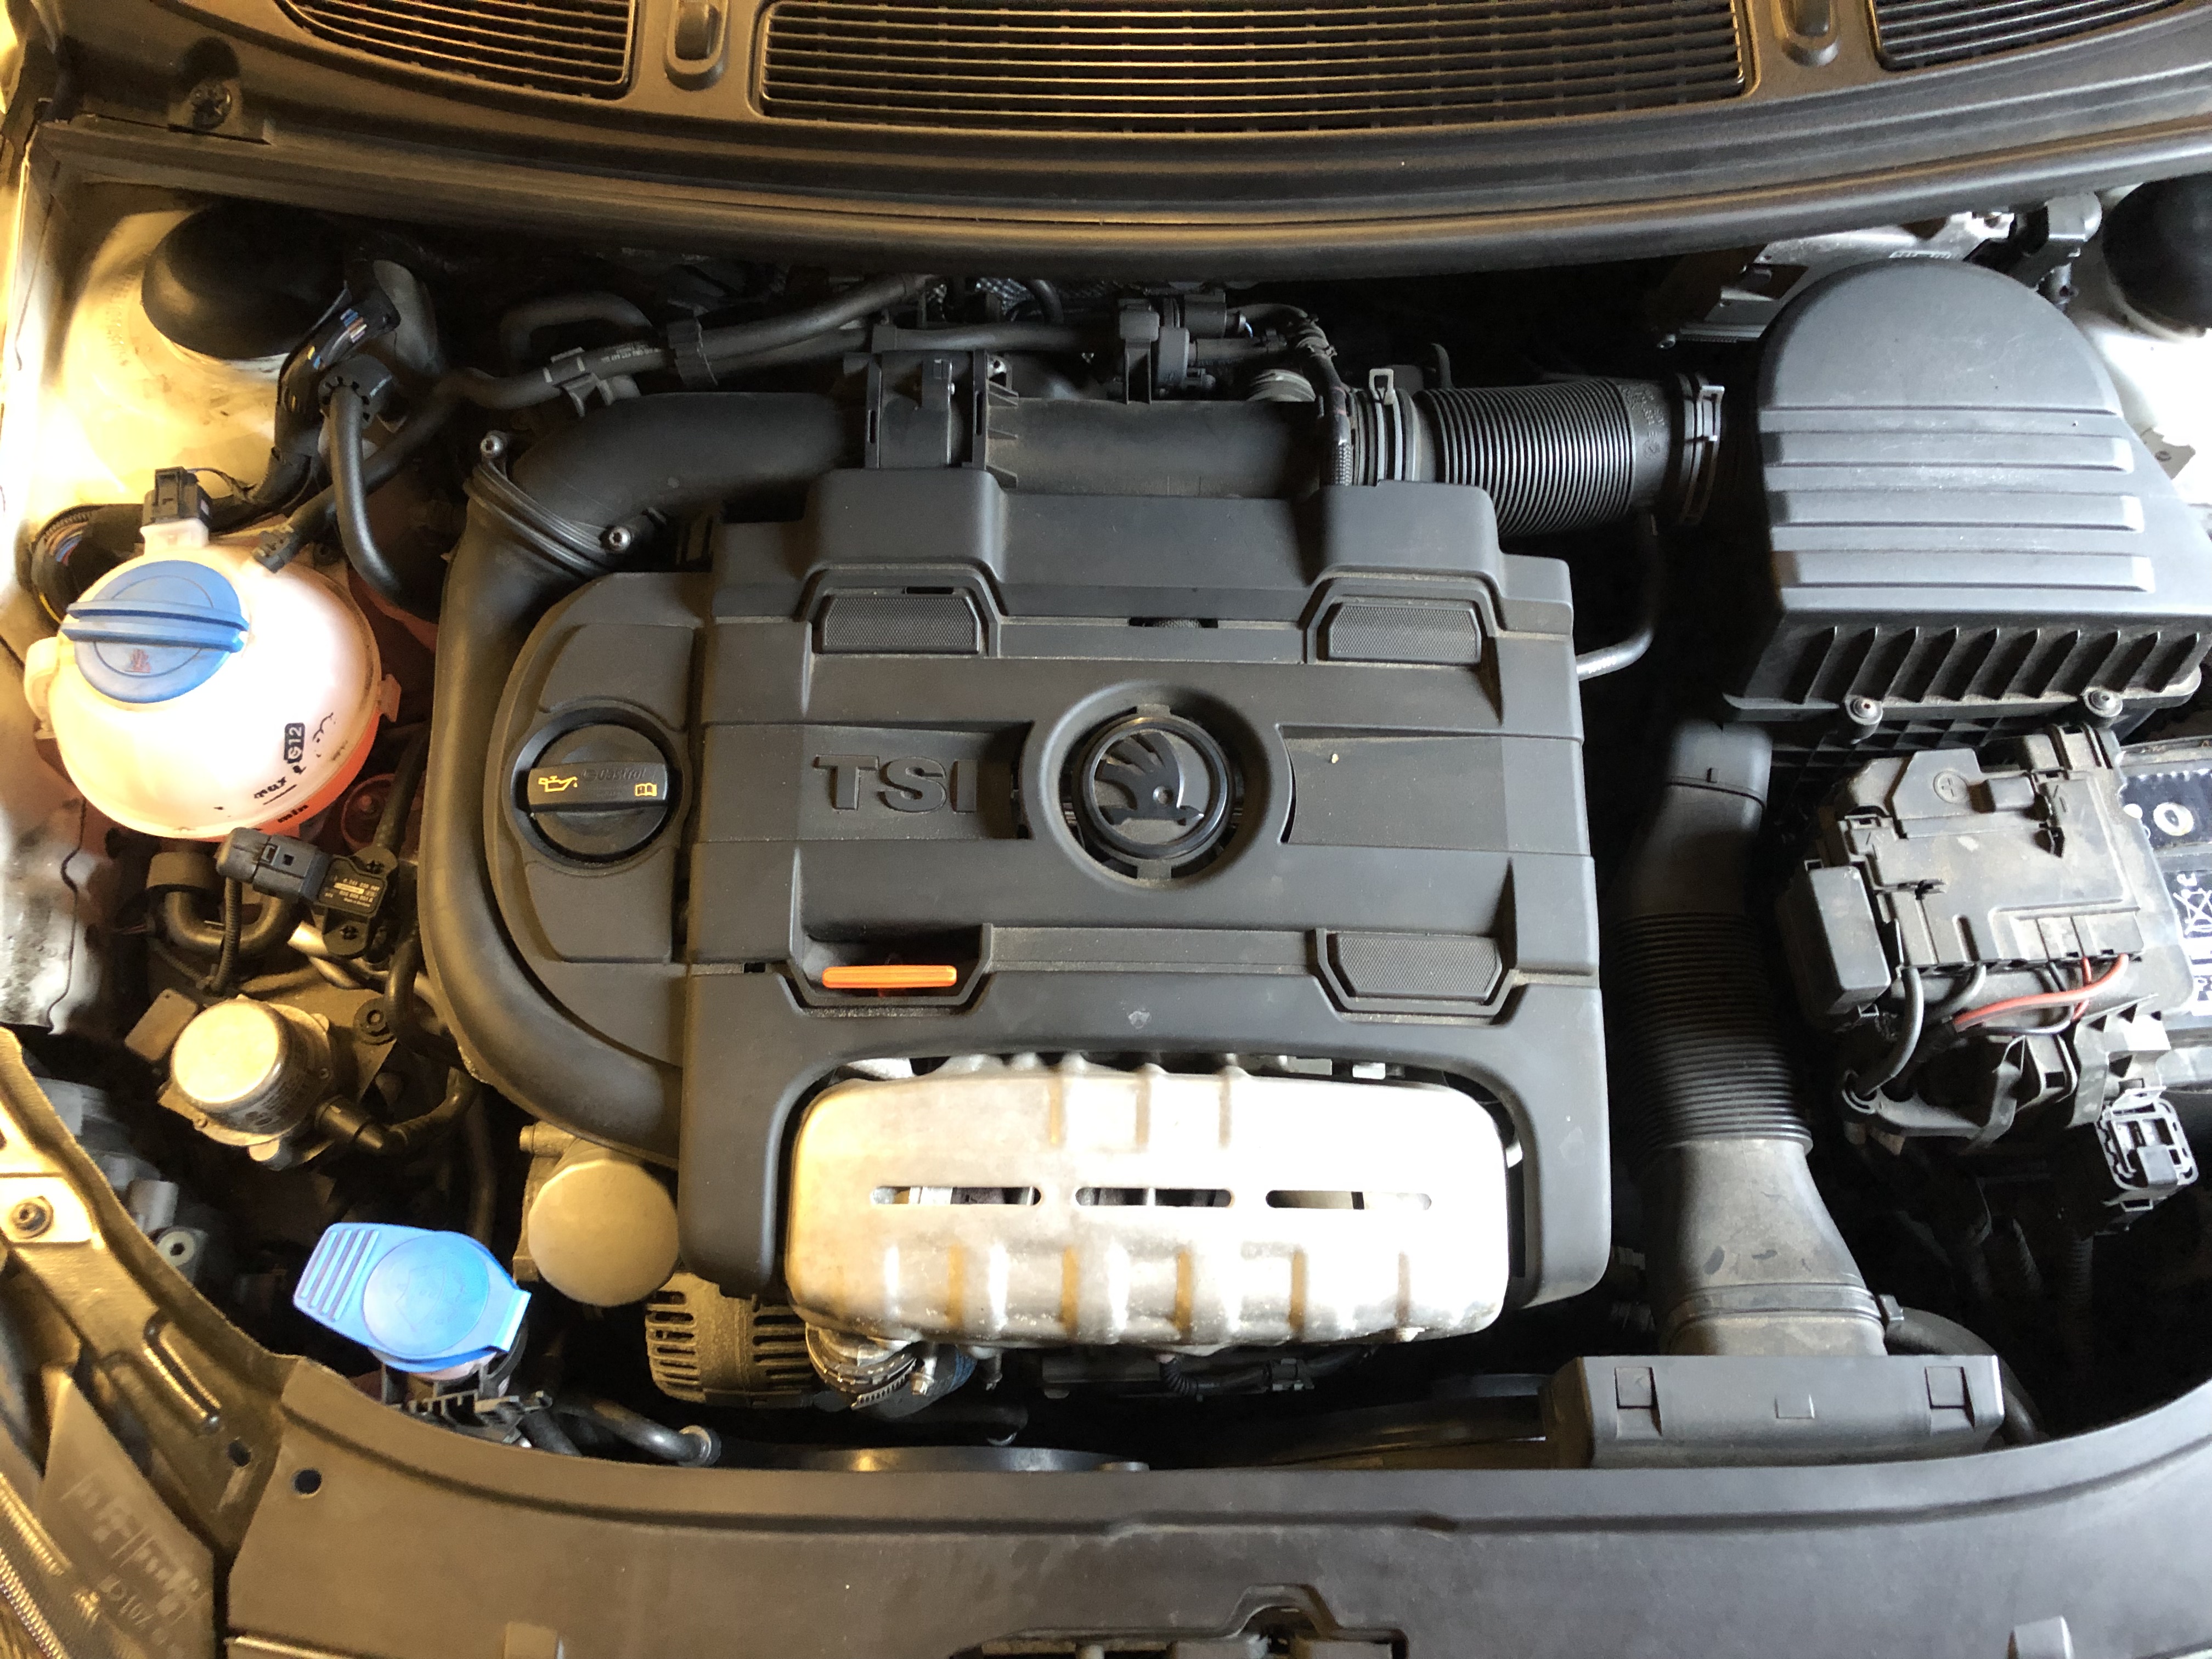
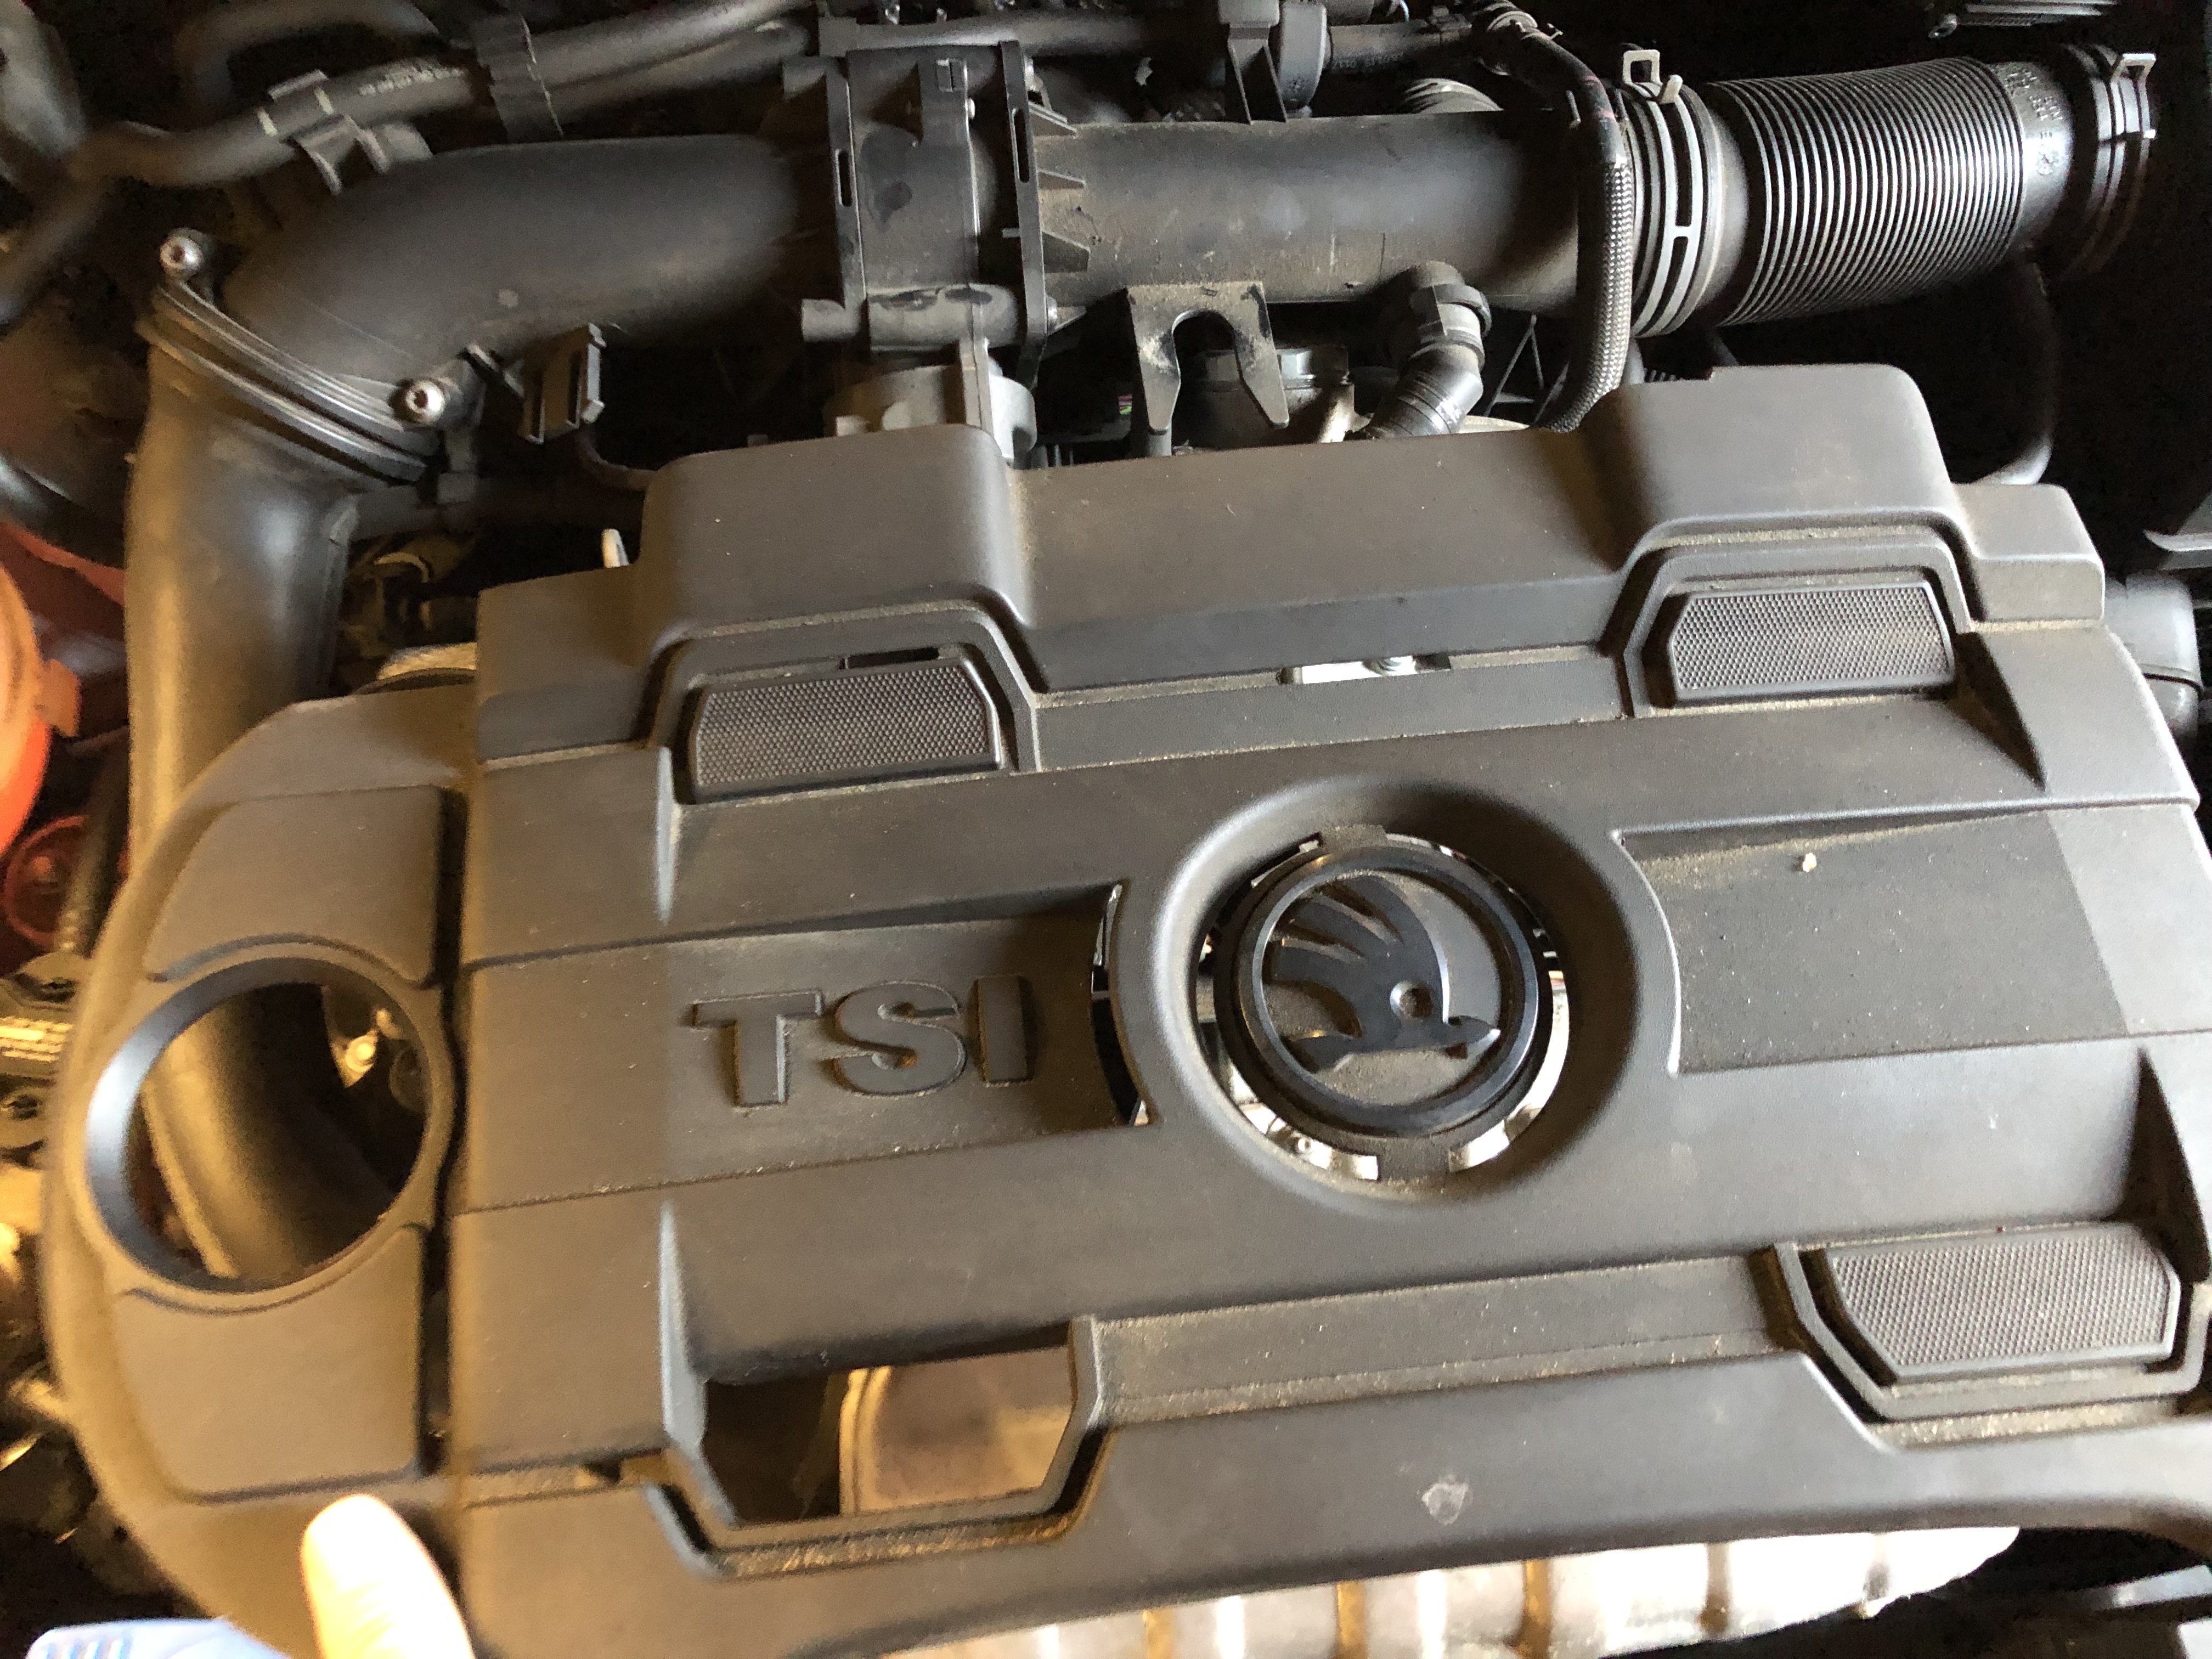
First of all we need to remove the engine cover, this is simply "popped" into position either side and slides into a clip at the back.
So to remove, lift the right hand side (looking at car)
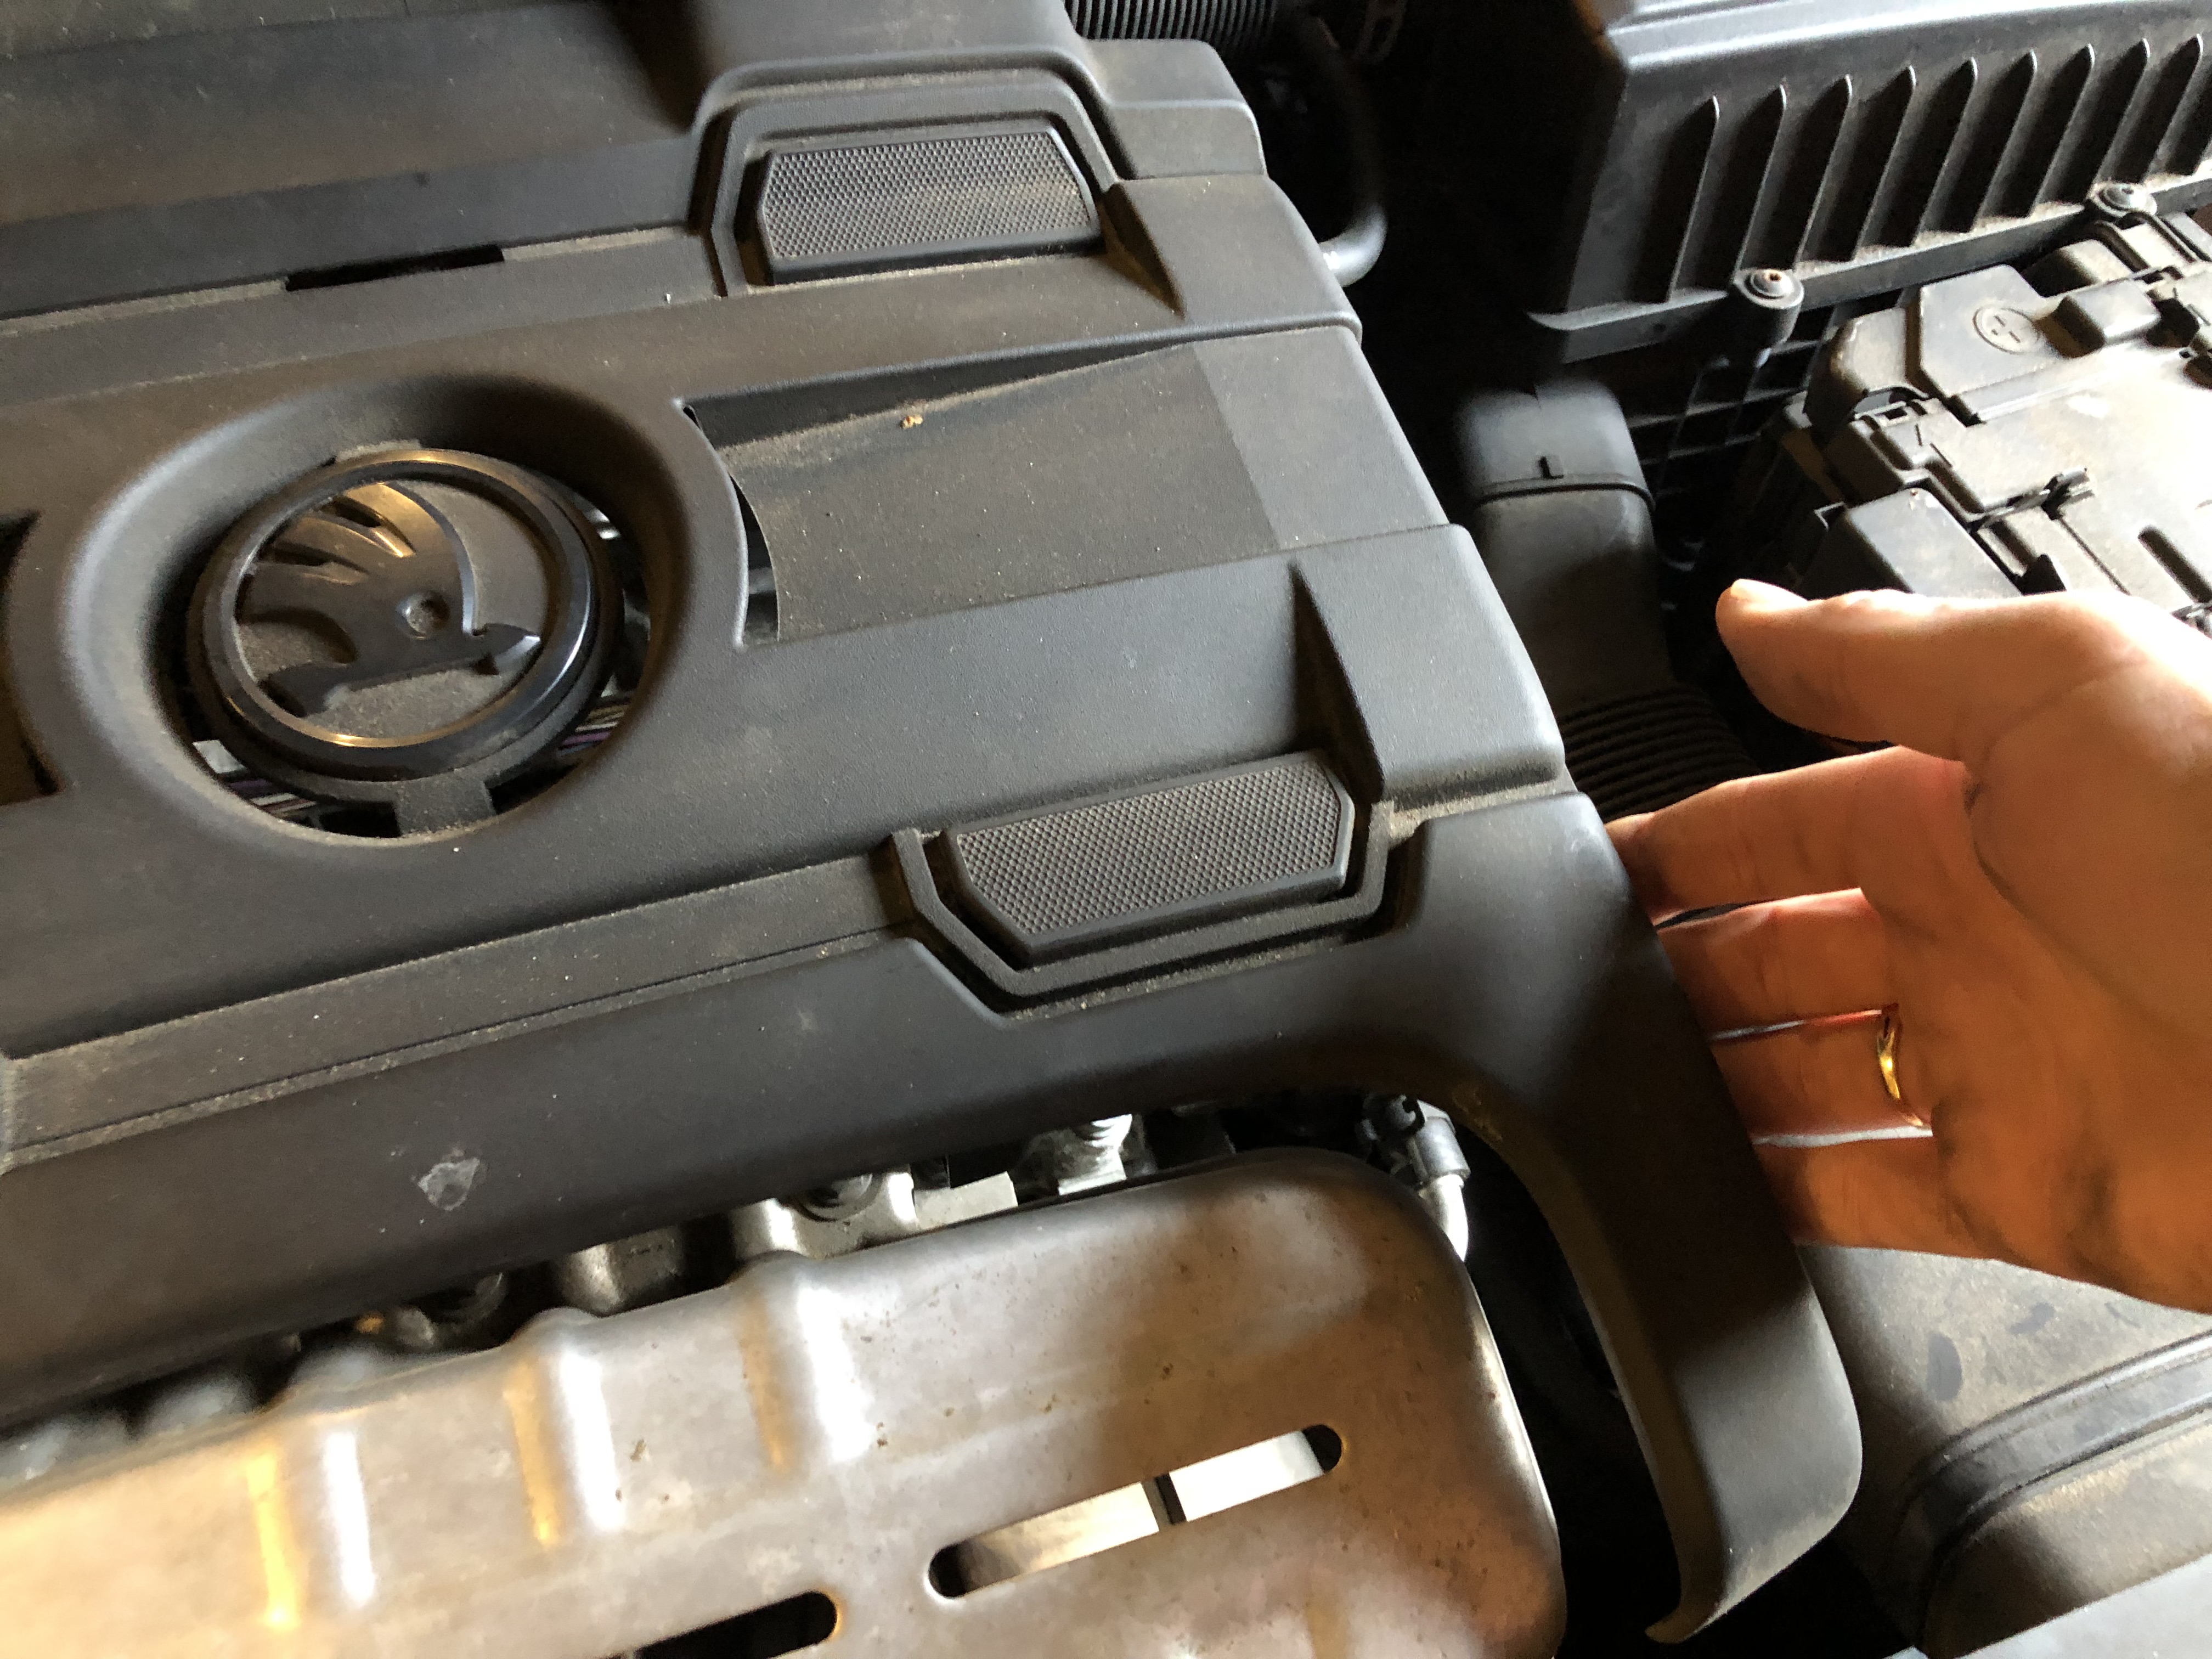
Then the left side....
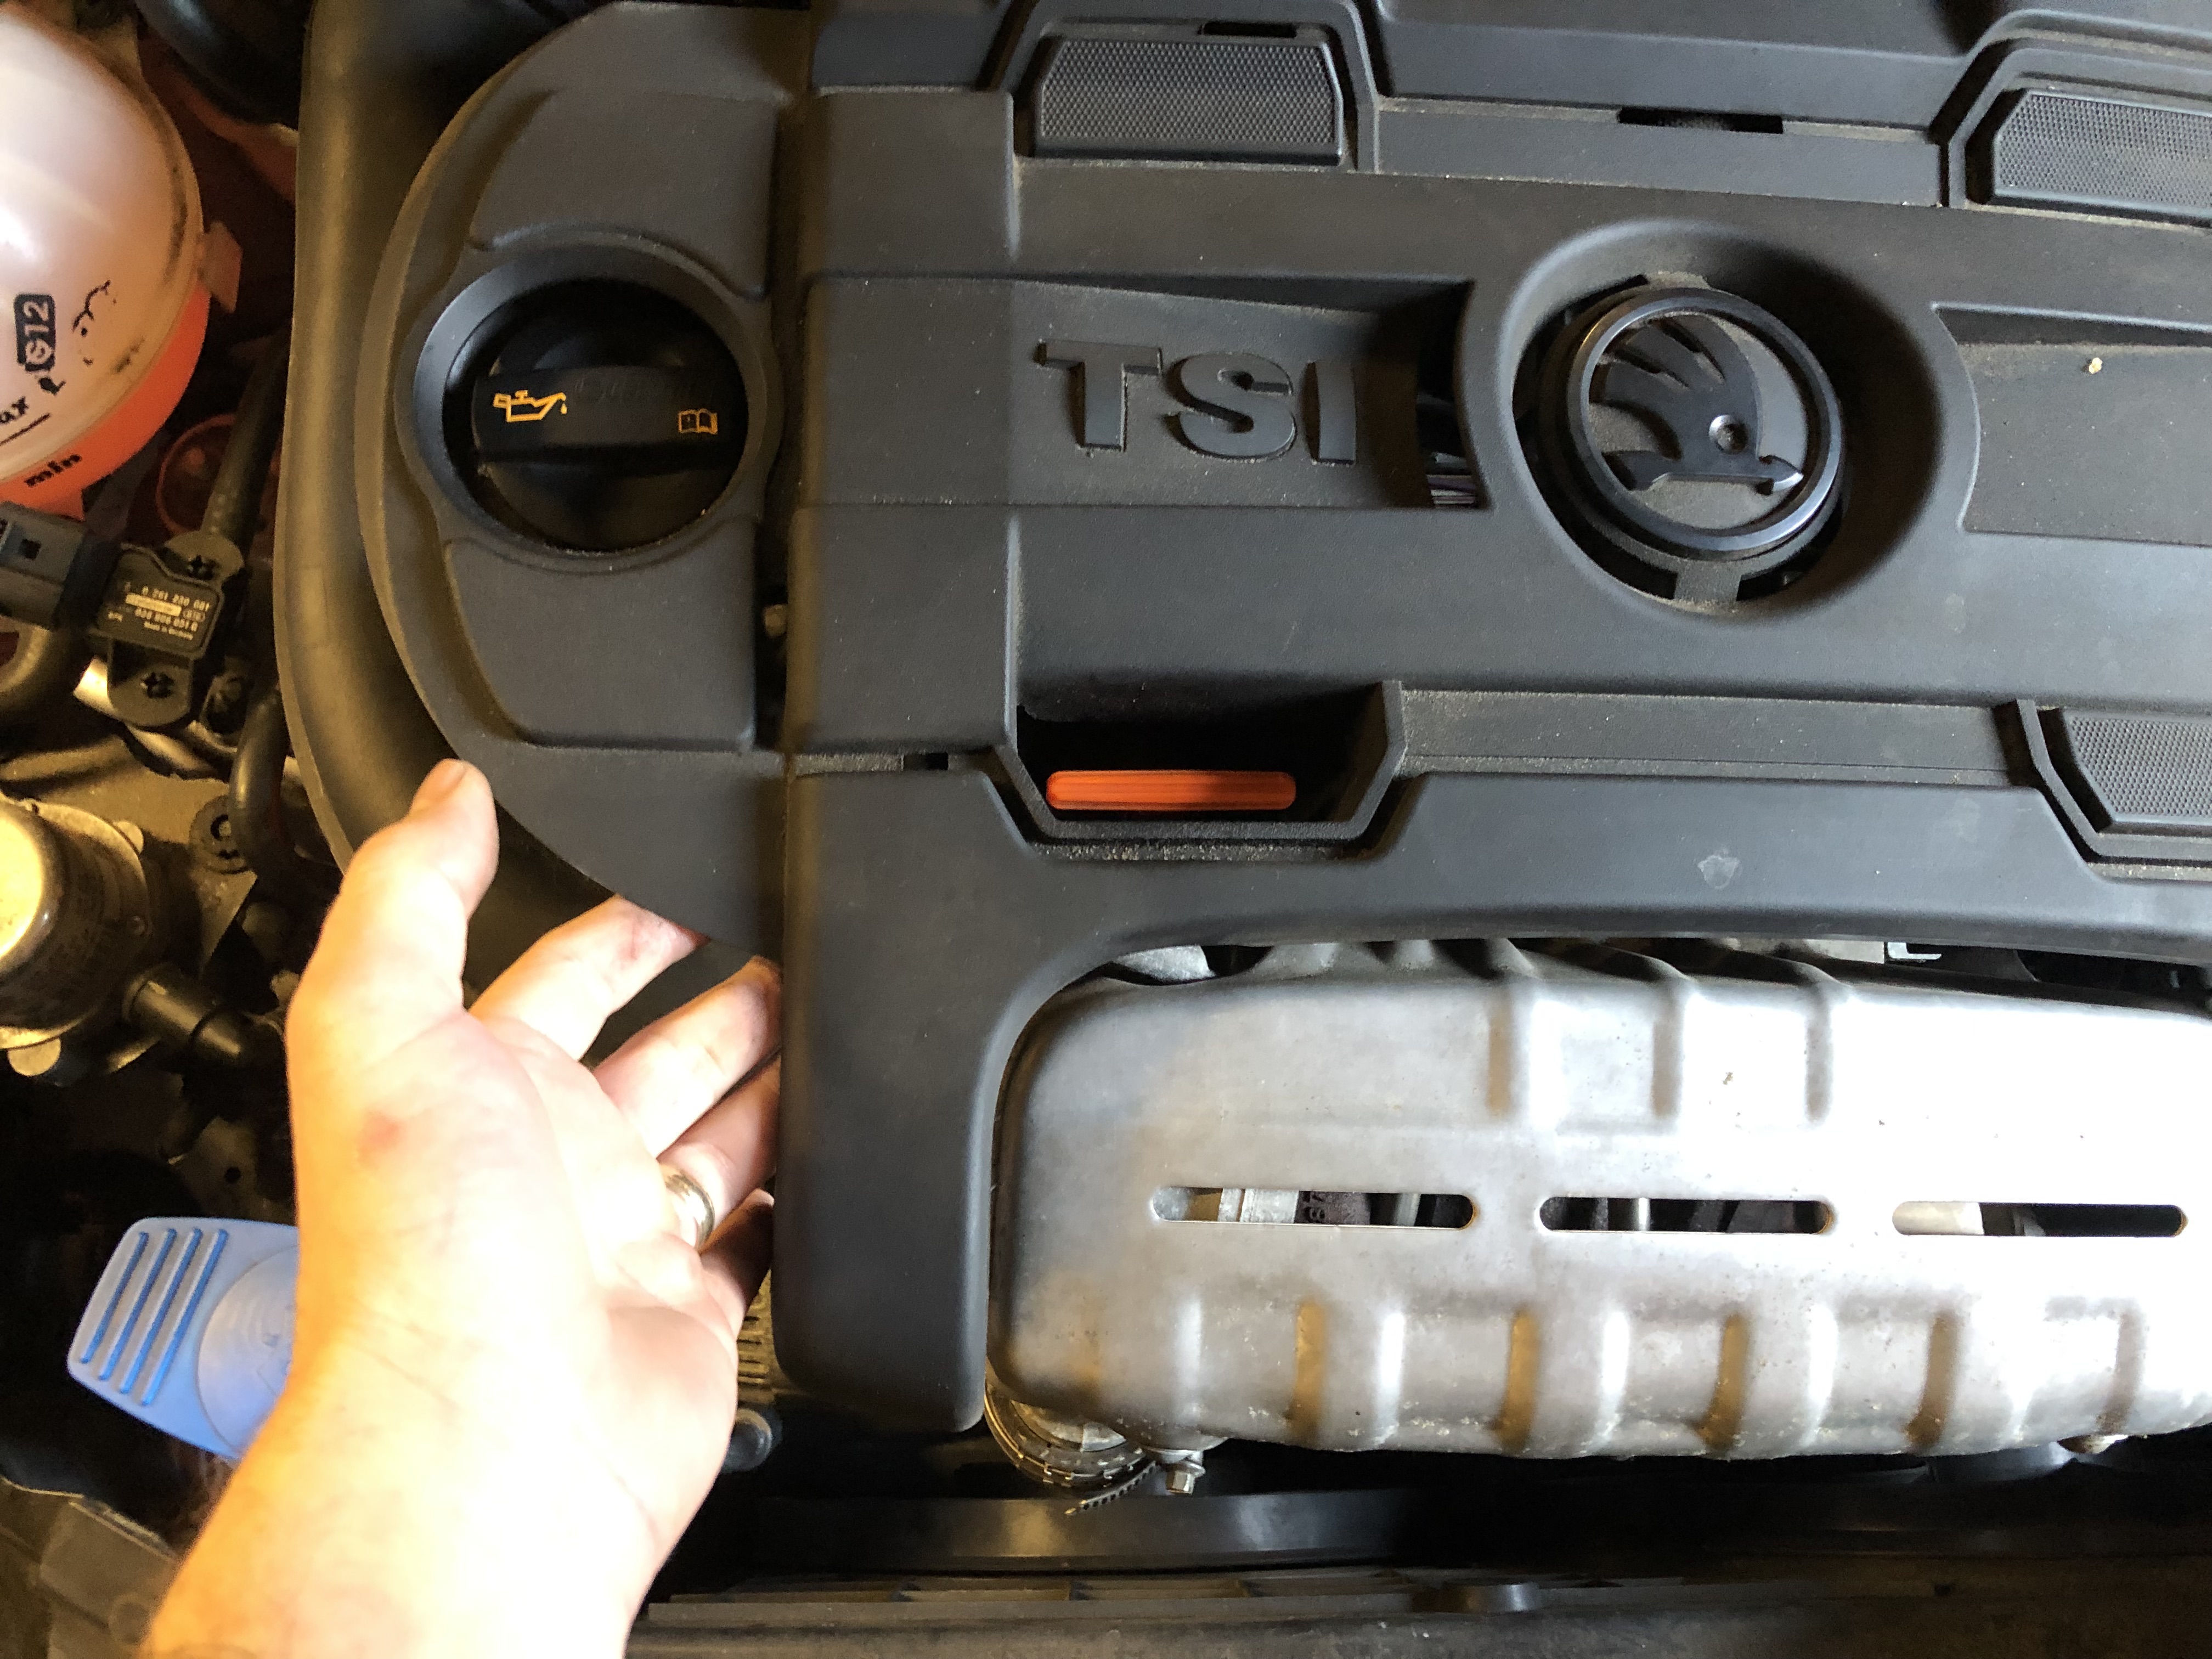
The back edge of the cover is slid into a clip, so once the front is un-clipped either side,
lift it up to clear the oil cap and slide the cover towards the front of the car to remove...
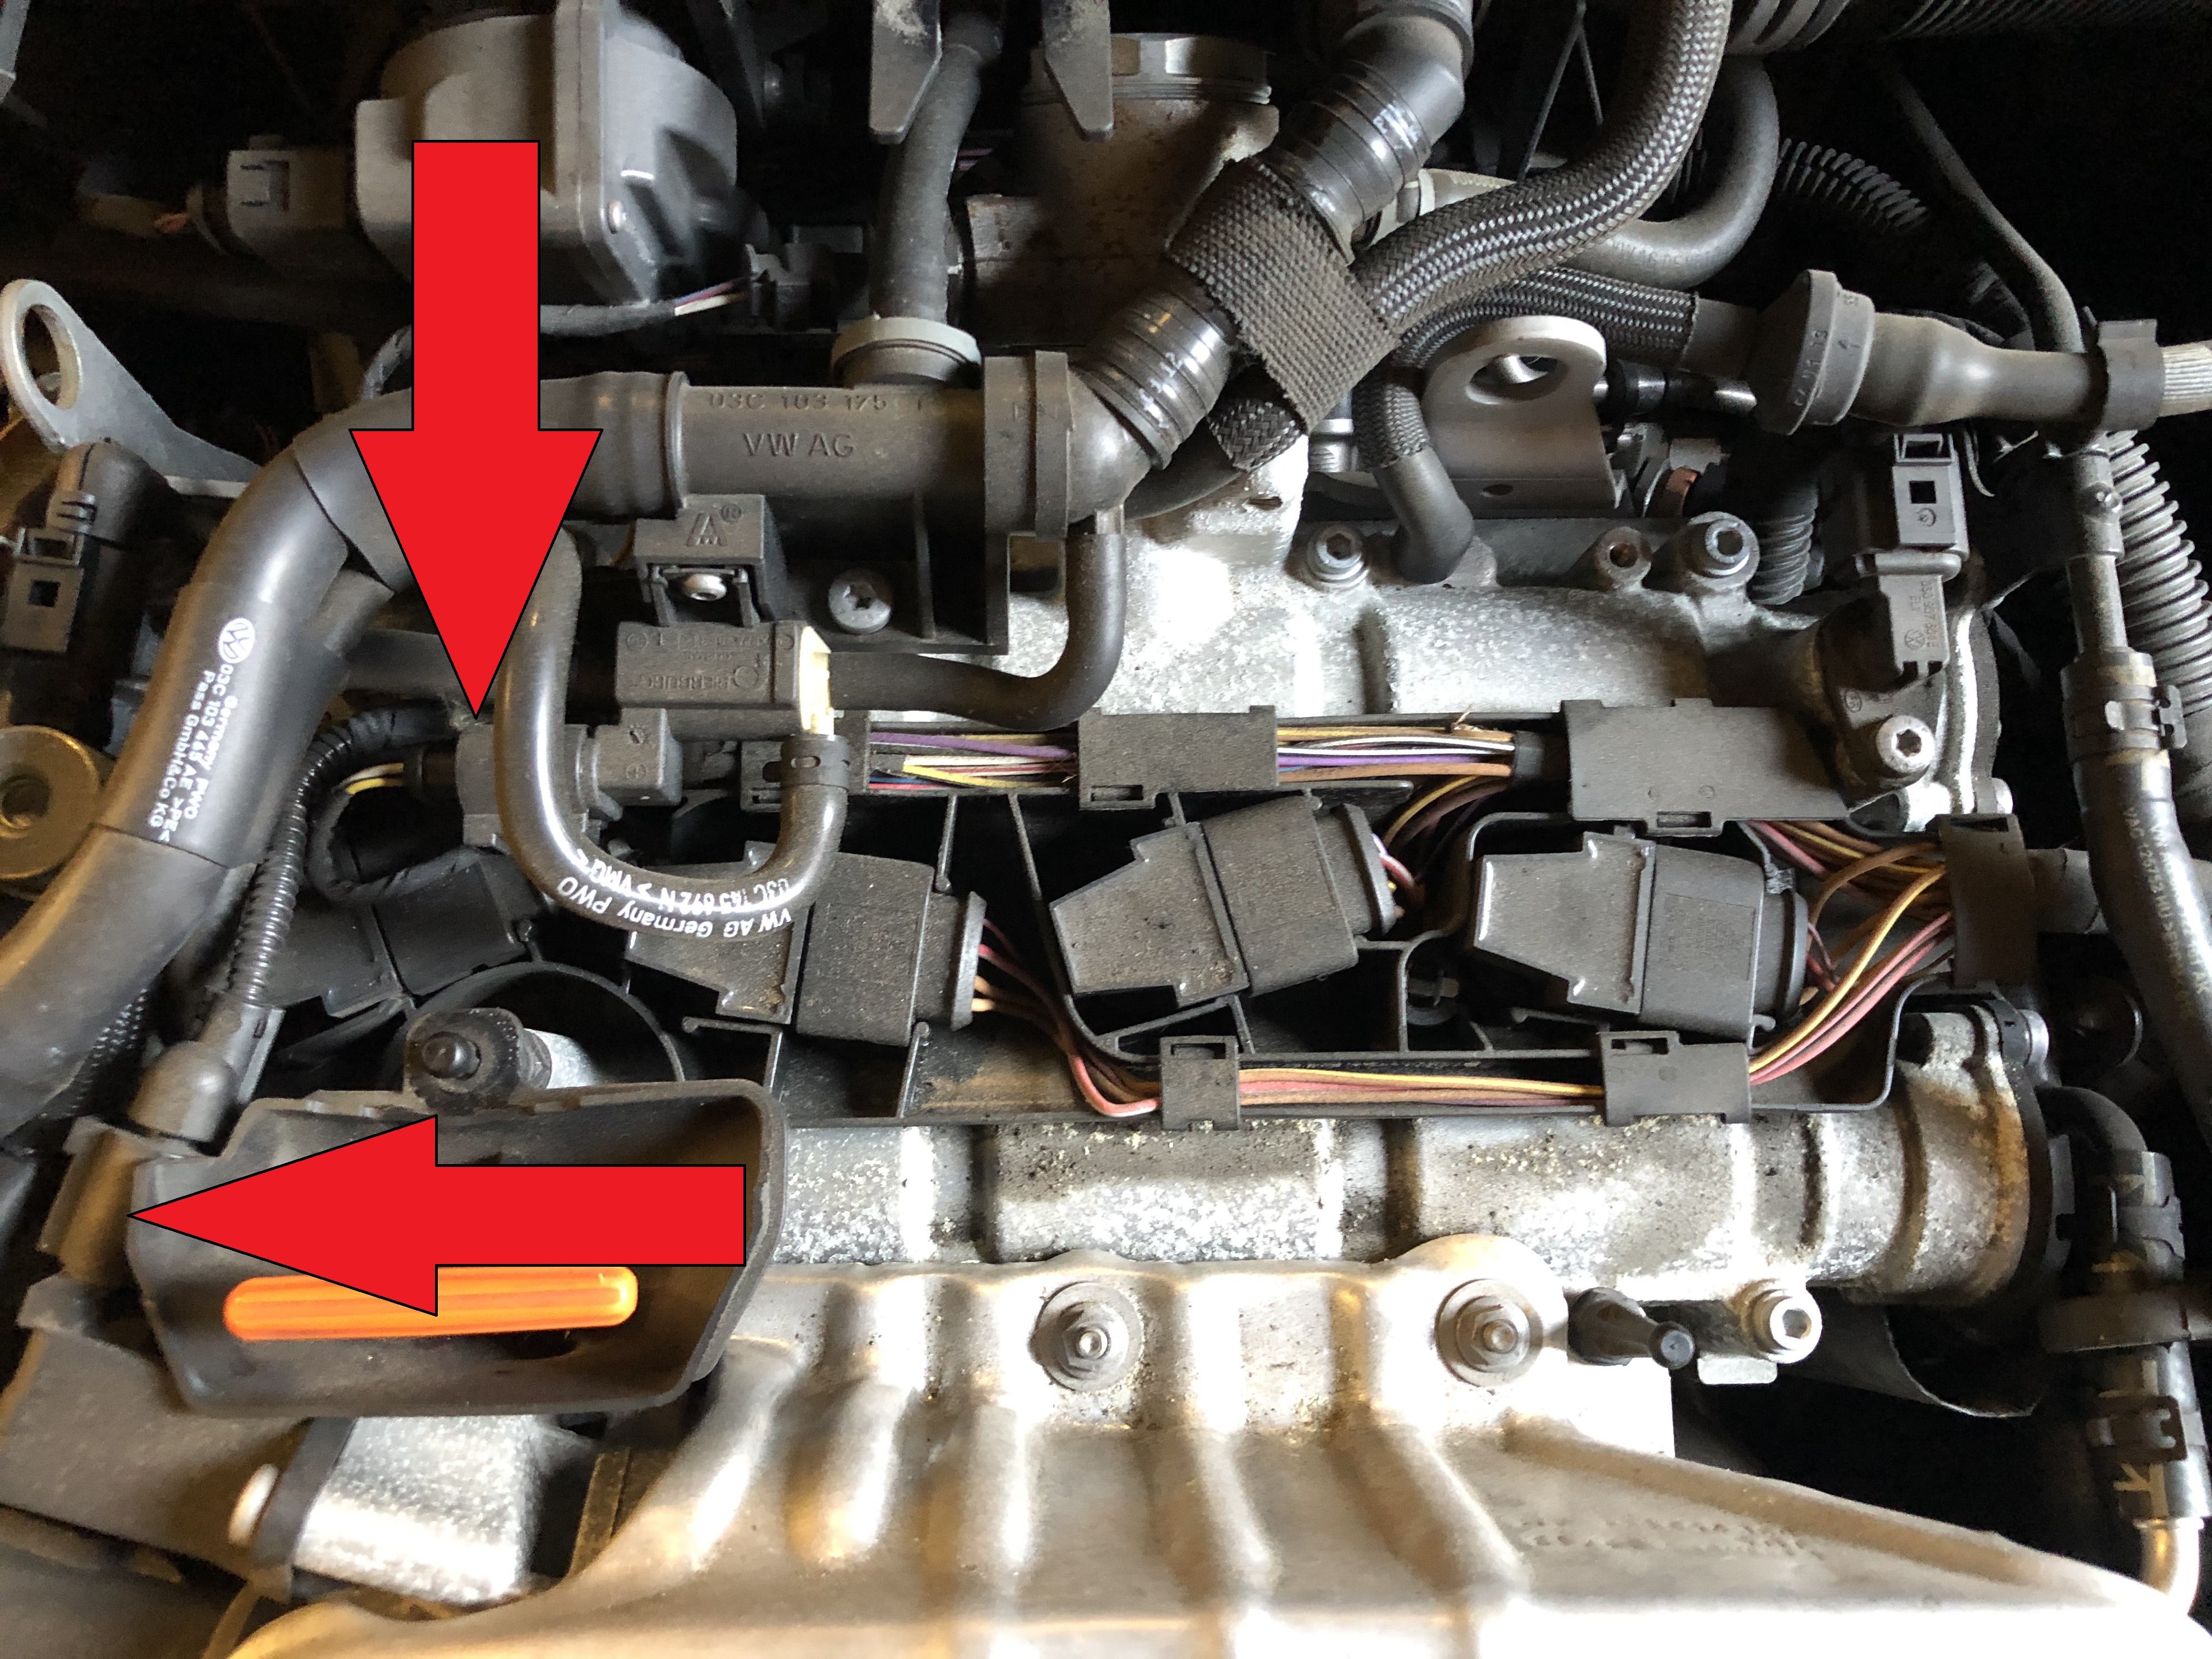
Rear cover "clip" shown above on the intake pipe.....now we can see the location of the coil packs on top of the spark plugs....

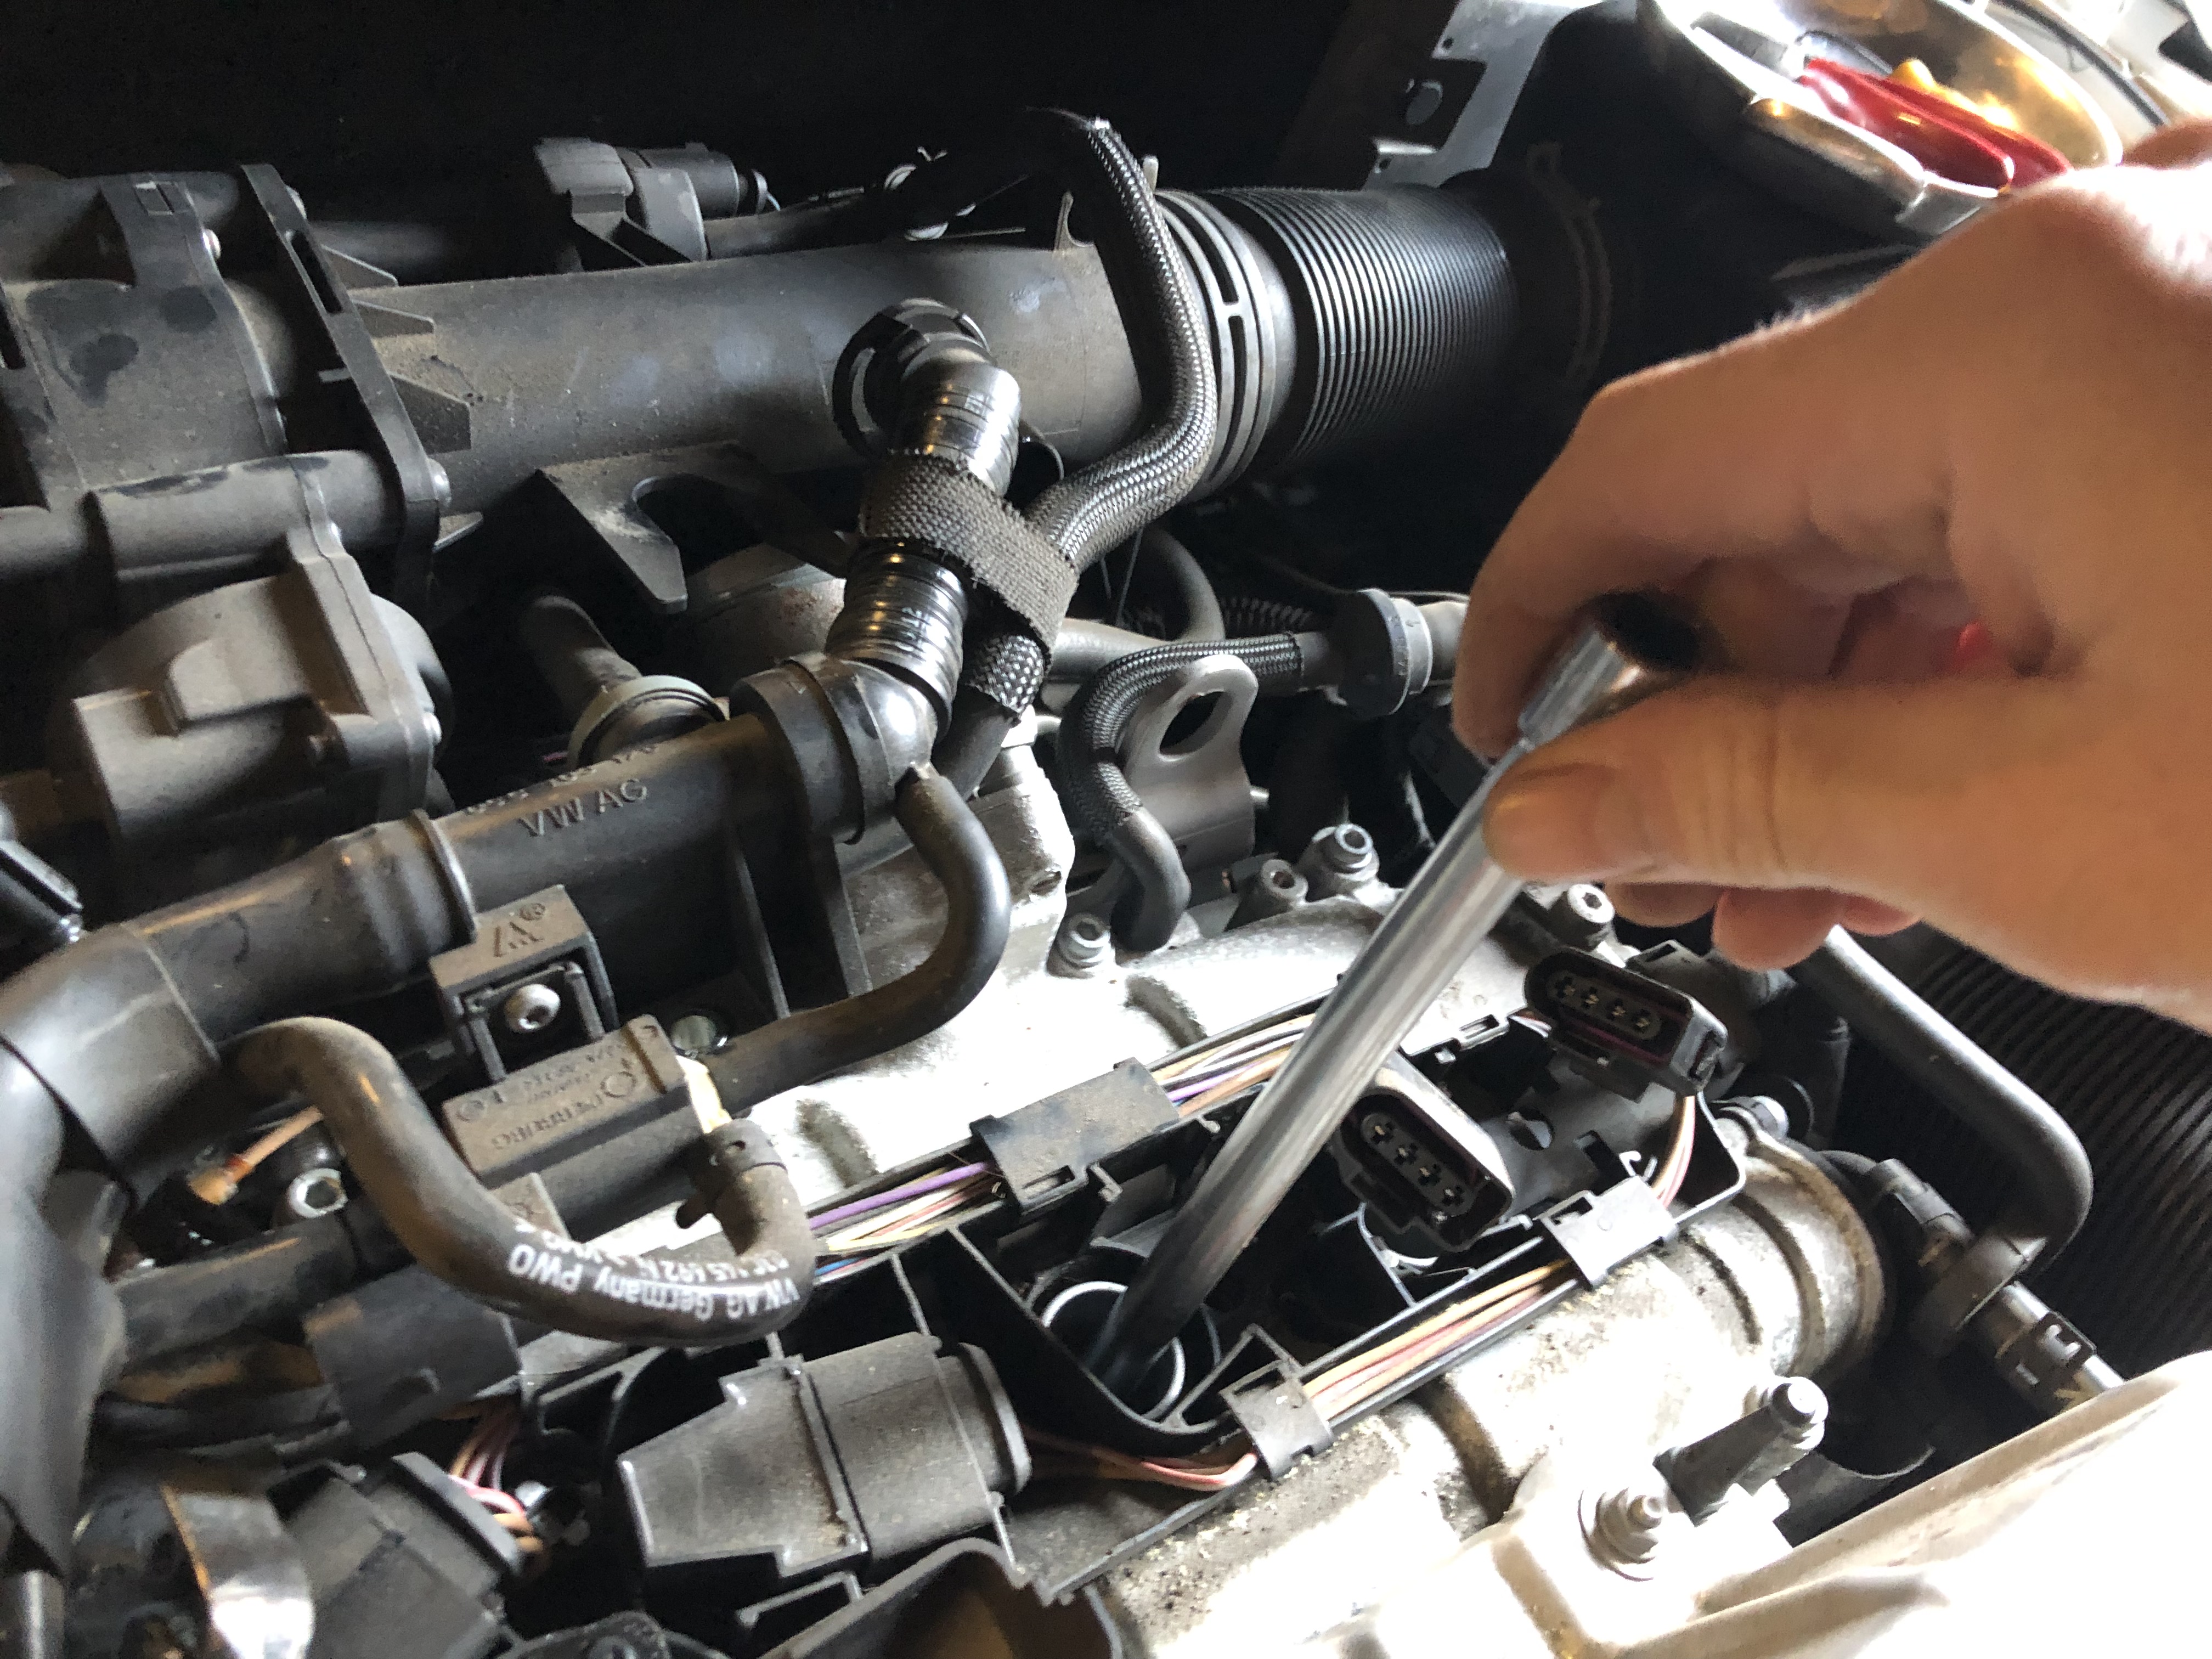
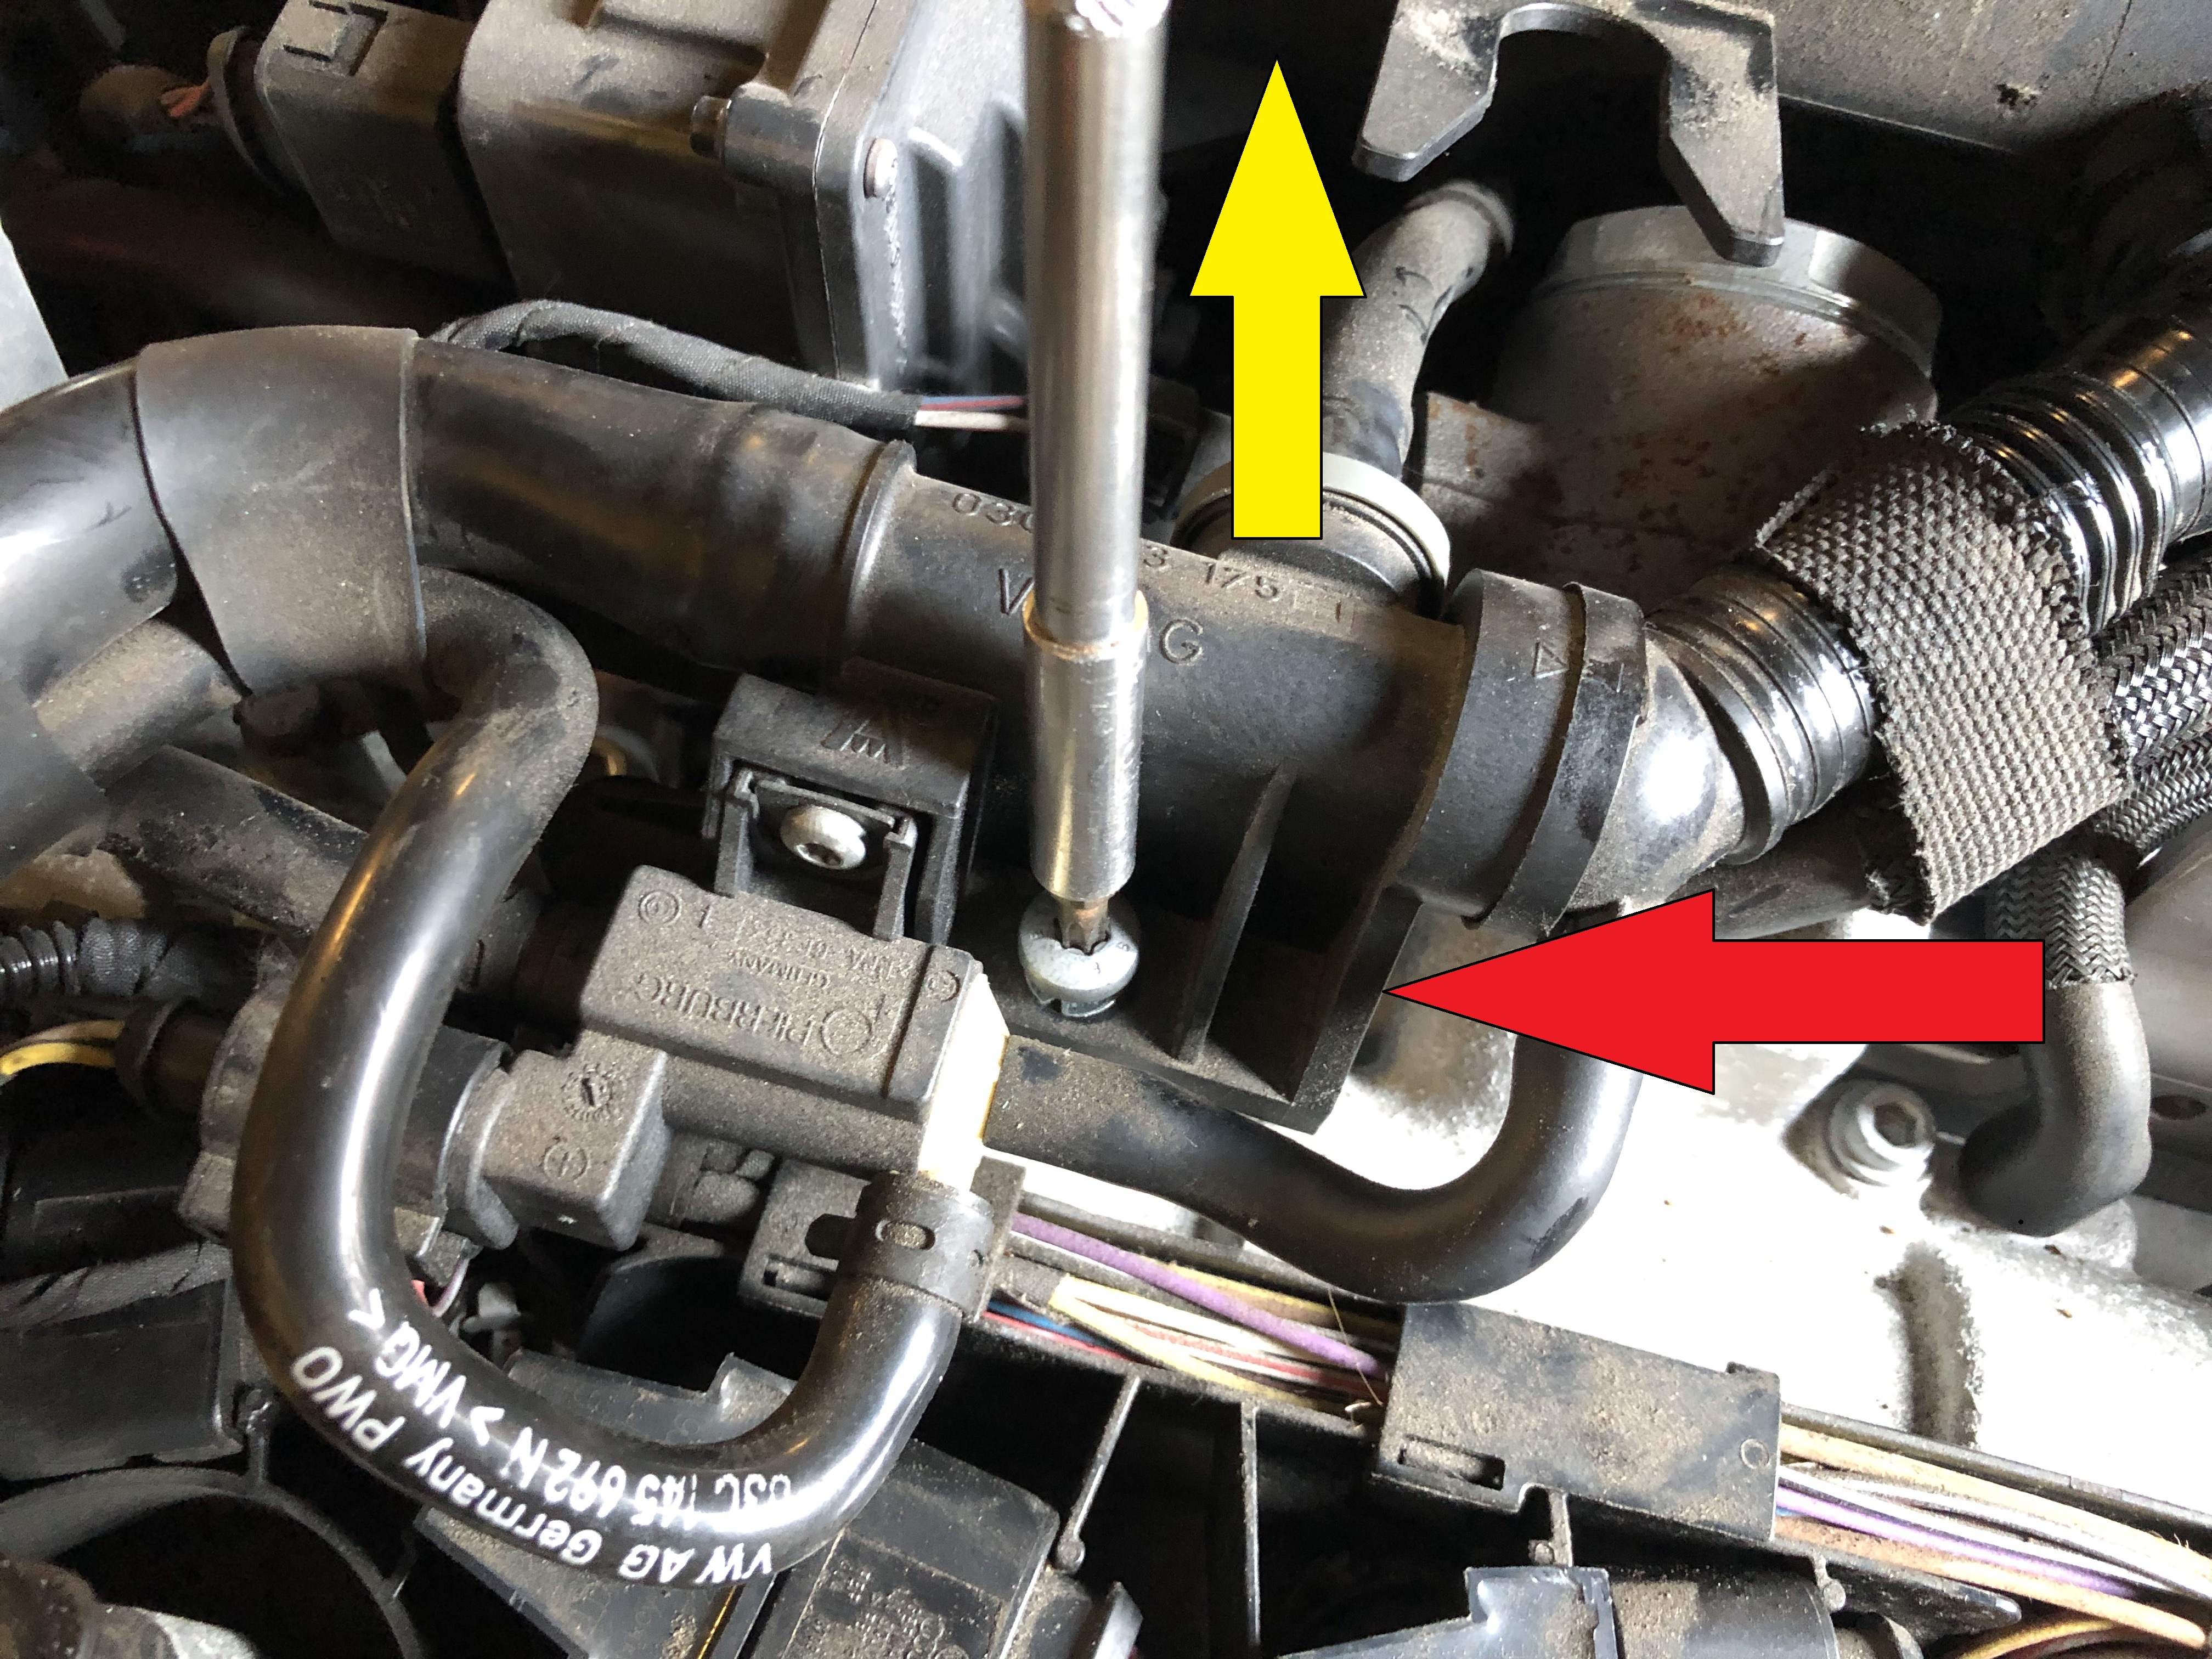
Cylinders 3 and 4 are clear of any other engine plumbing / parts, but to get 2 and especially 1 out we need to remove
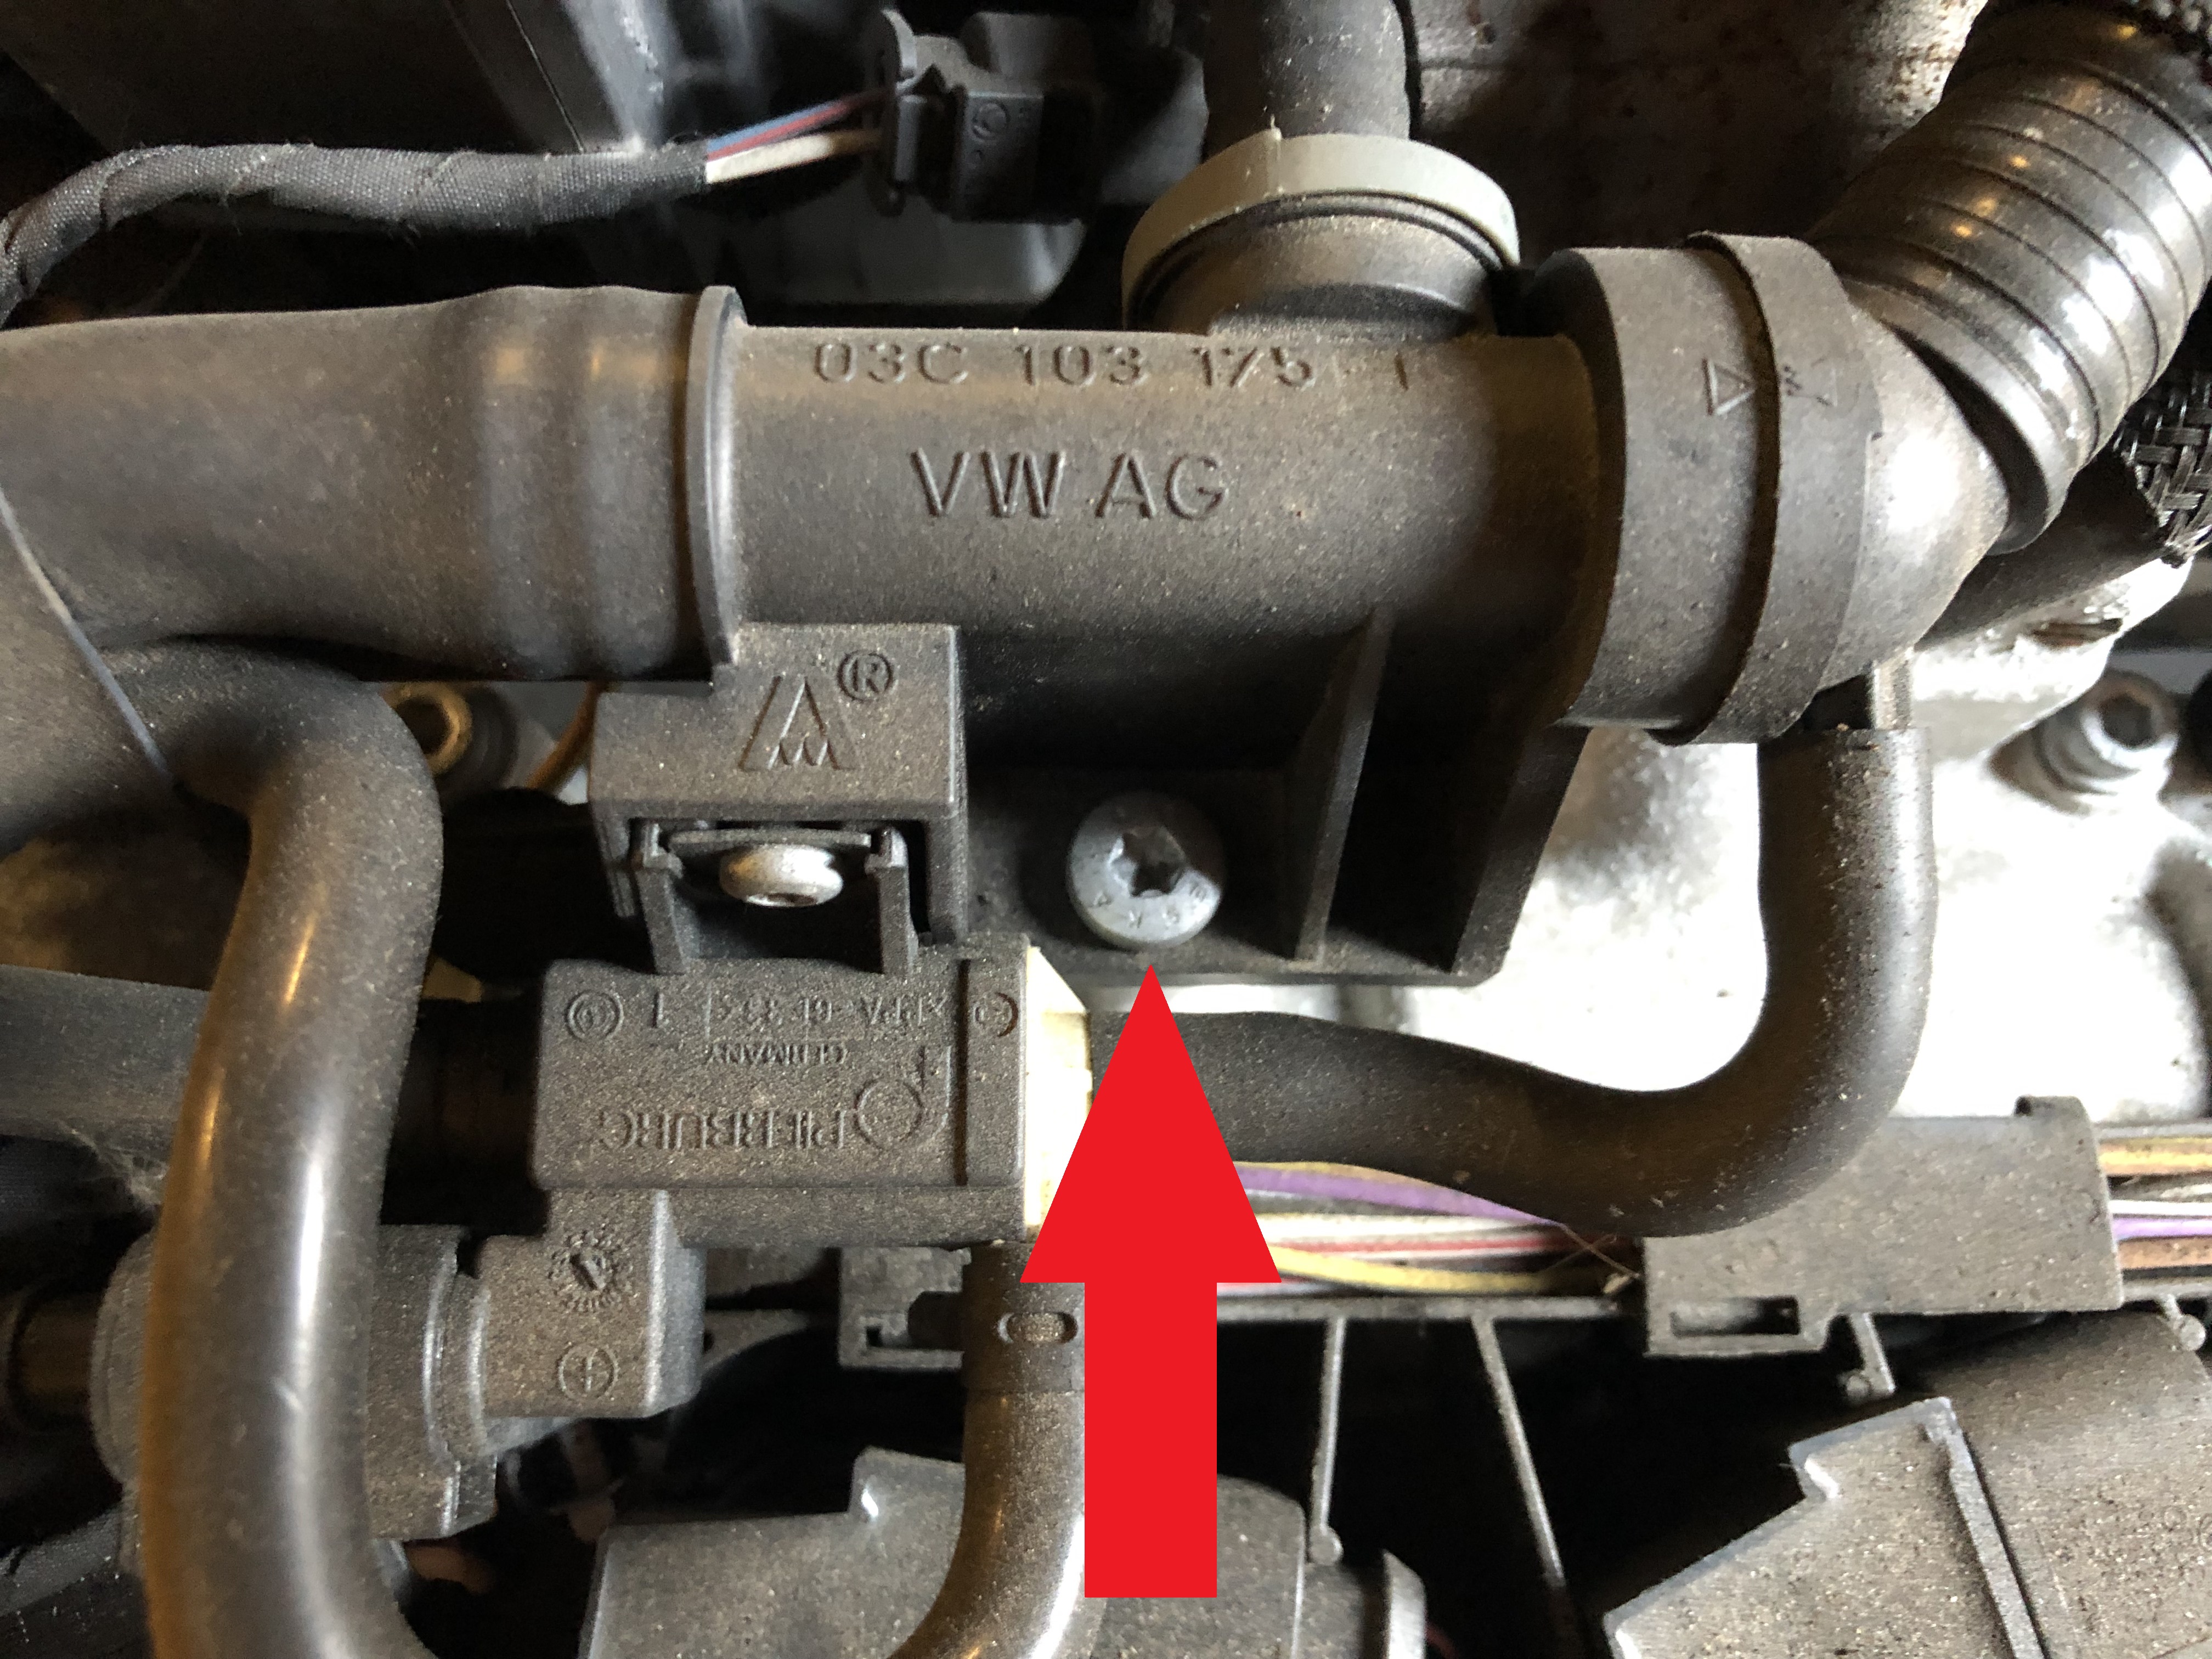
more items for access......so first of all remove 2 Torx screws arrowed below.....
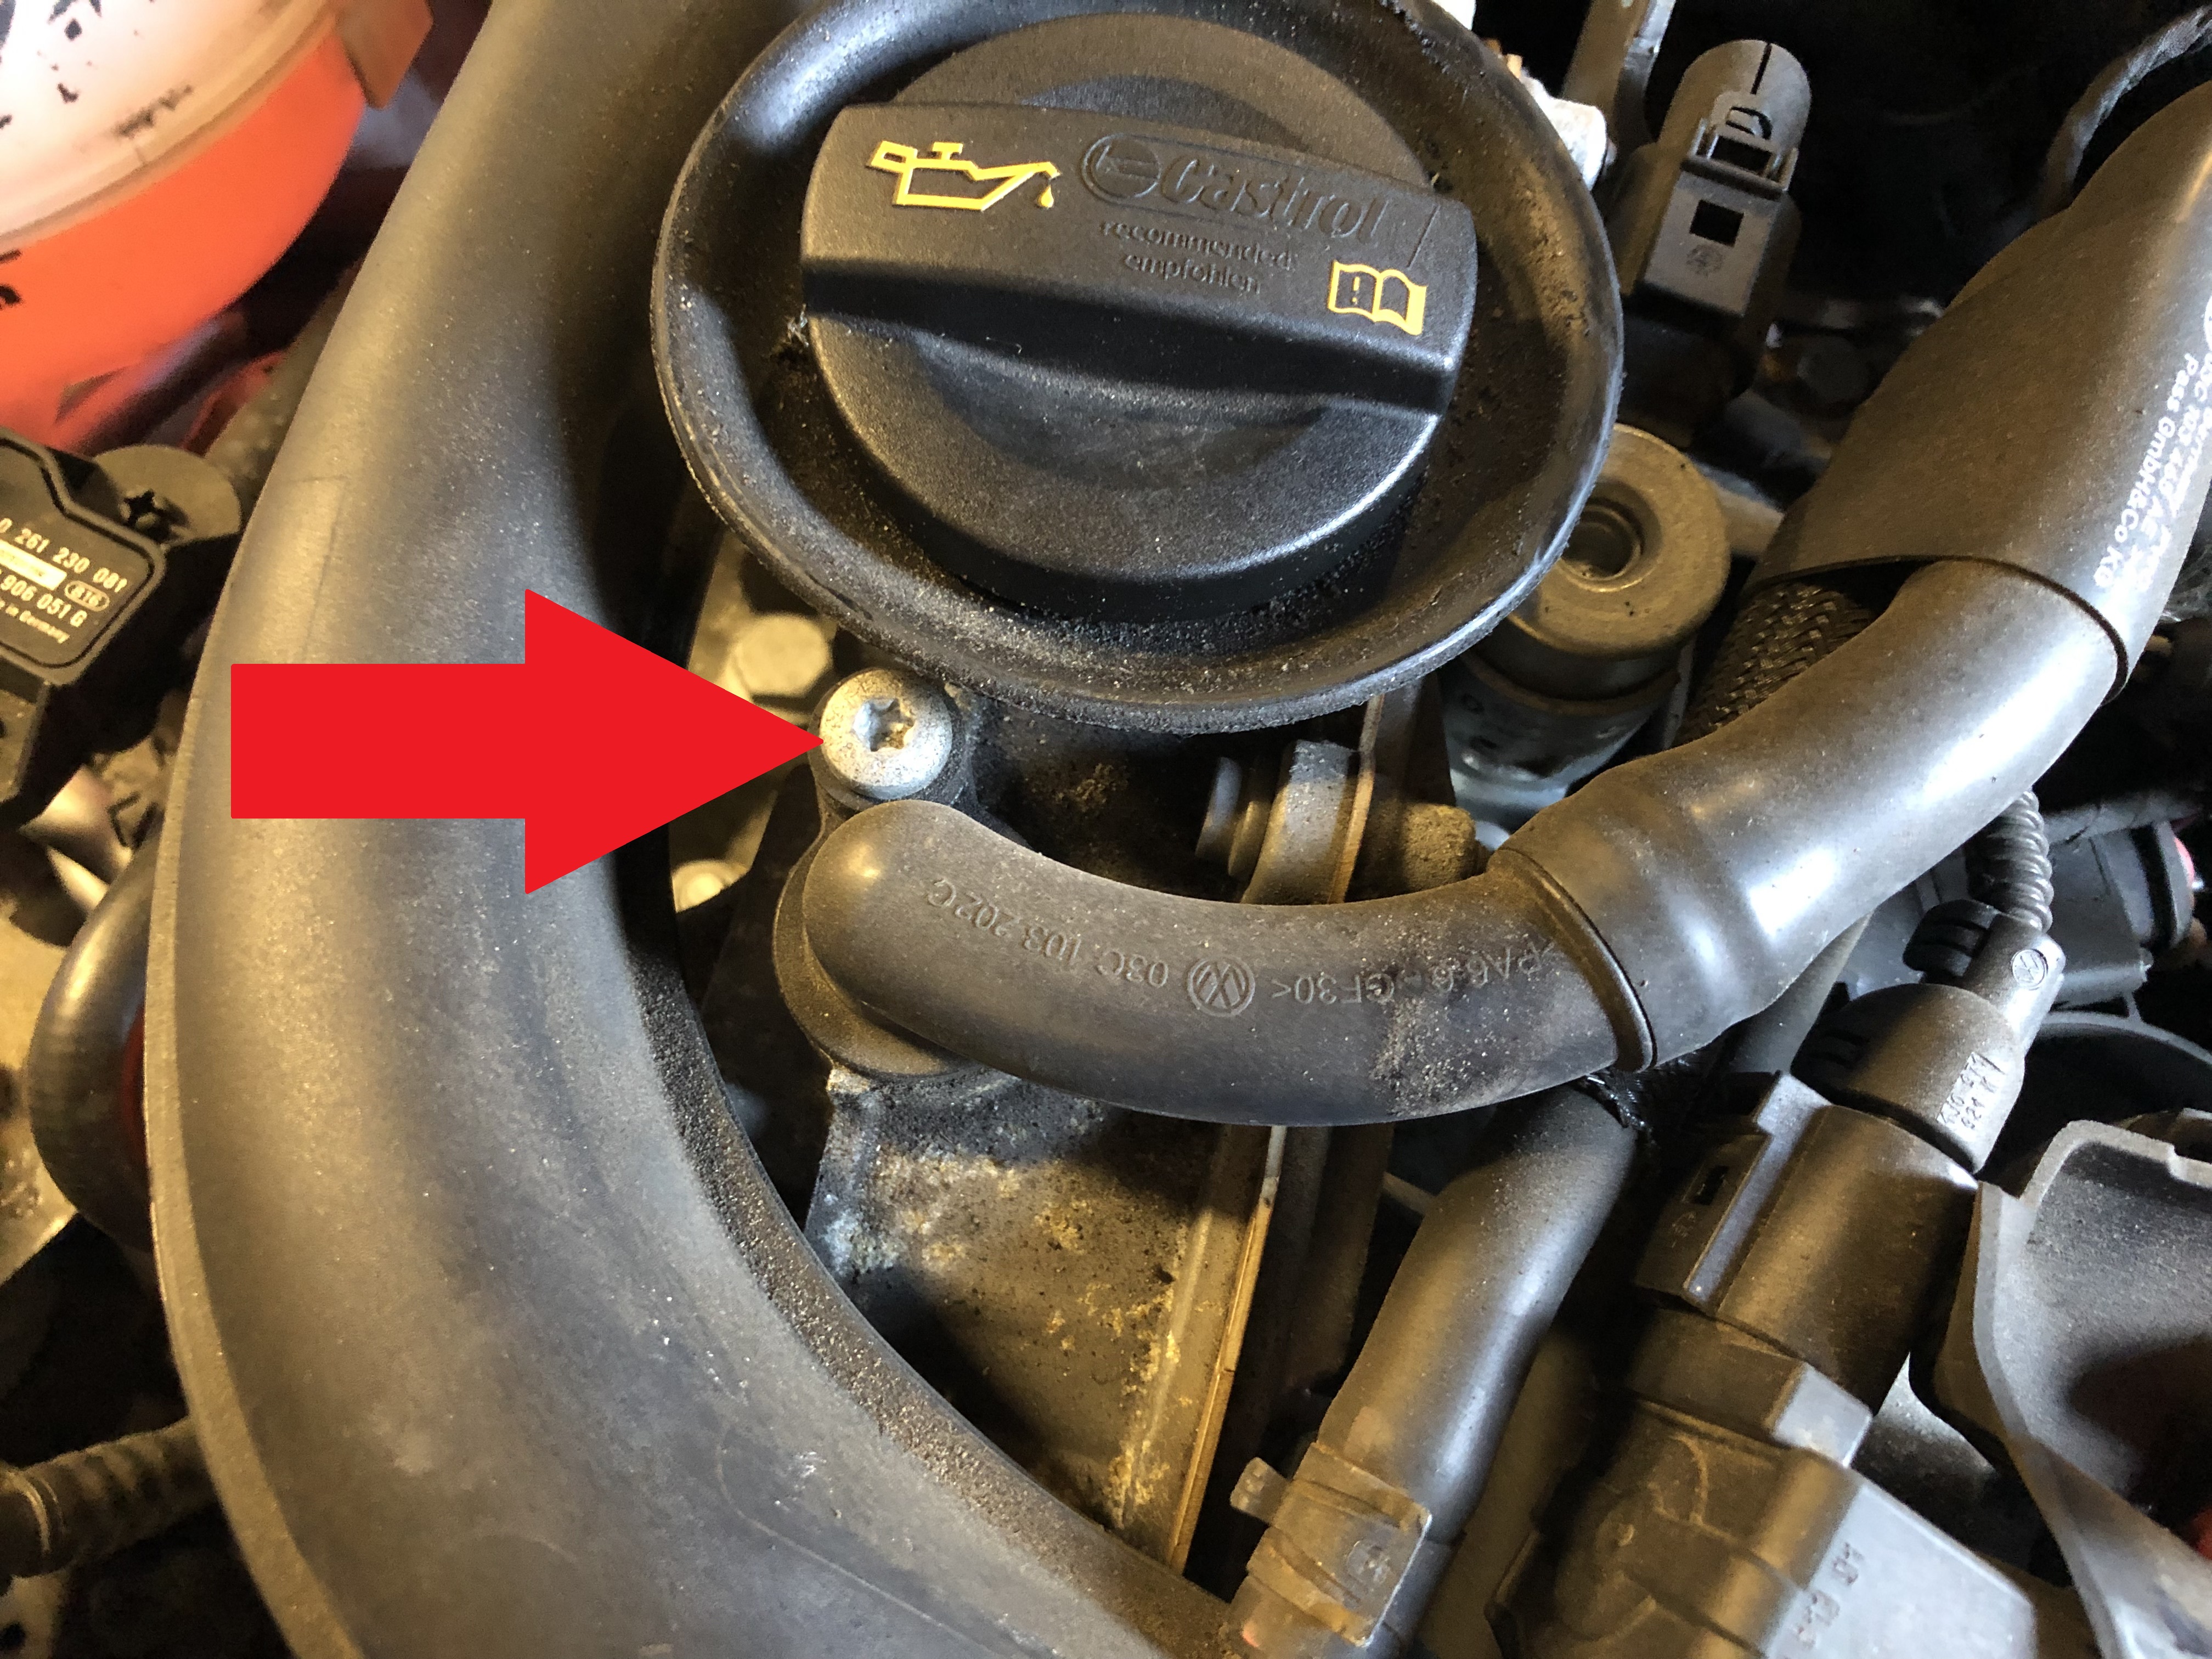
And the second one........
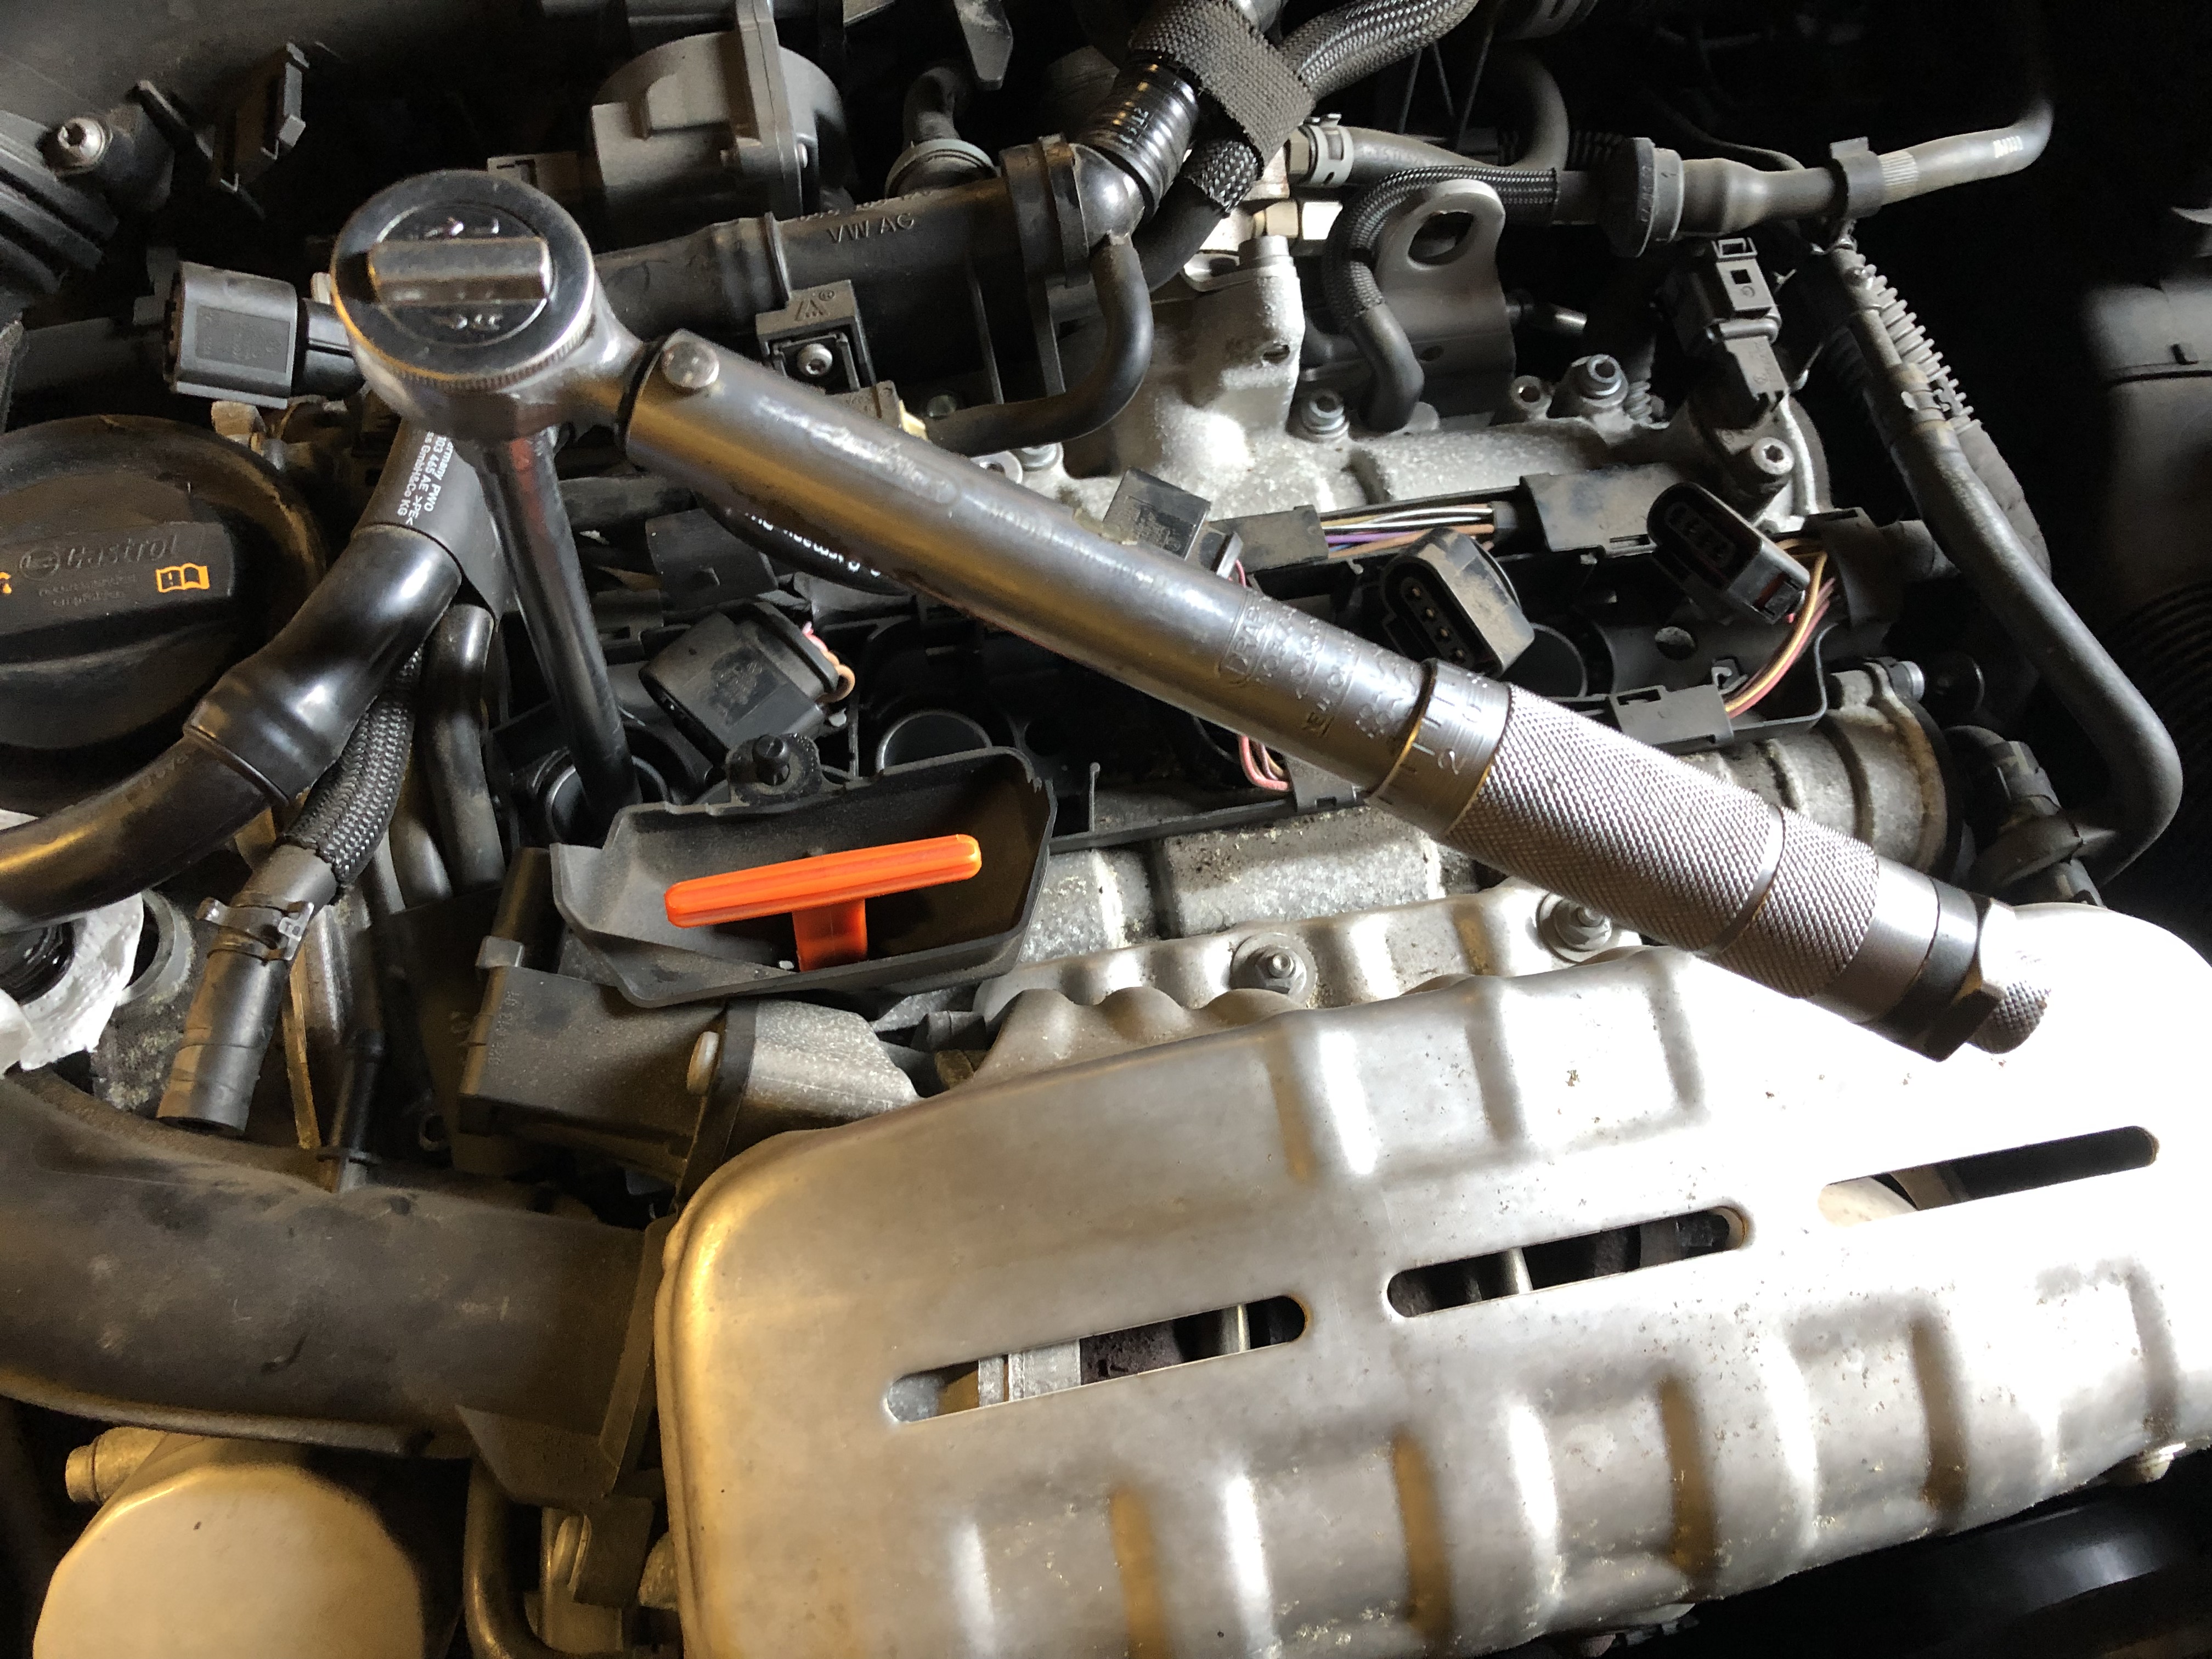
Now the breather pipe near the oil cap can be wiggled up and free.....
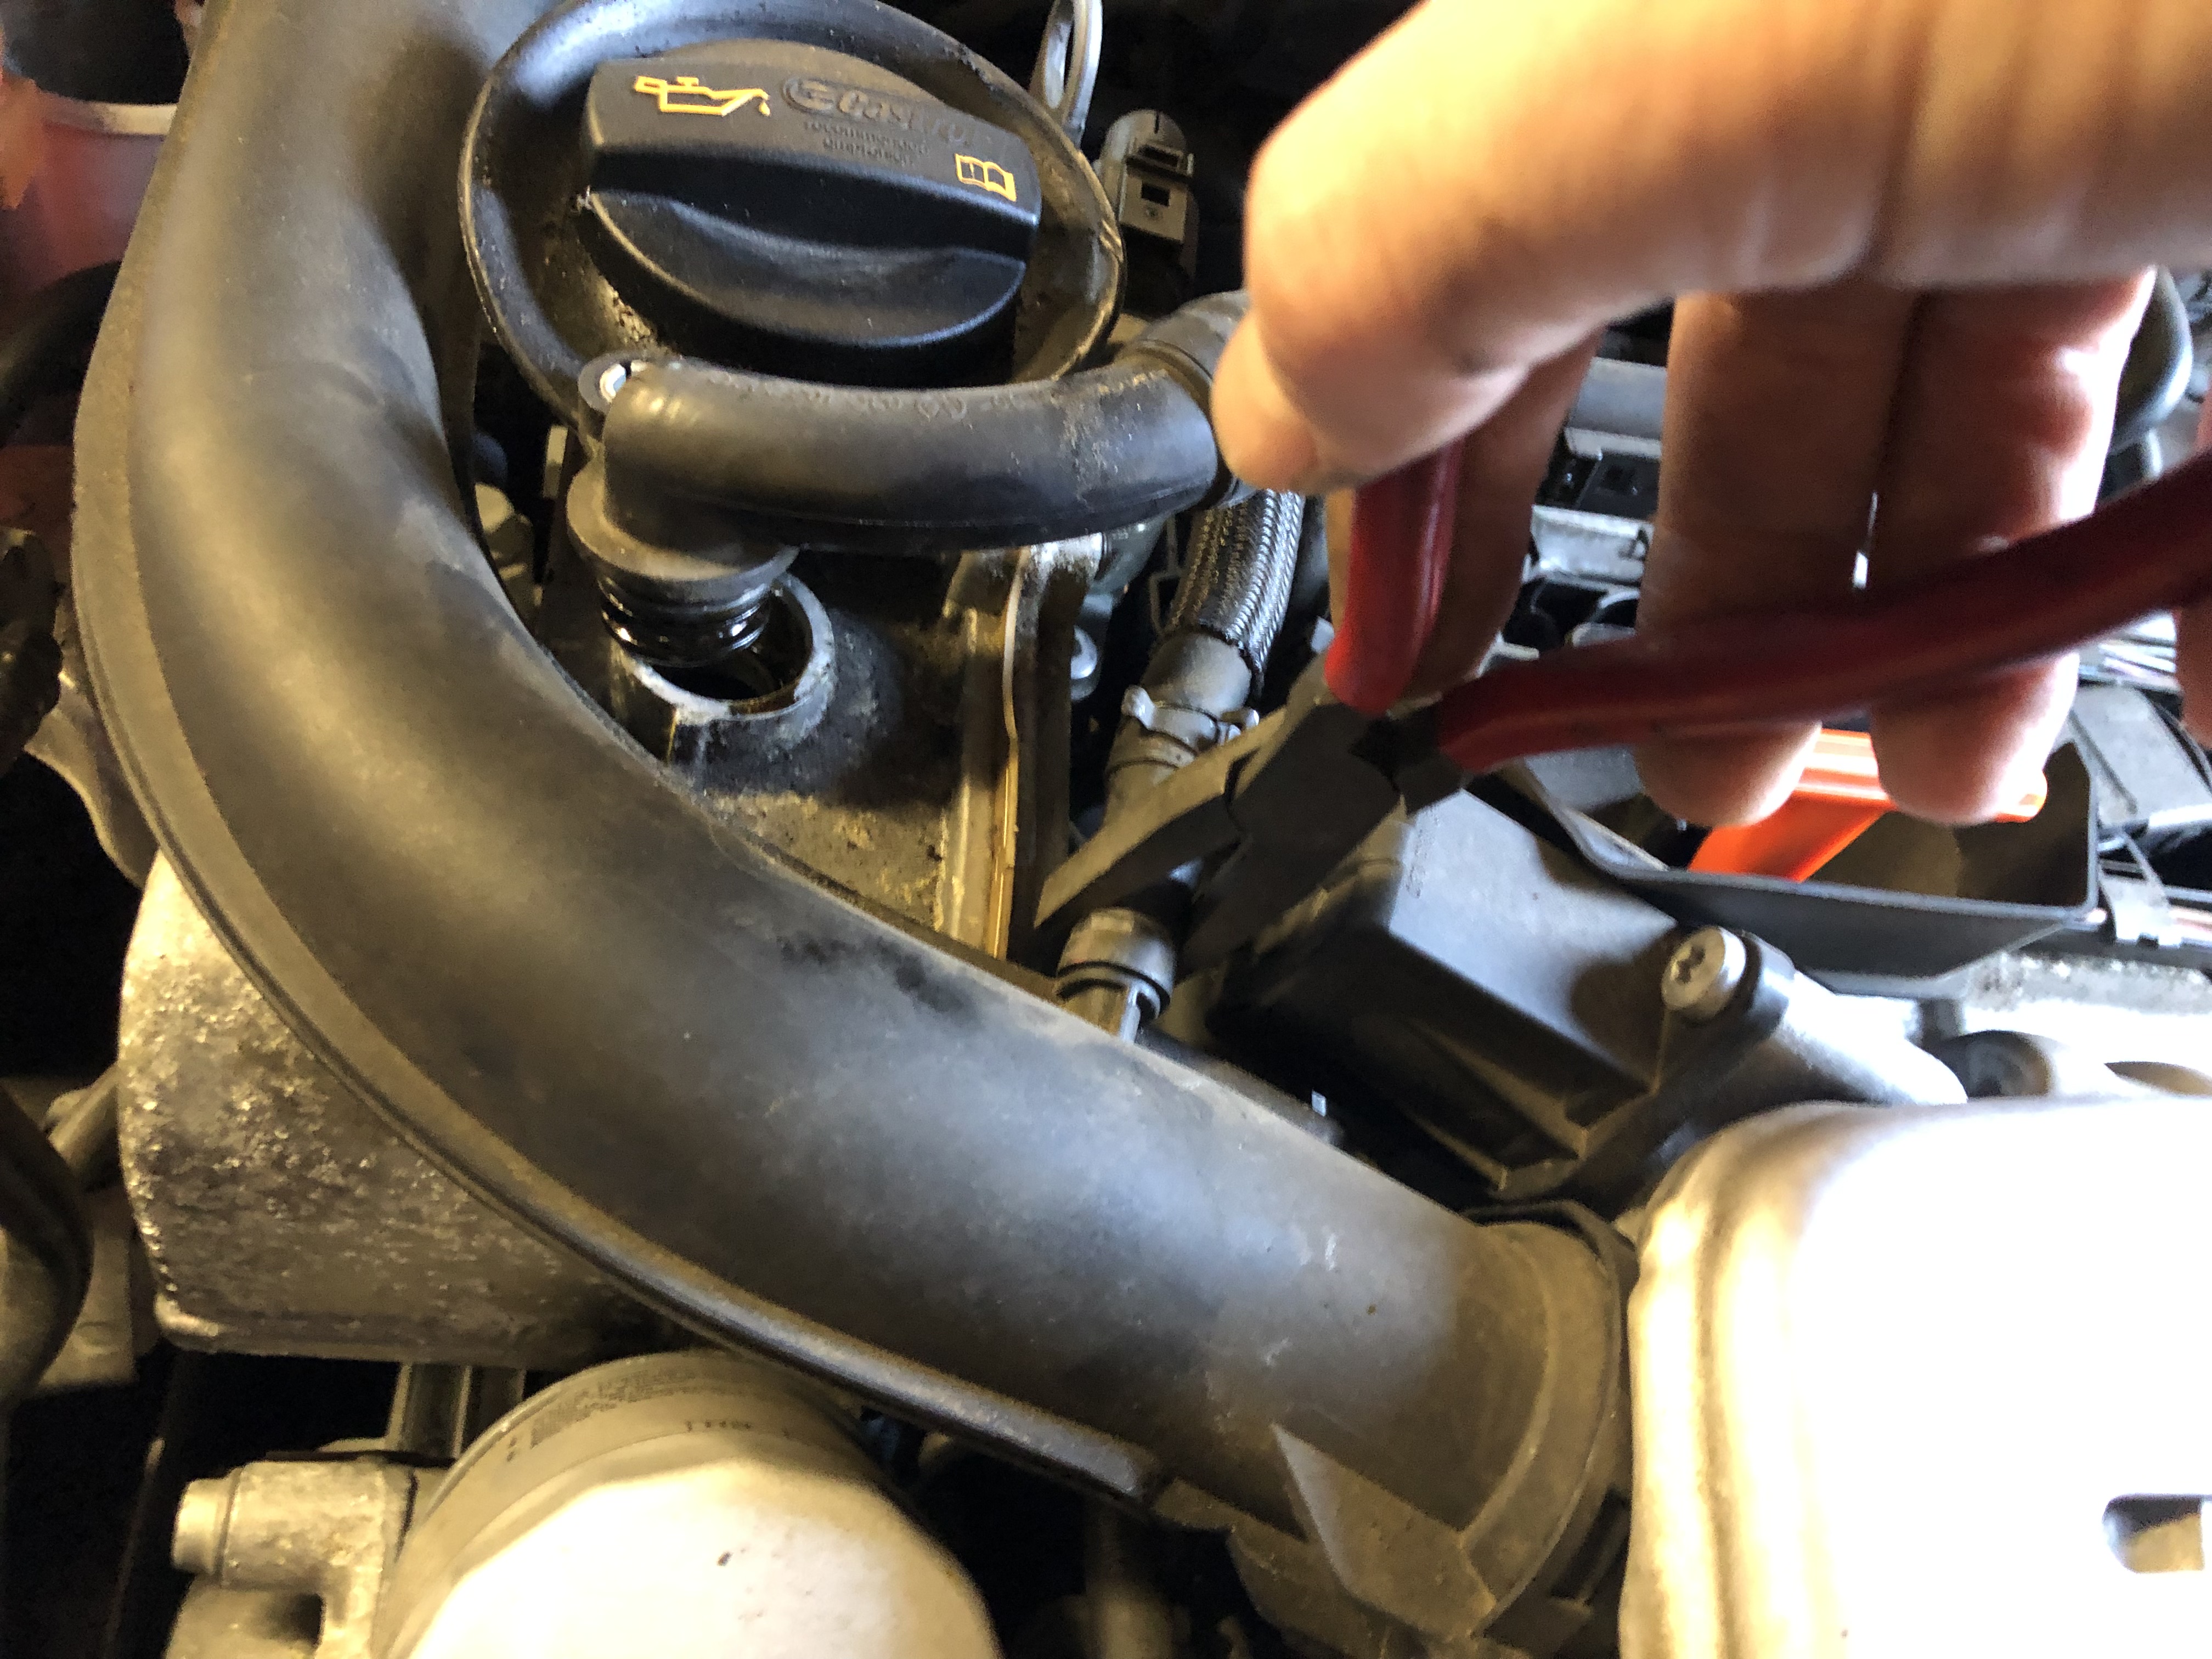
Next remove the small pipe clamp arrowed below....
simply clamp with pliers and whilst rotating slide it back up the pipe about 30mm
Now often the pipes are "stuck", so to aid removal "carefully" with some blunt pliers grab the pipe
and rotate it a little back and forth to "free" it, take care not to damage it....if your pipe pulls straight off, then great !!
Remove the pipe.....
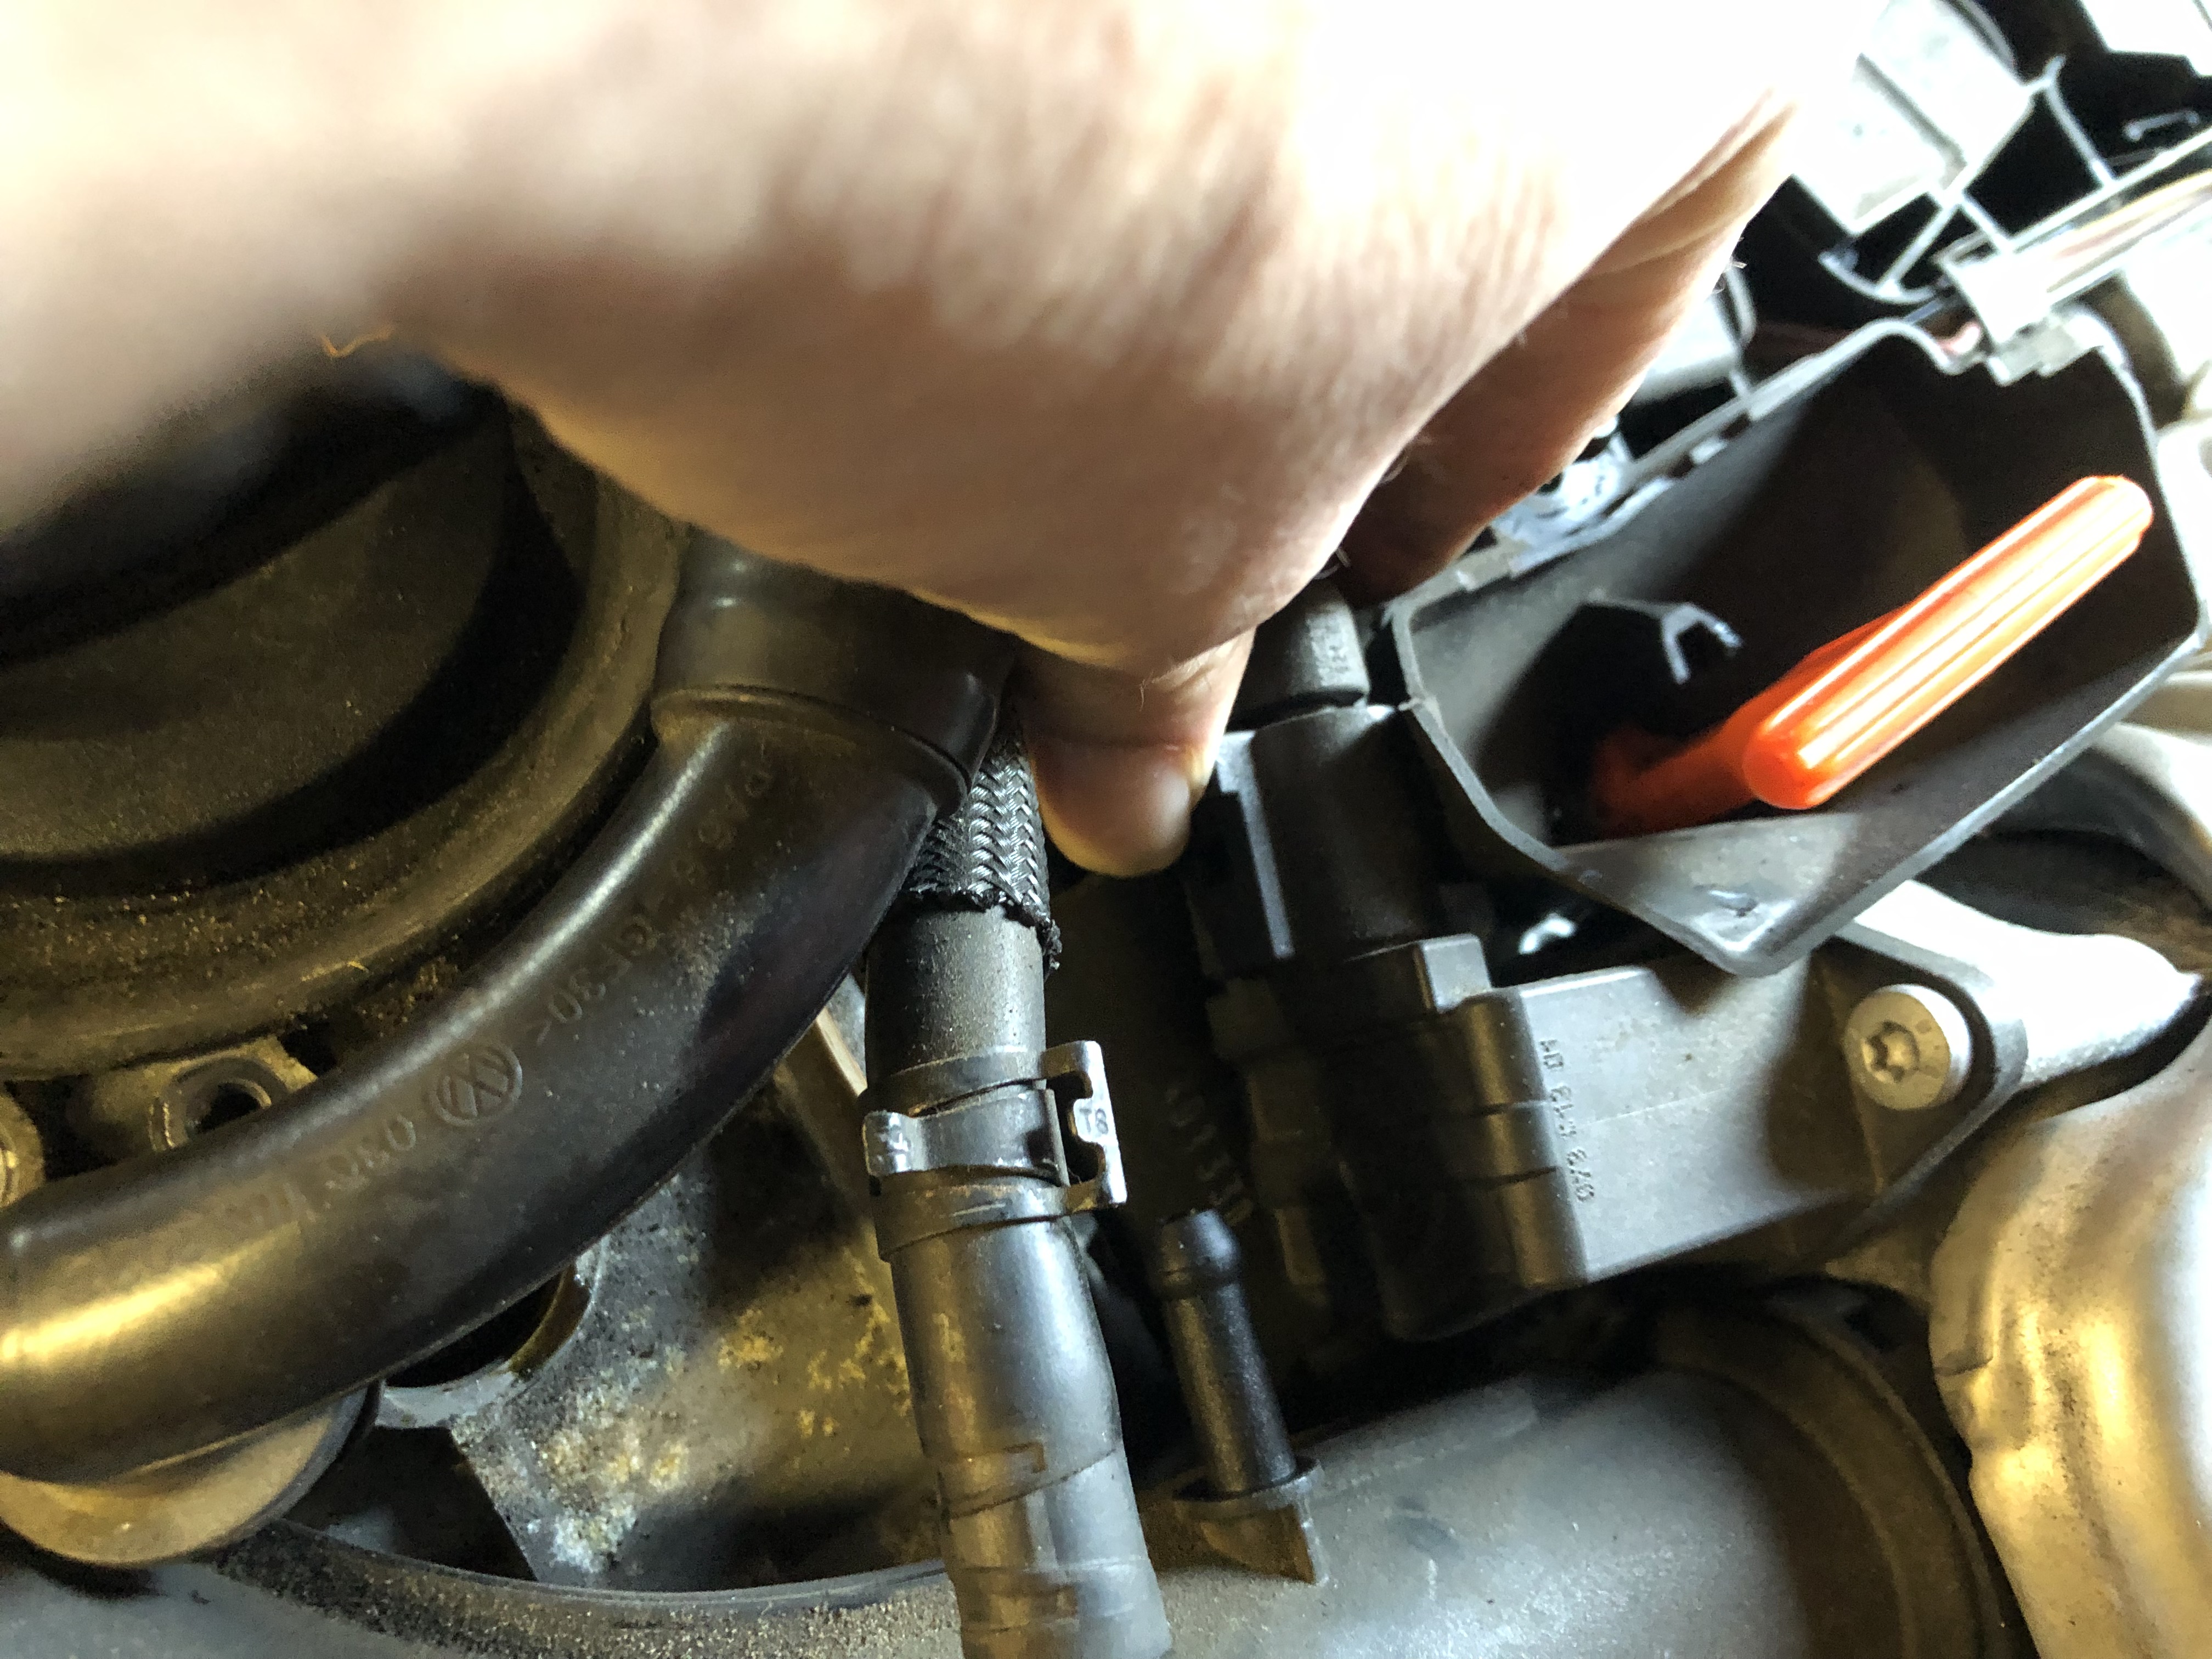
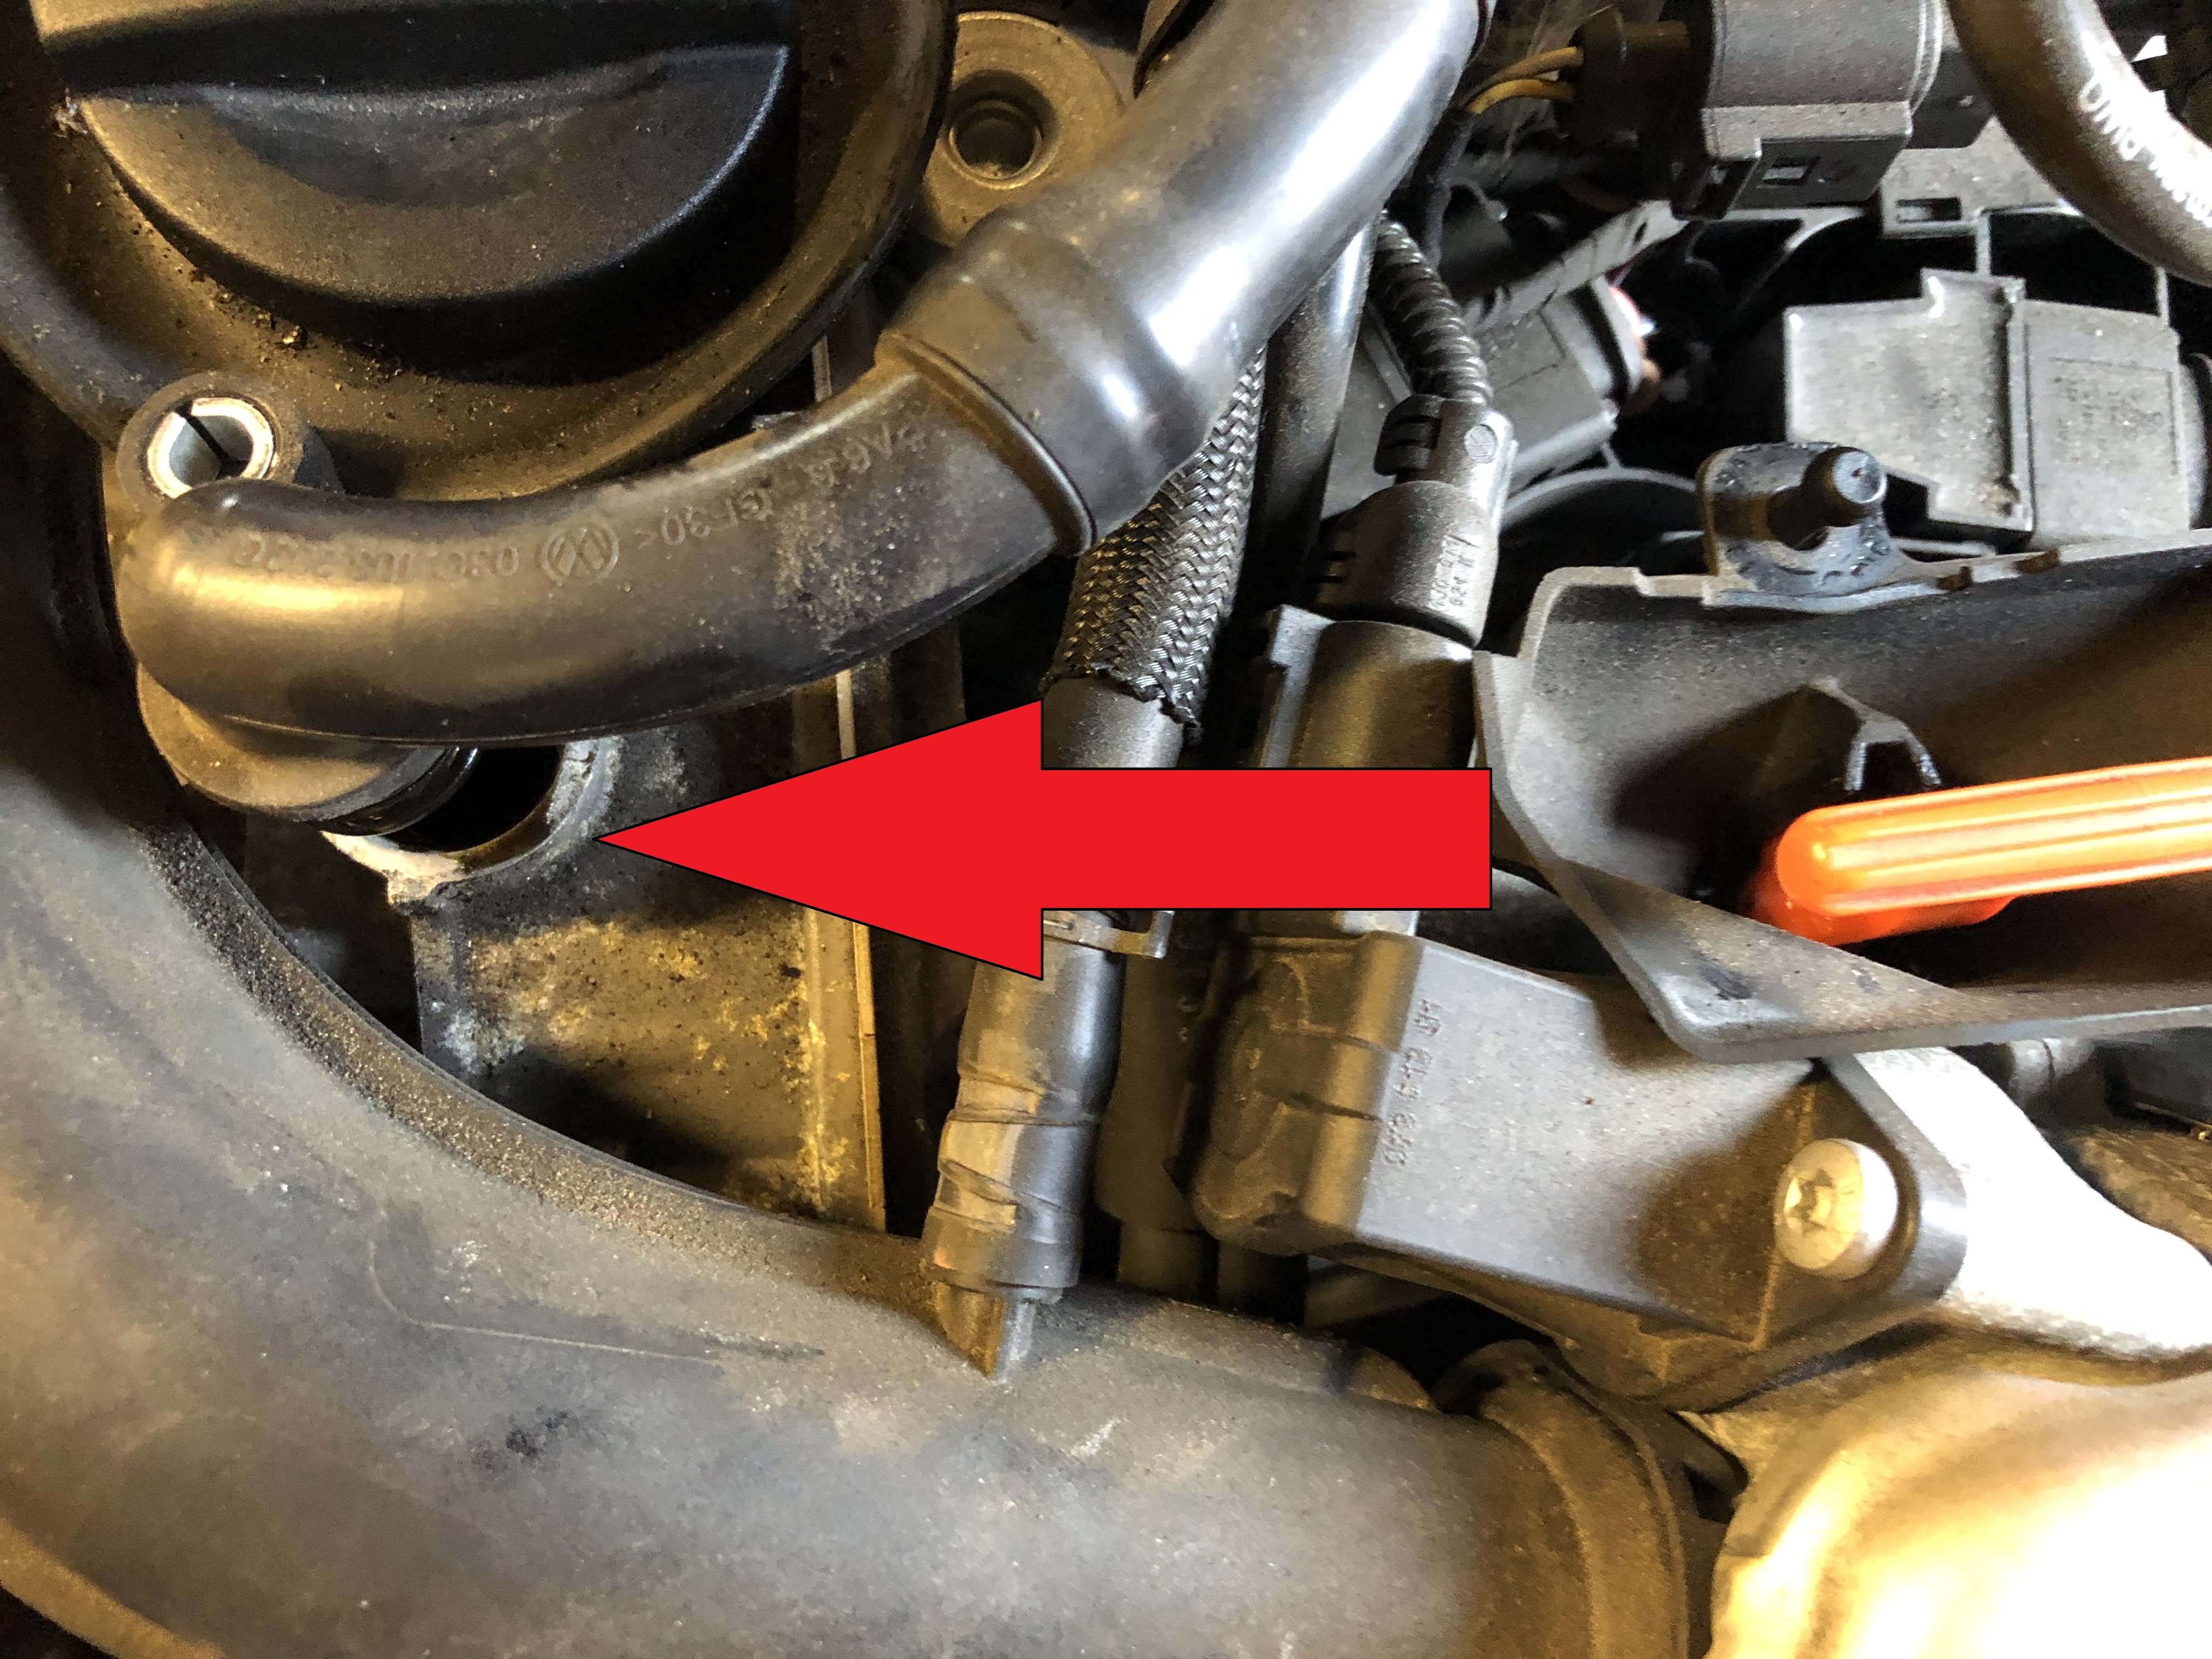
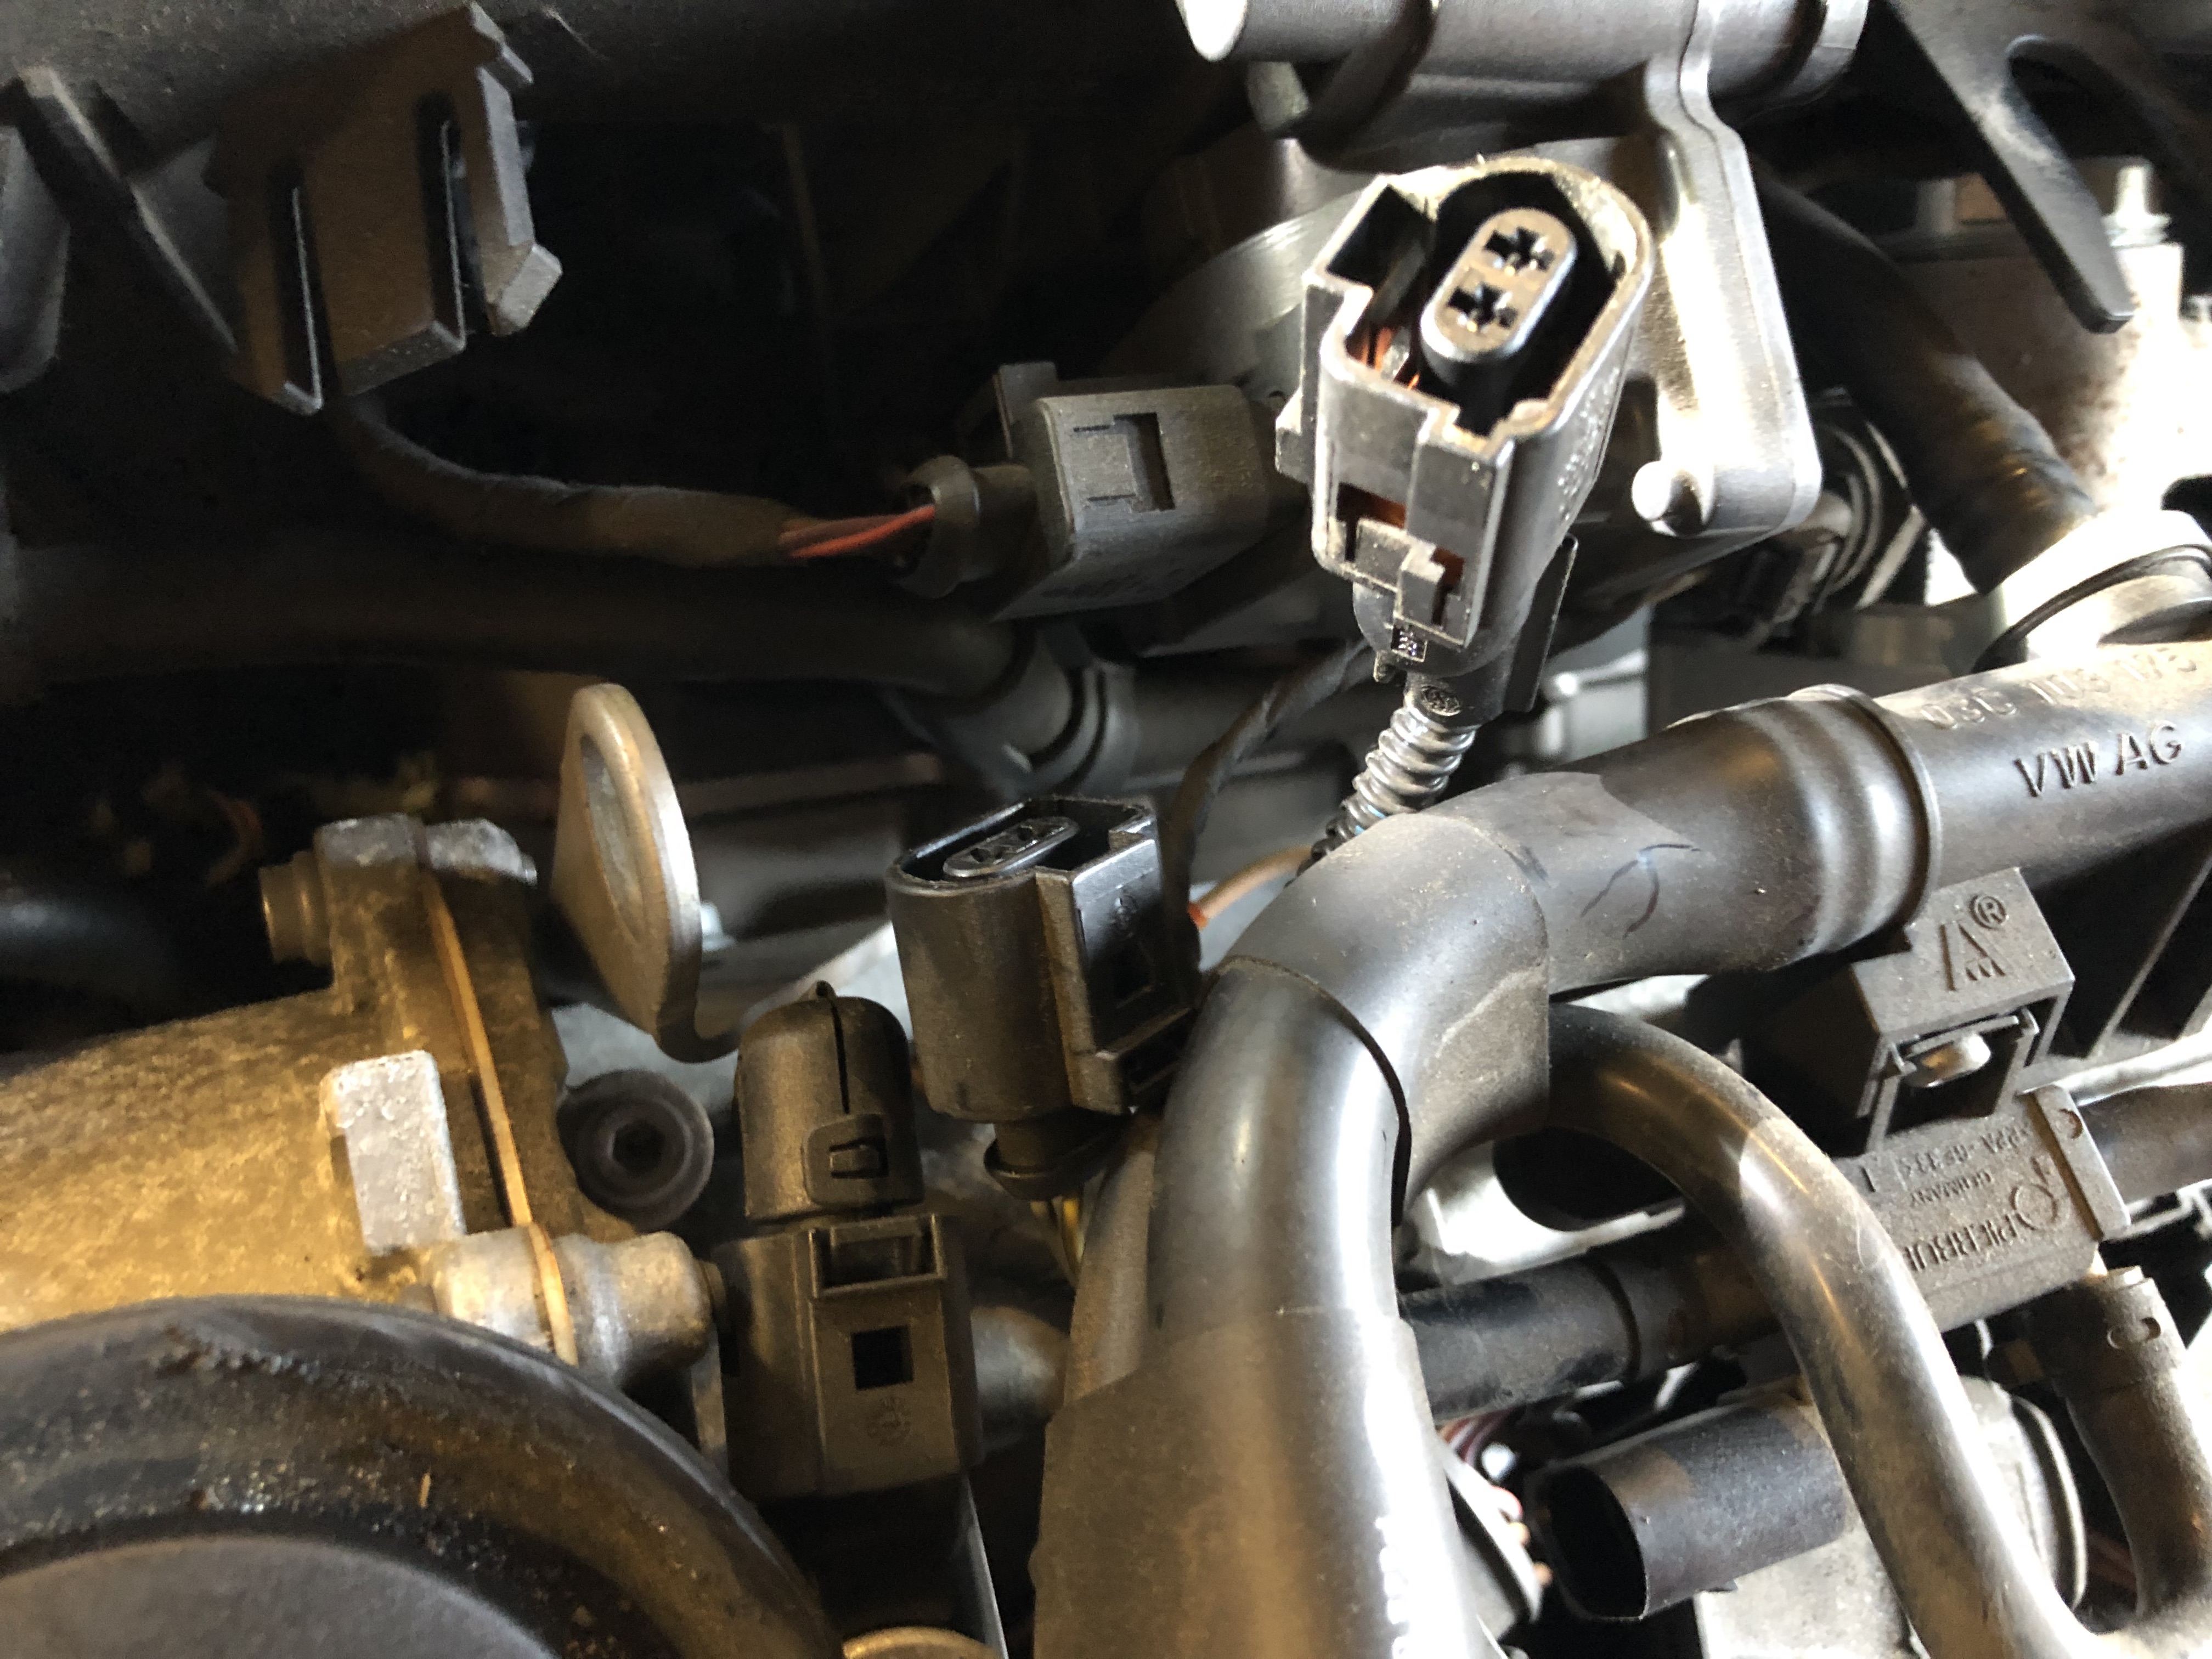
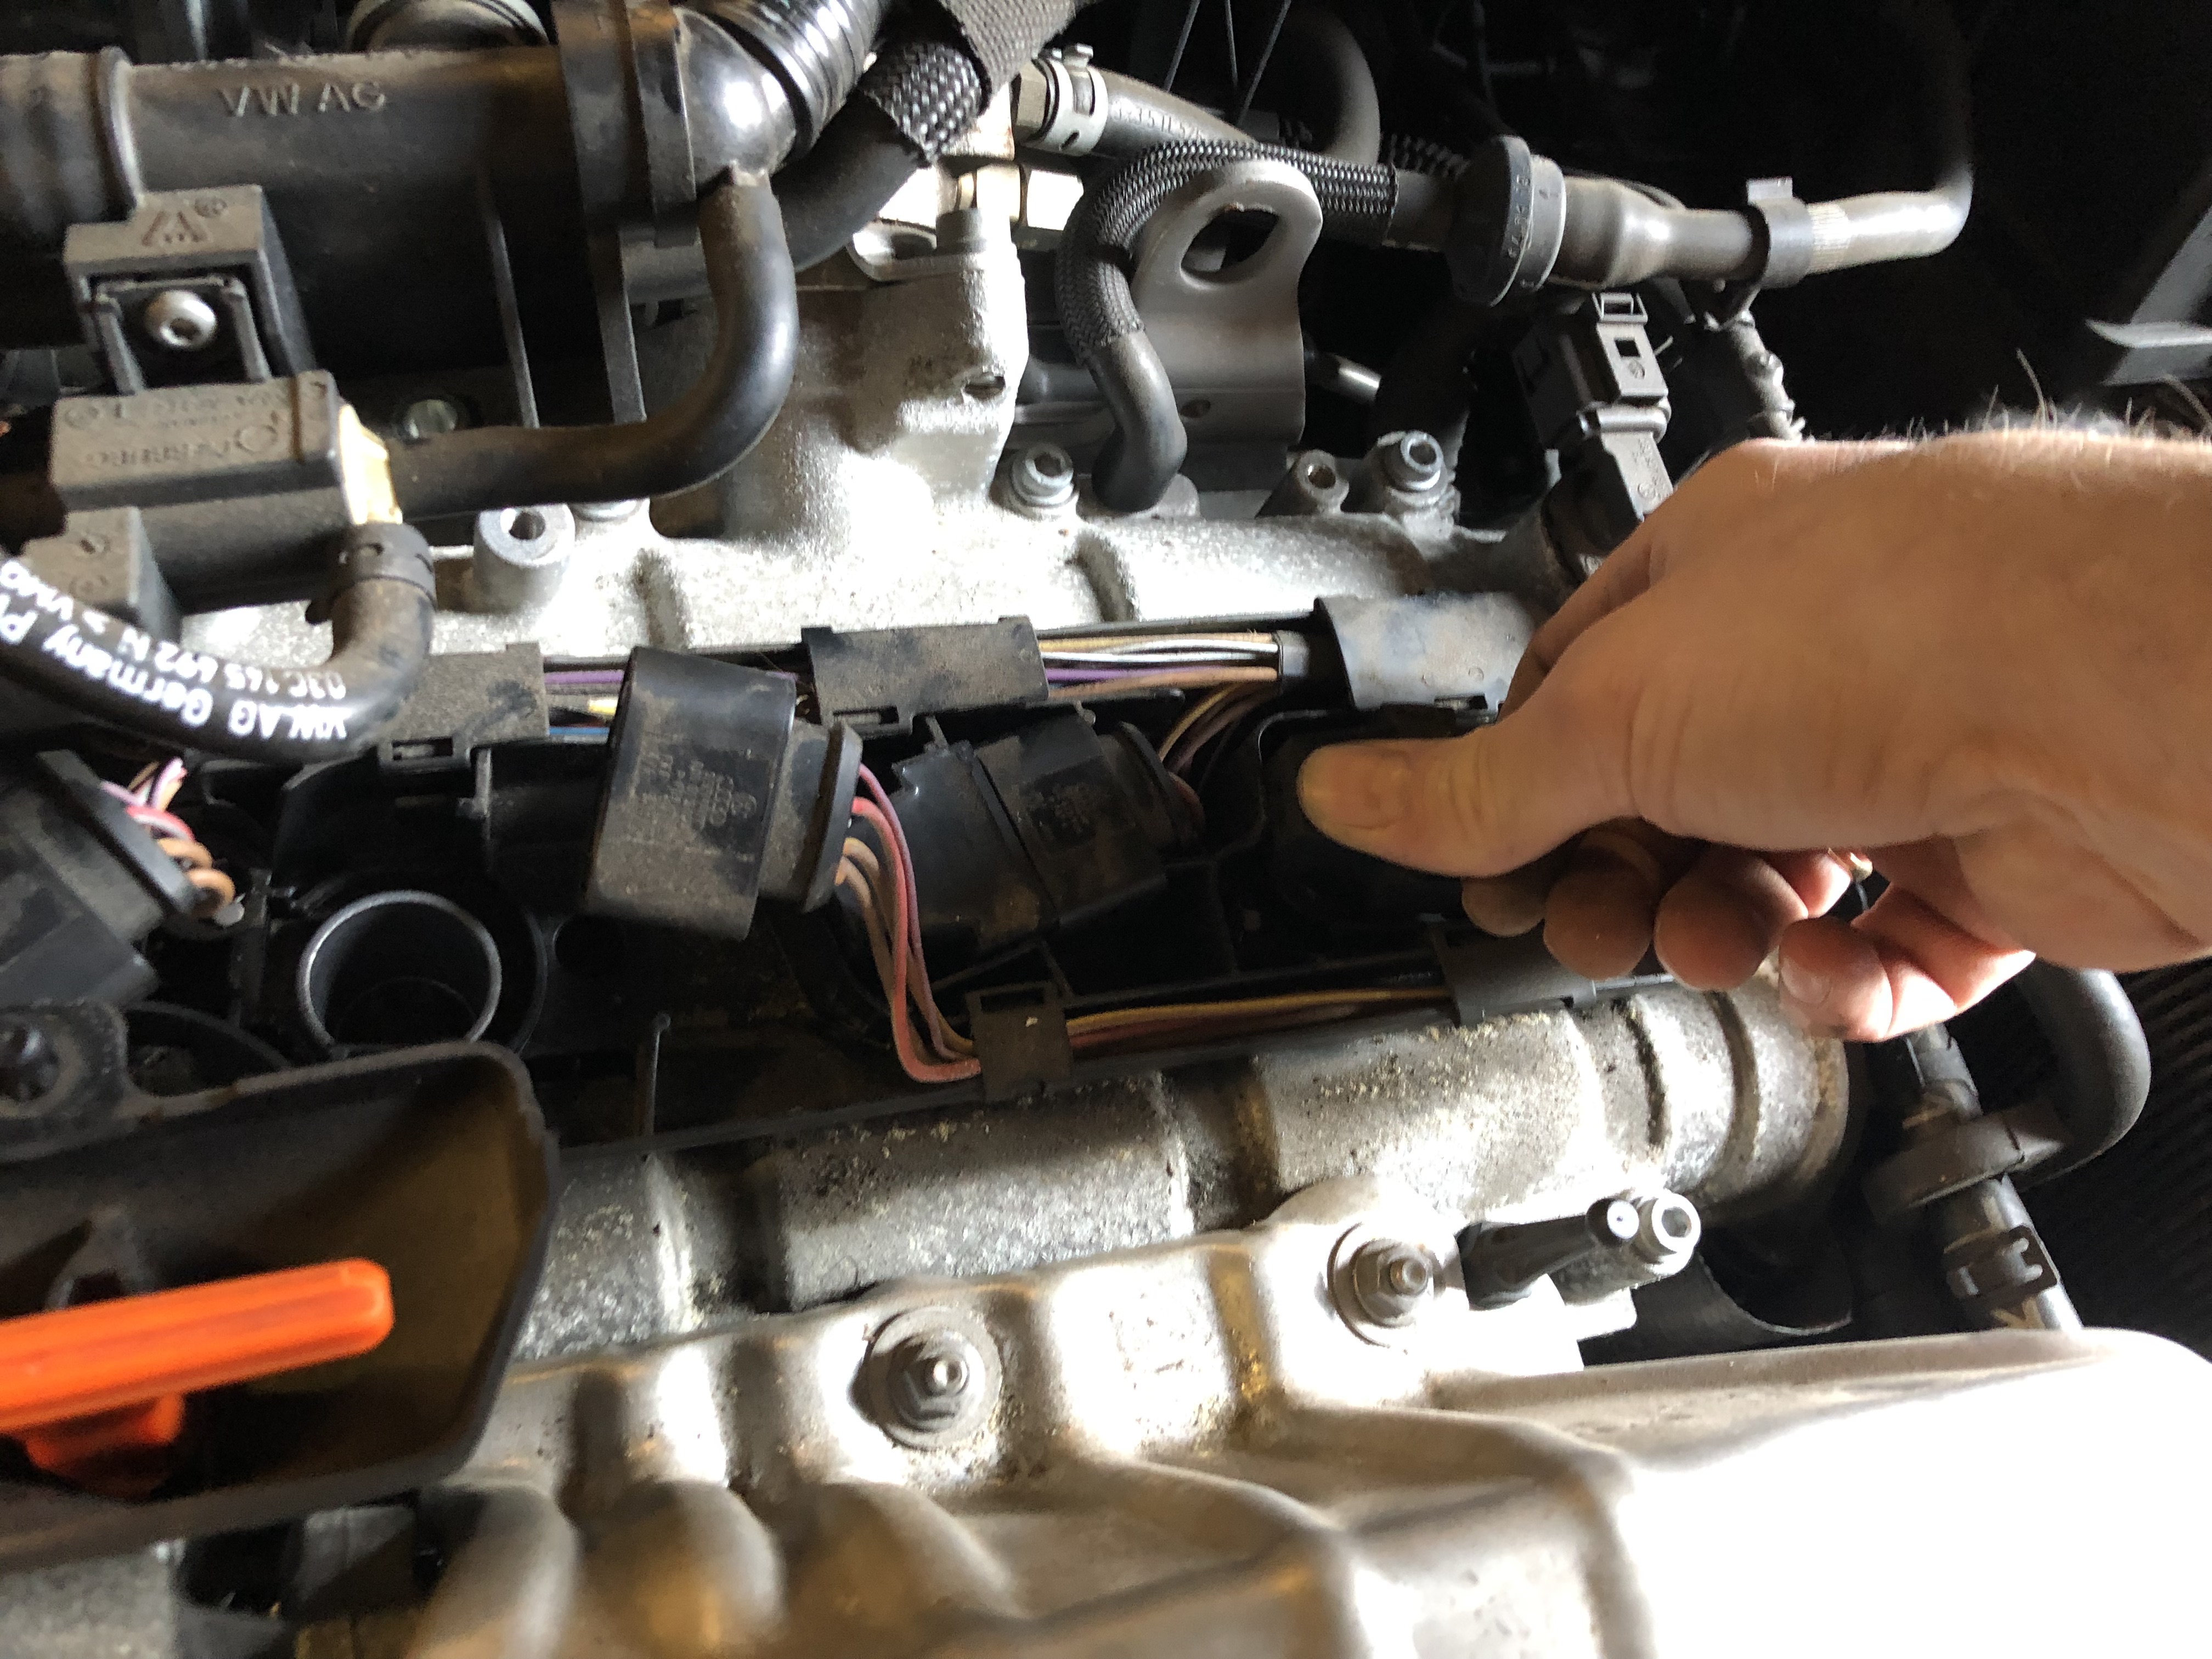
Now we need to disconnect 2 electrical plugs.....these can be difficult, but be careful as the locking tabs can break easily
2 plugs arrowed below....they have the standard VAG tab at the back, what can help is lightly push the plug "on" then
push the tab, pull back to remove....
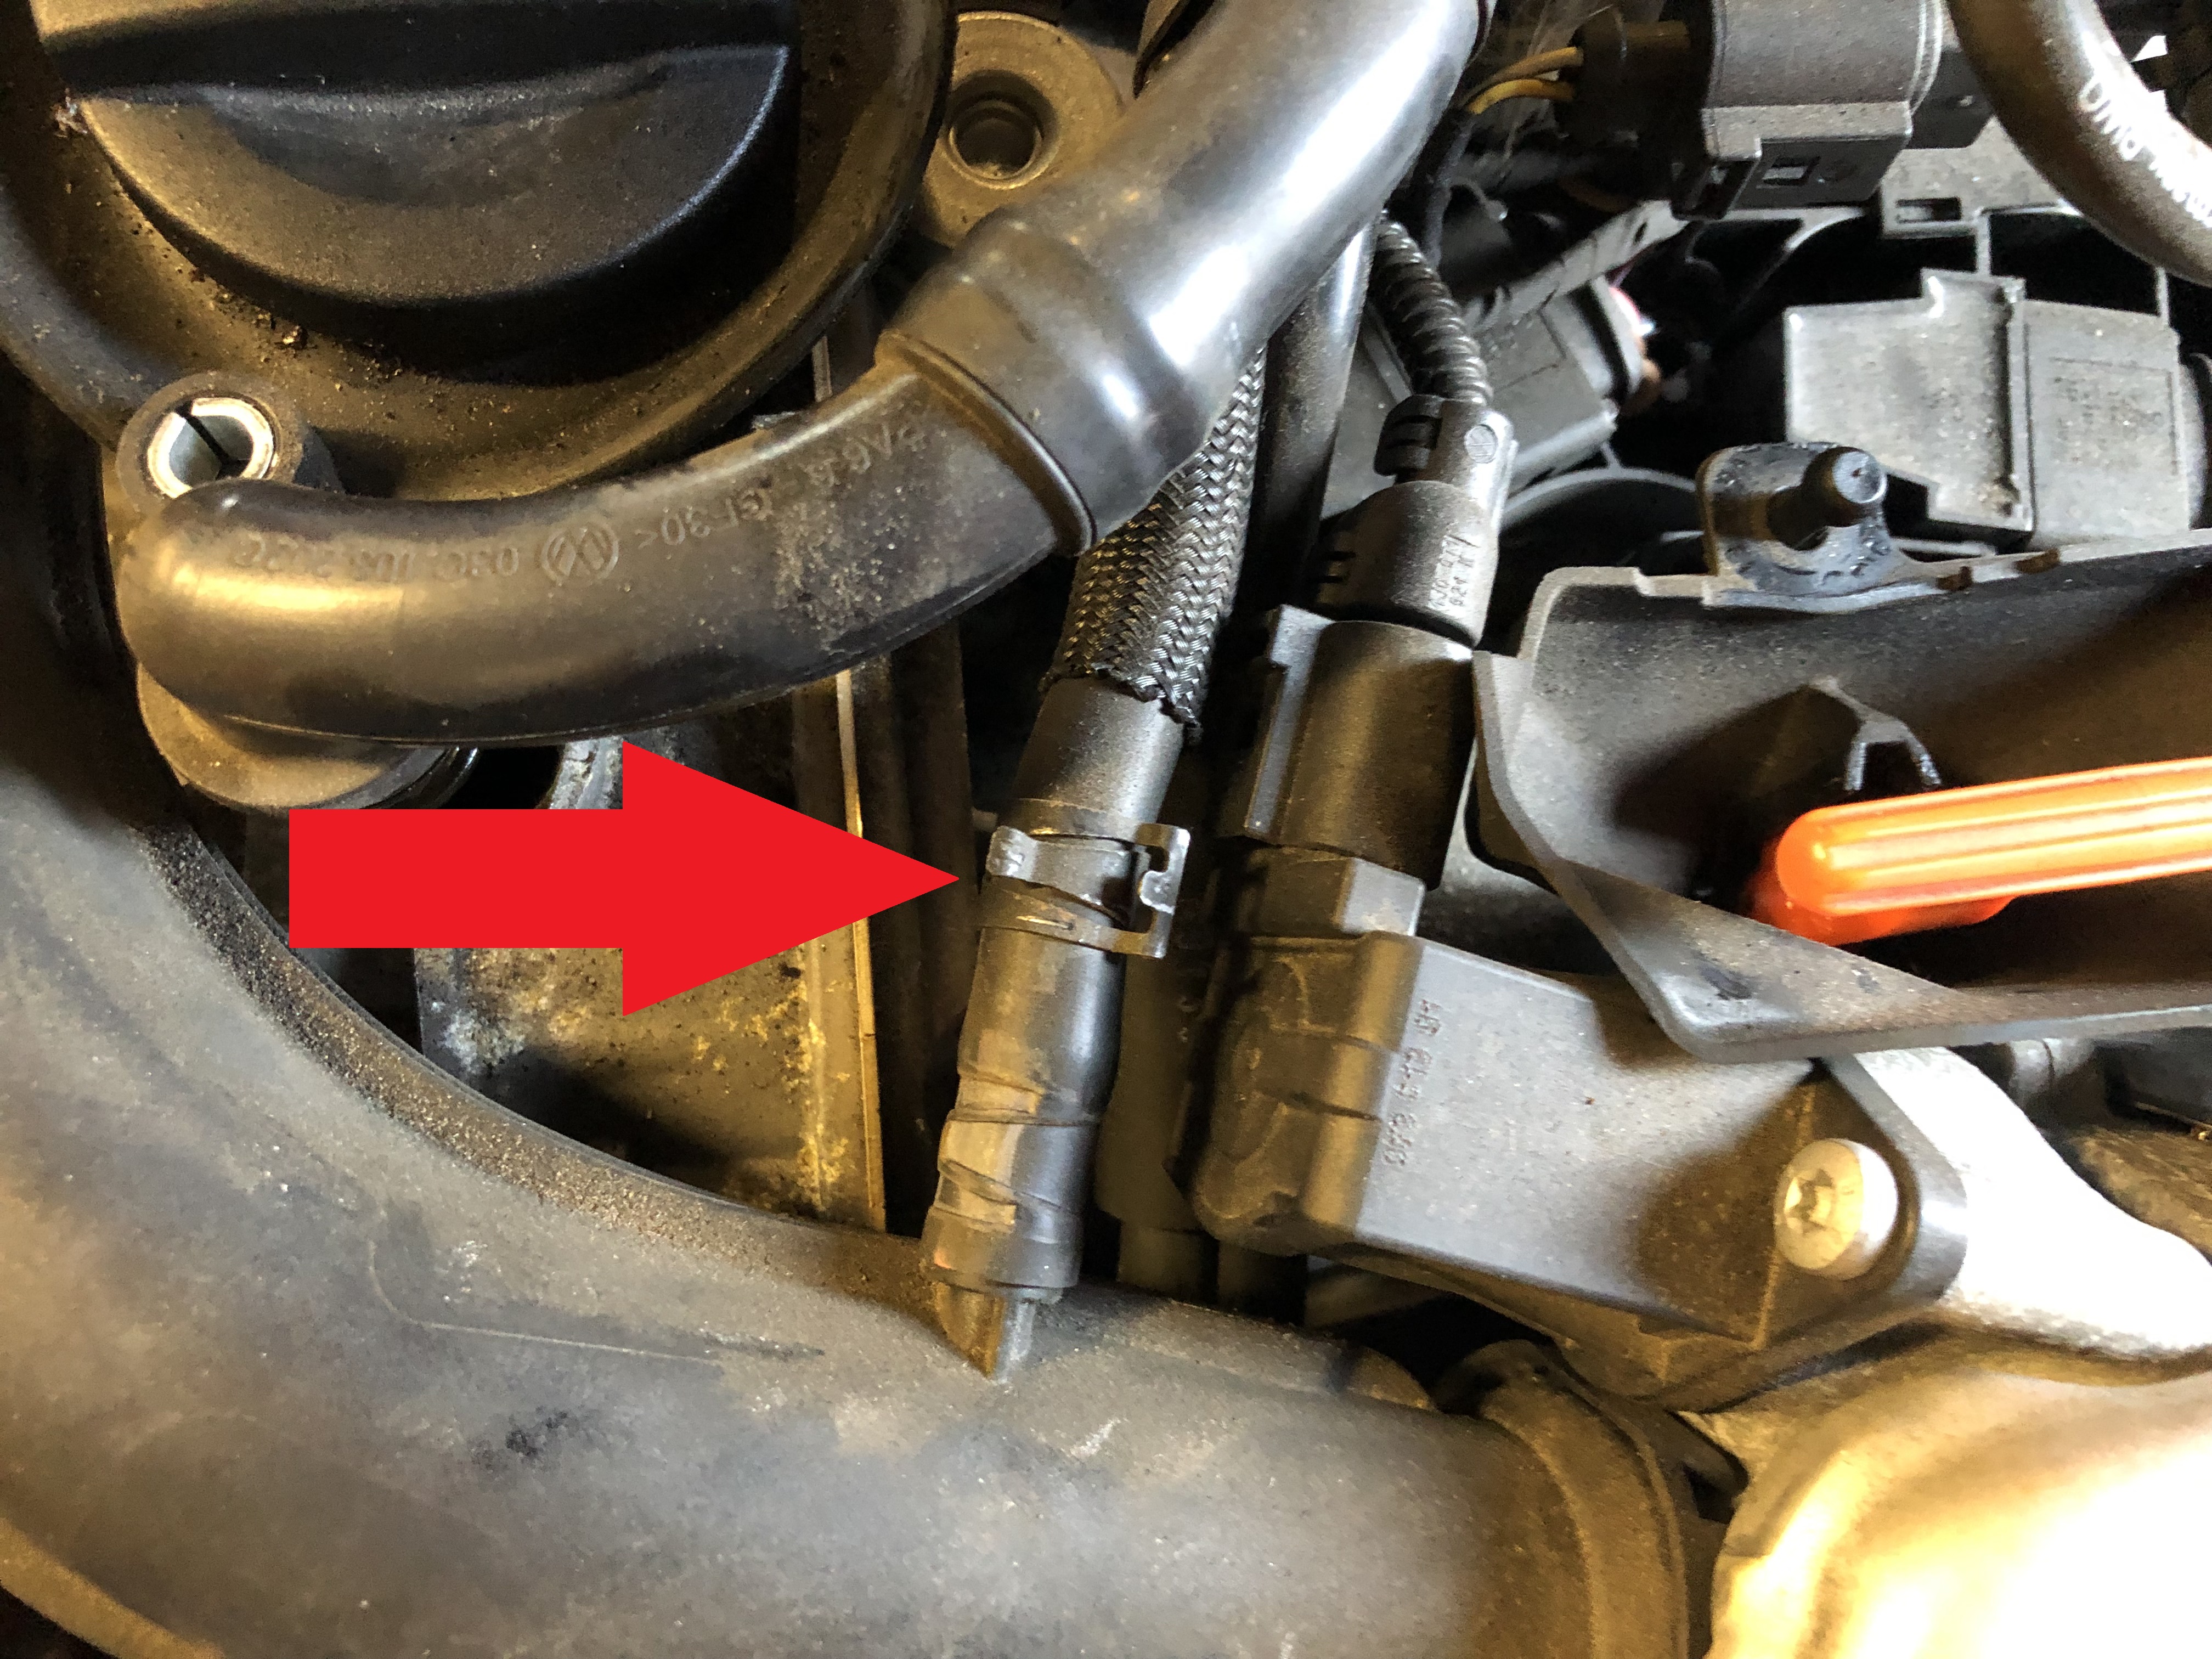
Showing tab on the plug below......(rear plug of the 2 arrowed)

and the other.............
Next is the connection to the intake pipe...this is a quick release connector that you squeeze the ridged
collar either side and wiggle it off....
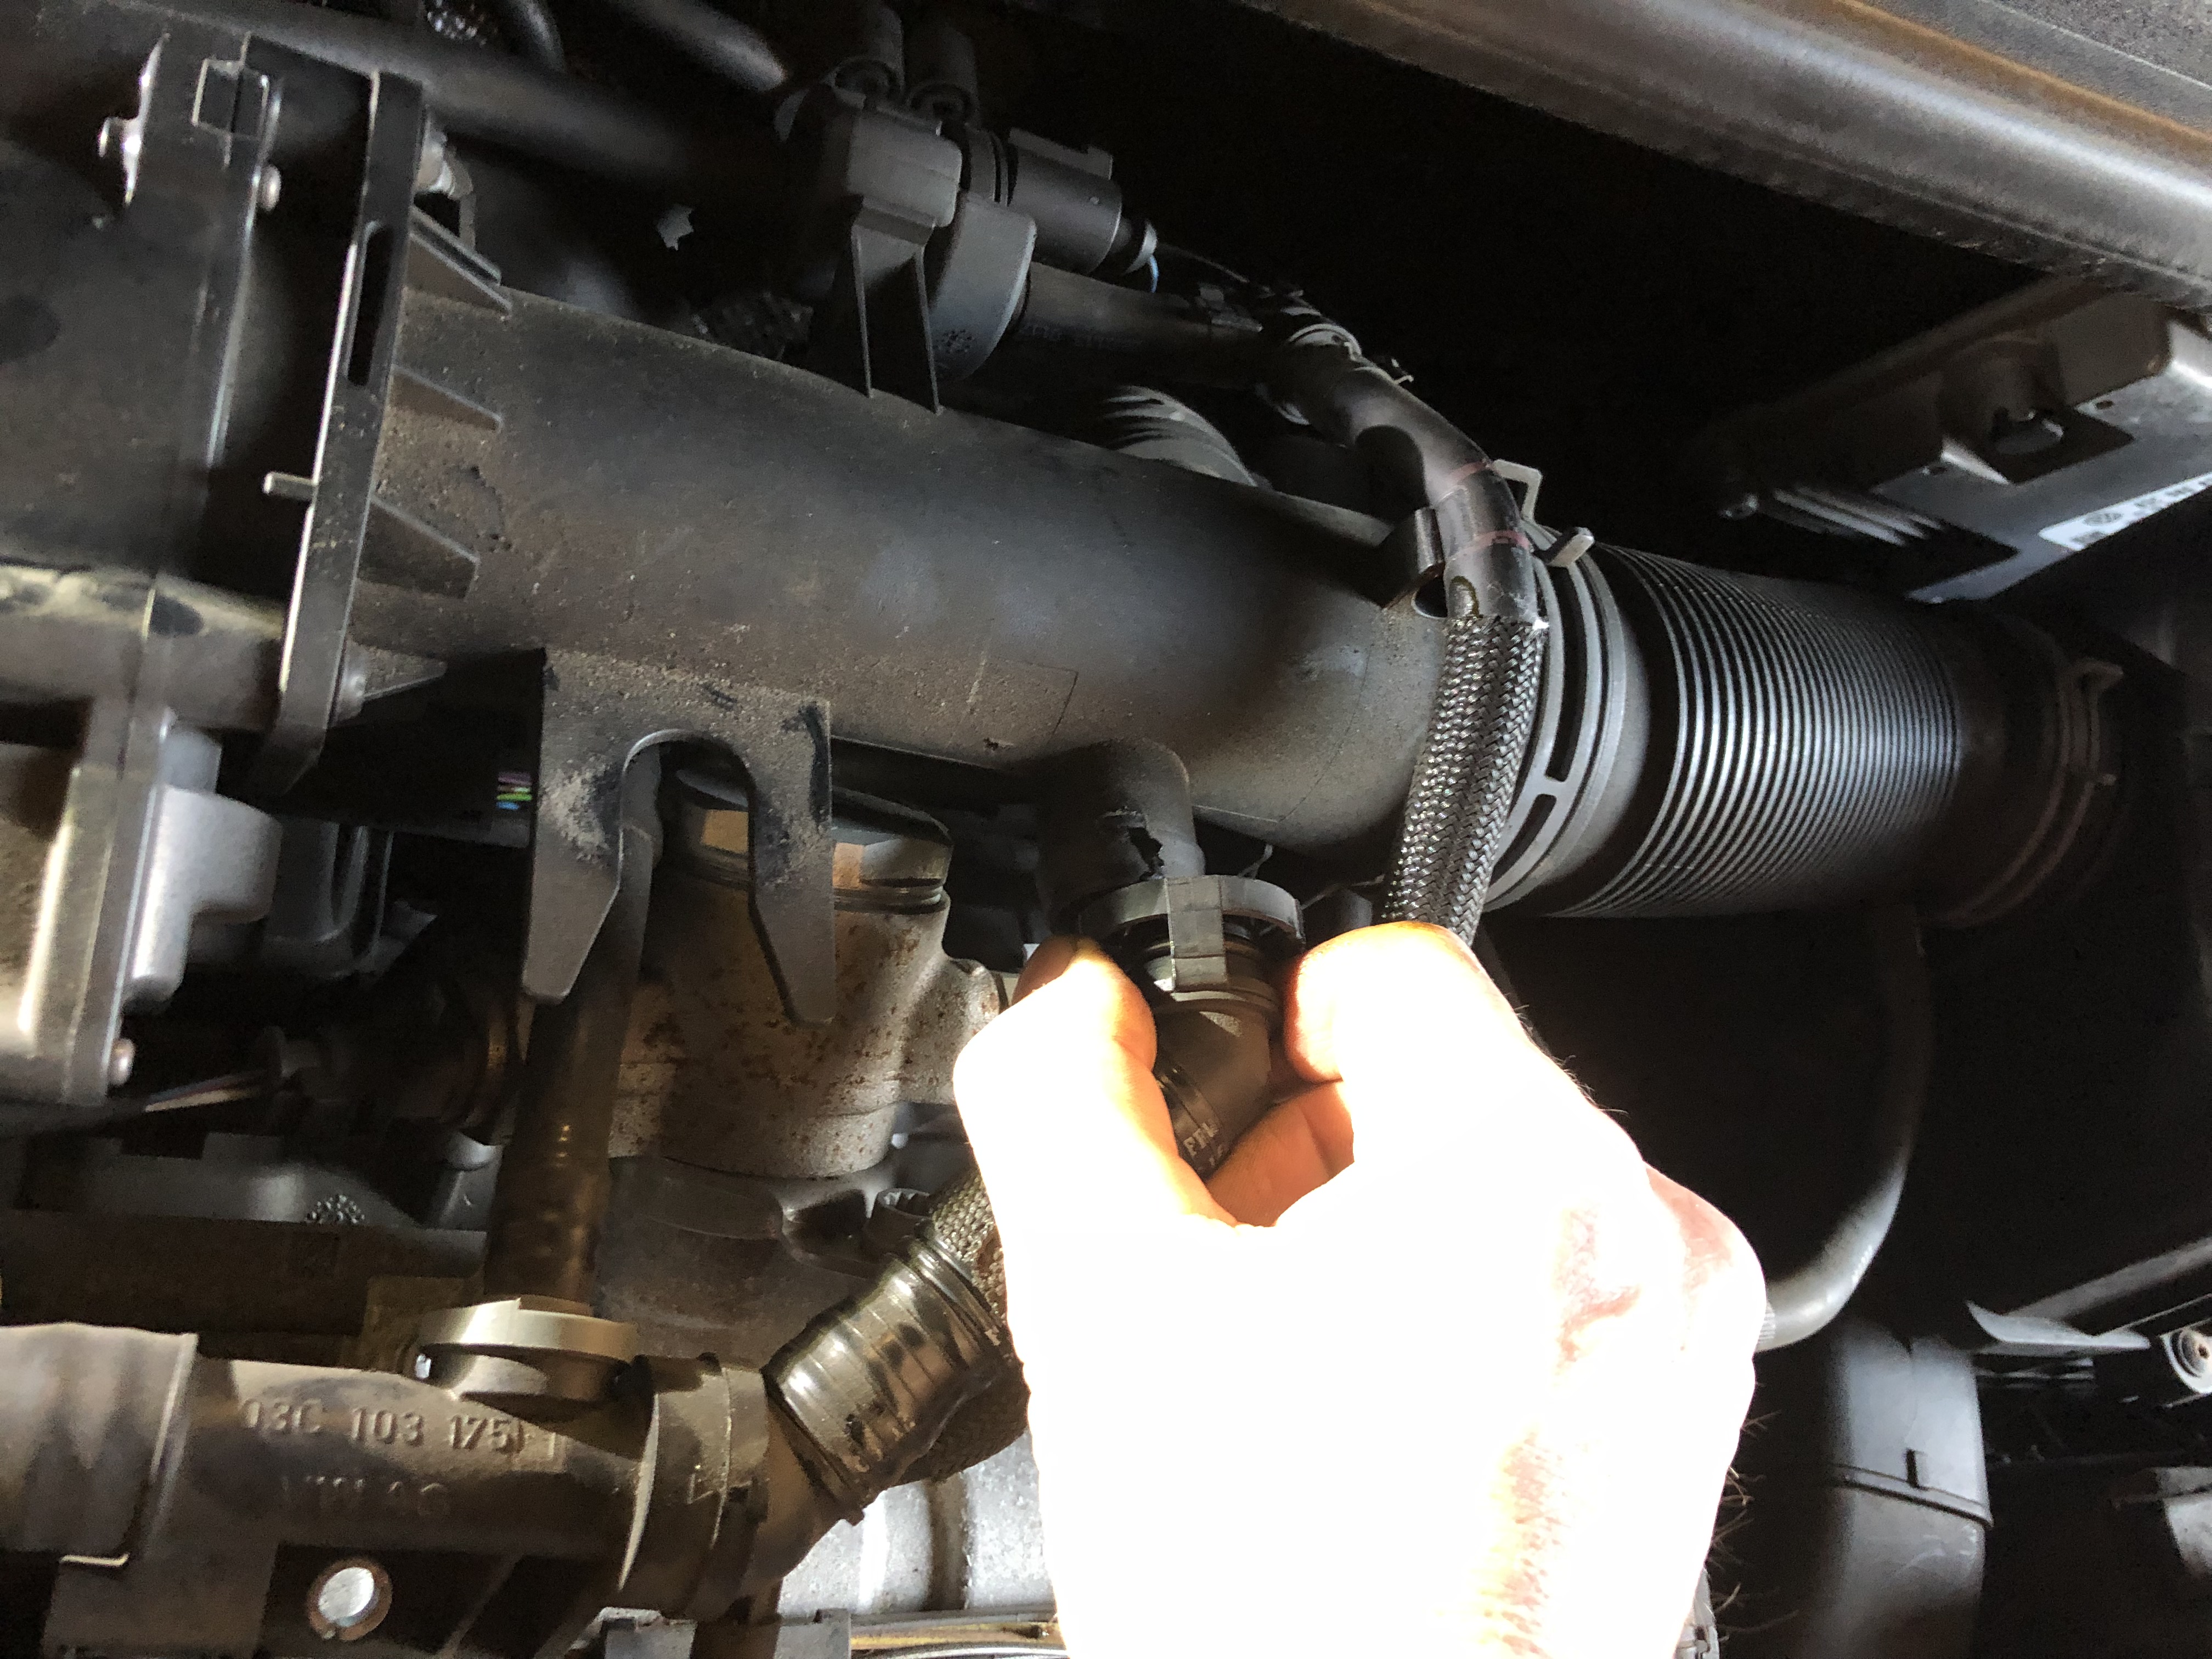
Once that is all done, the whole pipe "assy" will lift enough for access to the coil packs and plugs of
cylinder 1 and 2.....to avoid getting in the way, feed the 2 electrical plugs you just disconnected
under the pipe assy out the way......
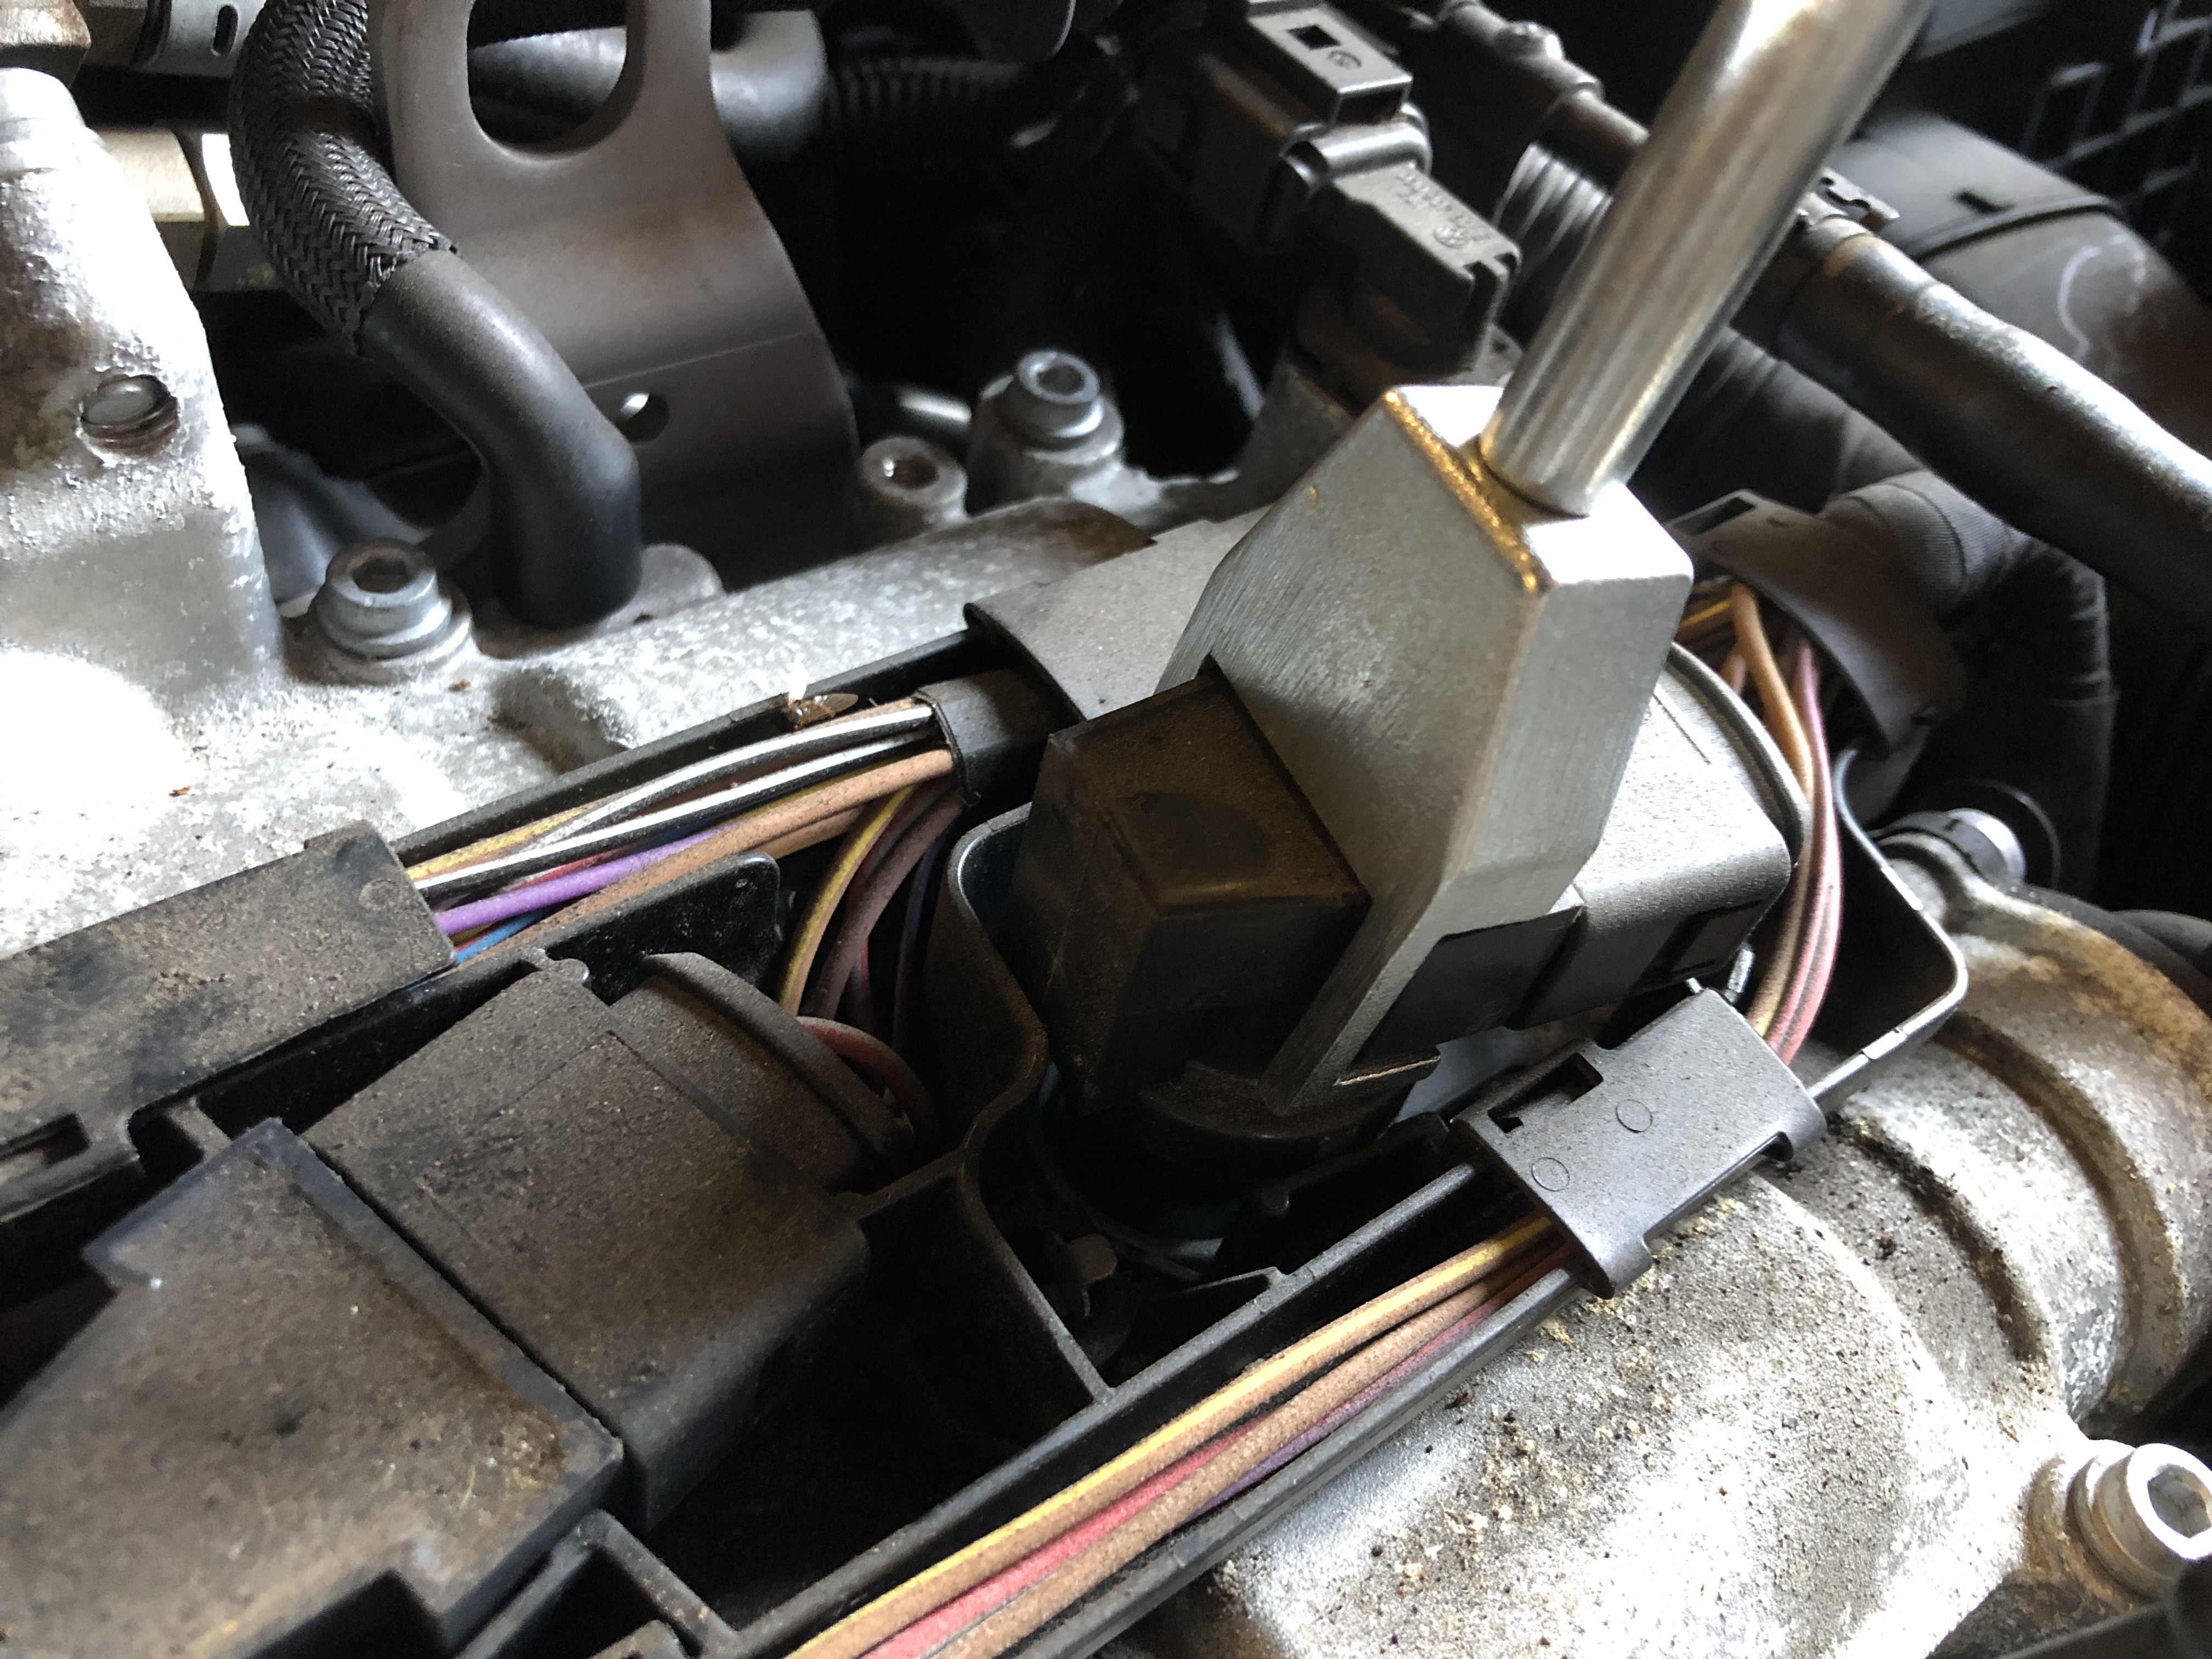
Now we are ready for the coil packs. As with anything on a car there is a proper tool for the job. I'm a firm believer in purchasing the proper tools.
There is other ways to do it, but I will show with the tool and if you decide to use something else, then be wary of causing damage to the coil packs..
This below is what you need, this set does a few VAG vehicles but we only need the one on the far left..
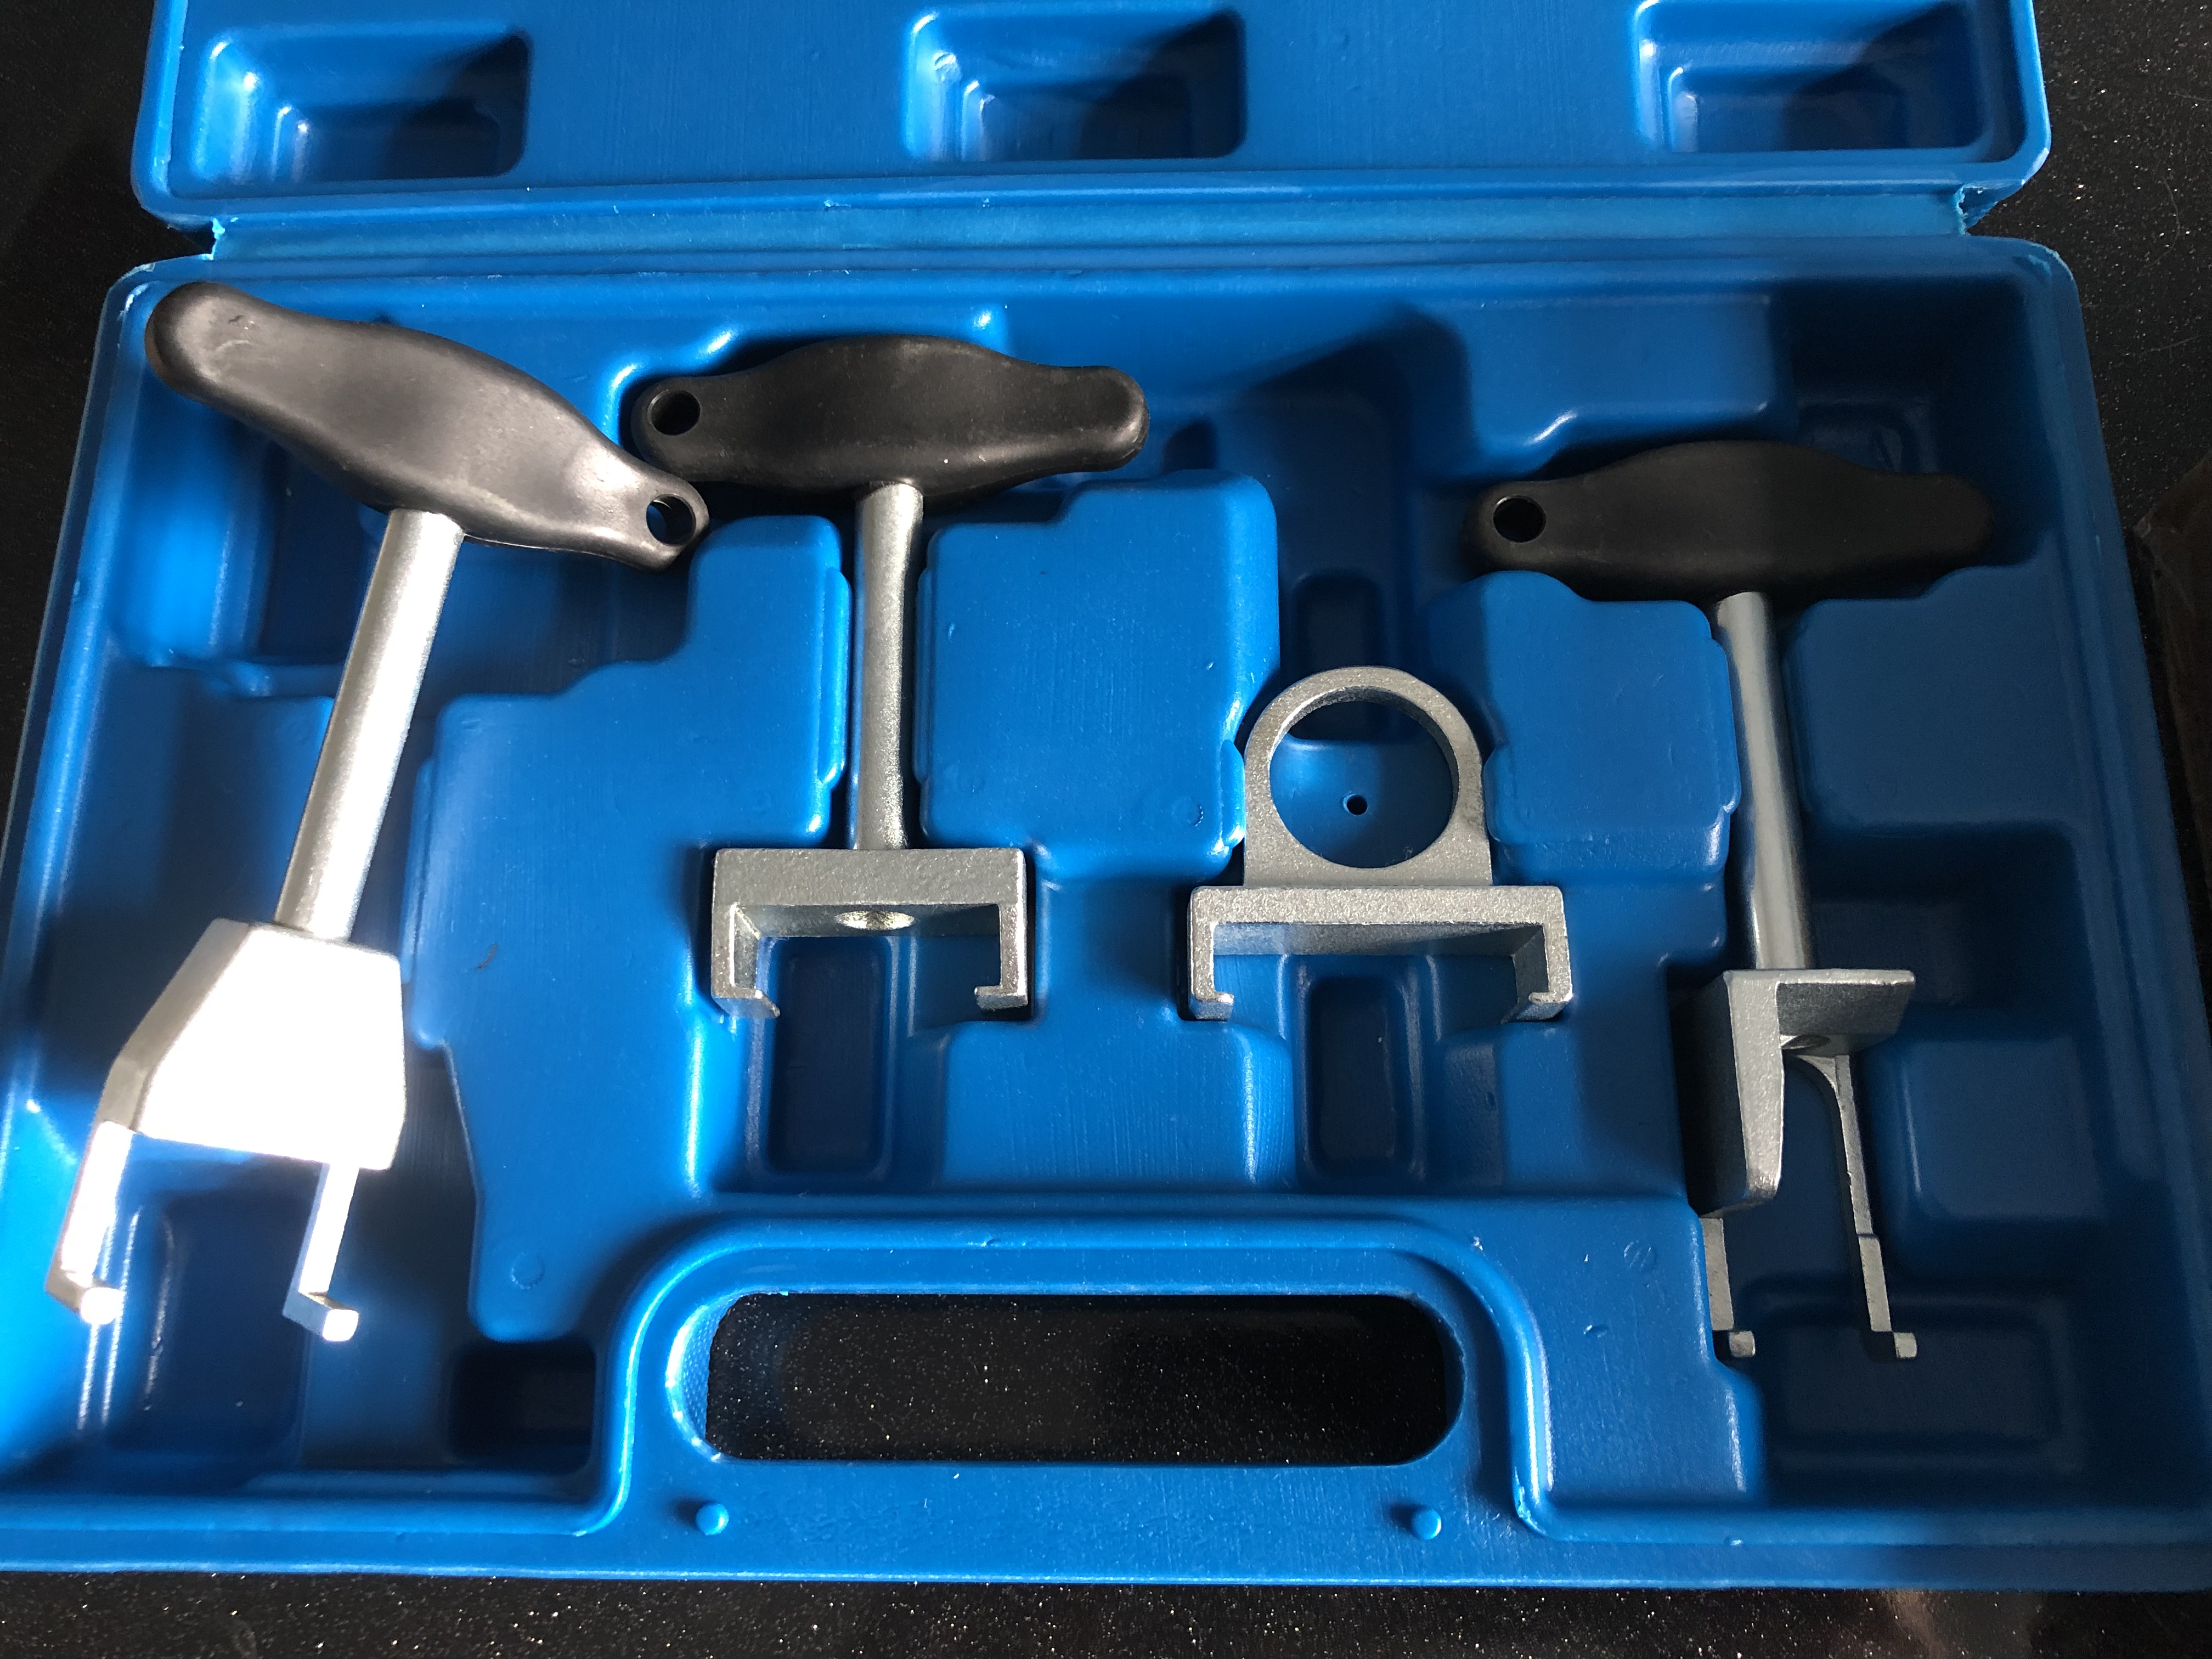
It simply slides under the coil pack and enables you to pull it up and out.....
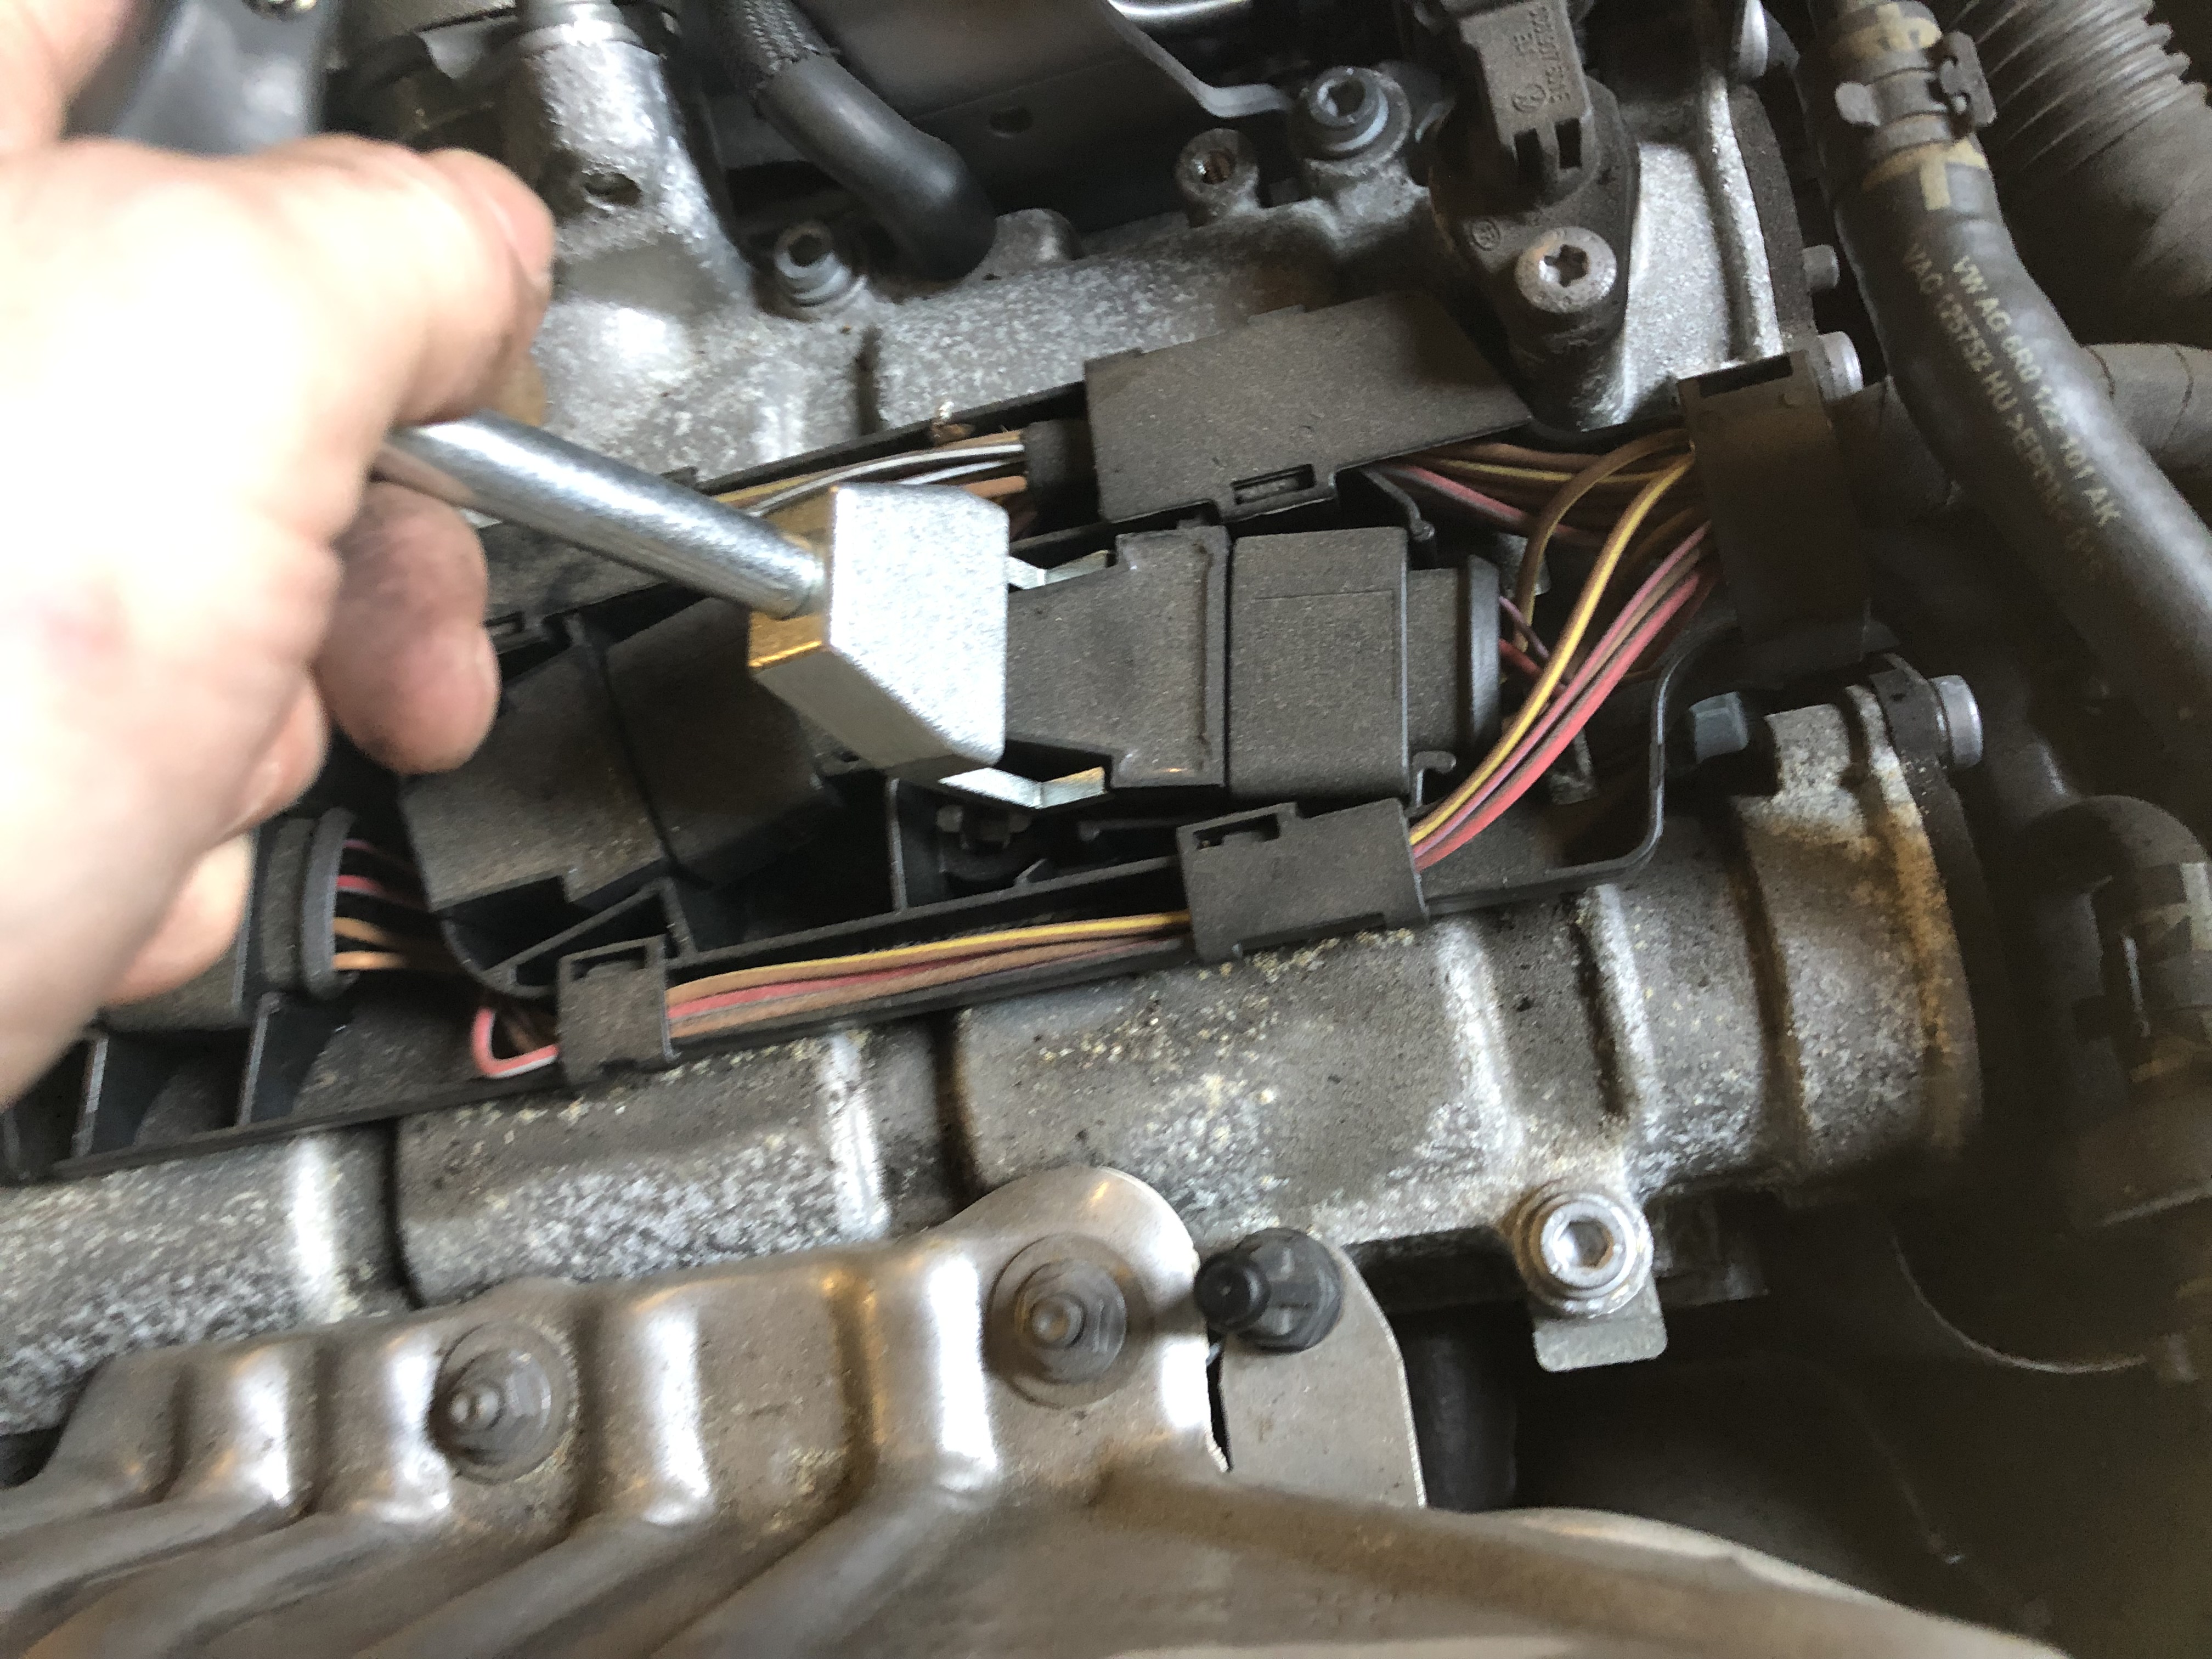
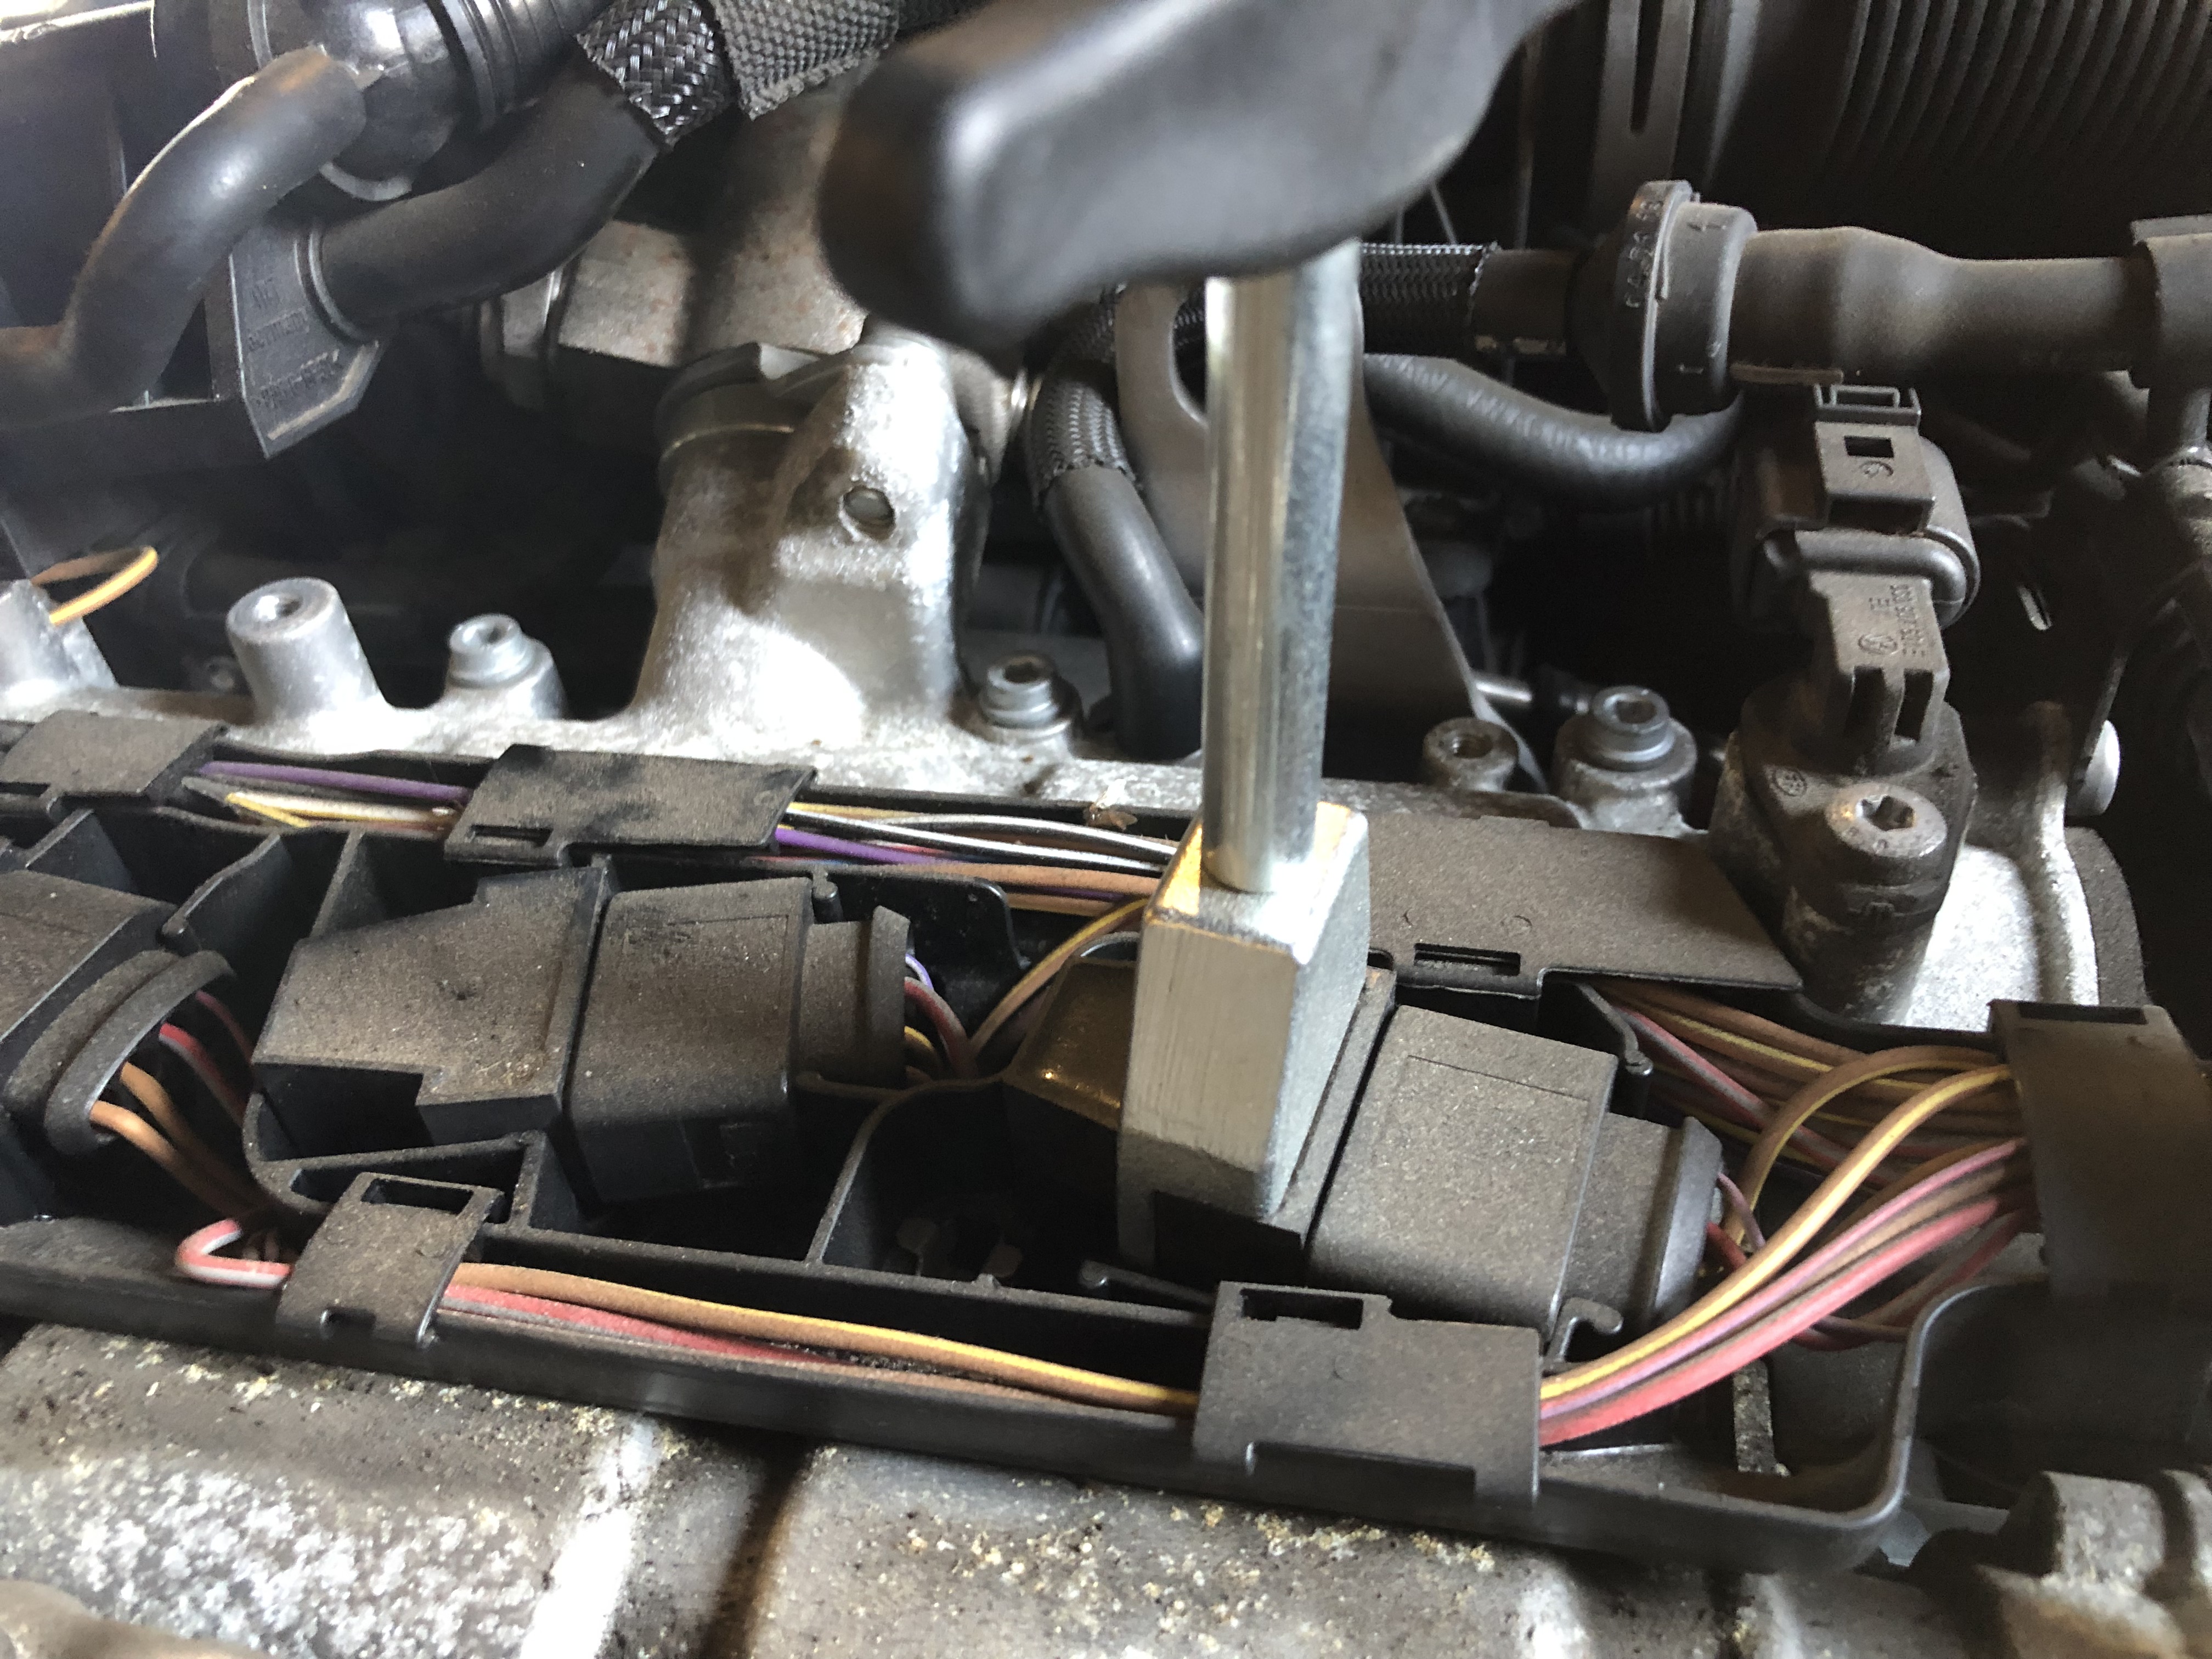
Now you just pull "up", you can wiggle a little...I must stress mine needed a good tug, so without the tool I'm not sure if
I would have got them out so easy...
Once the coil pack "releases" you will feel it go...disconnect the electrical plug. Again be careful don't use
tools to do it, and as before push the plug "ON" , push the locking tab IN and then pull it off...
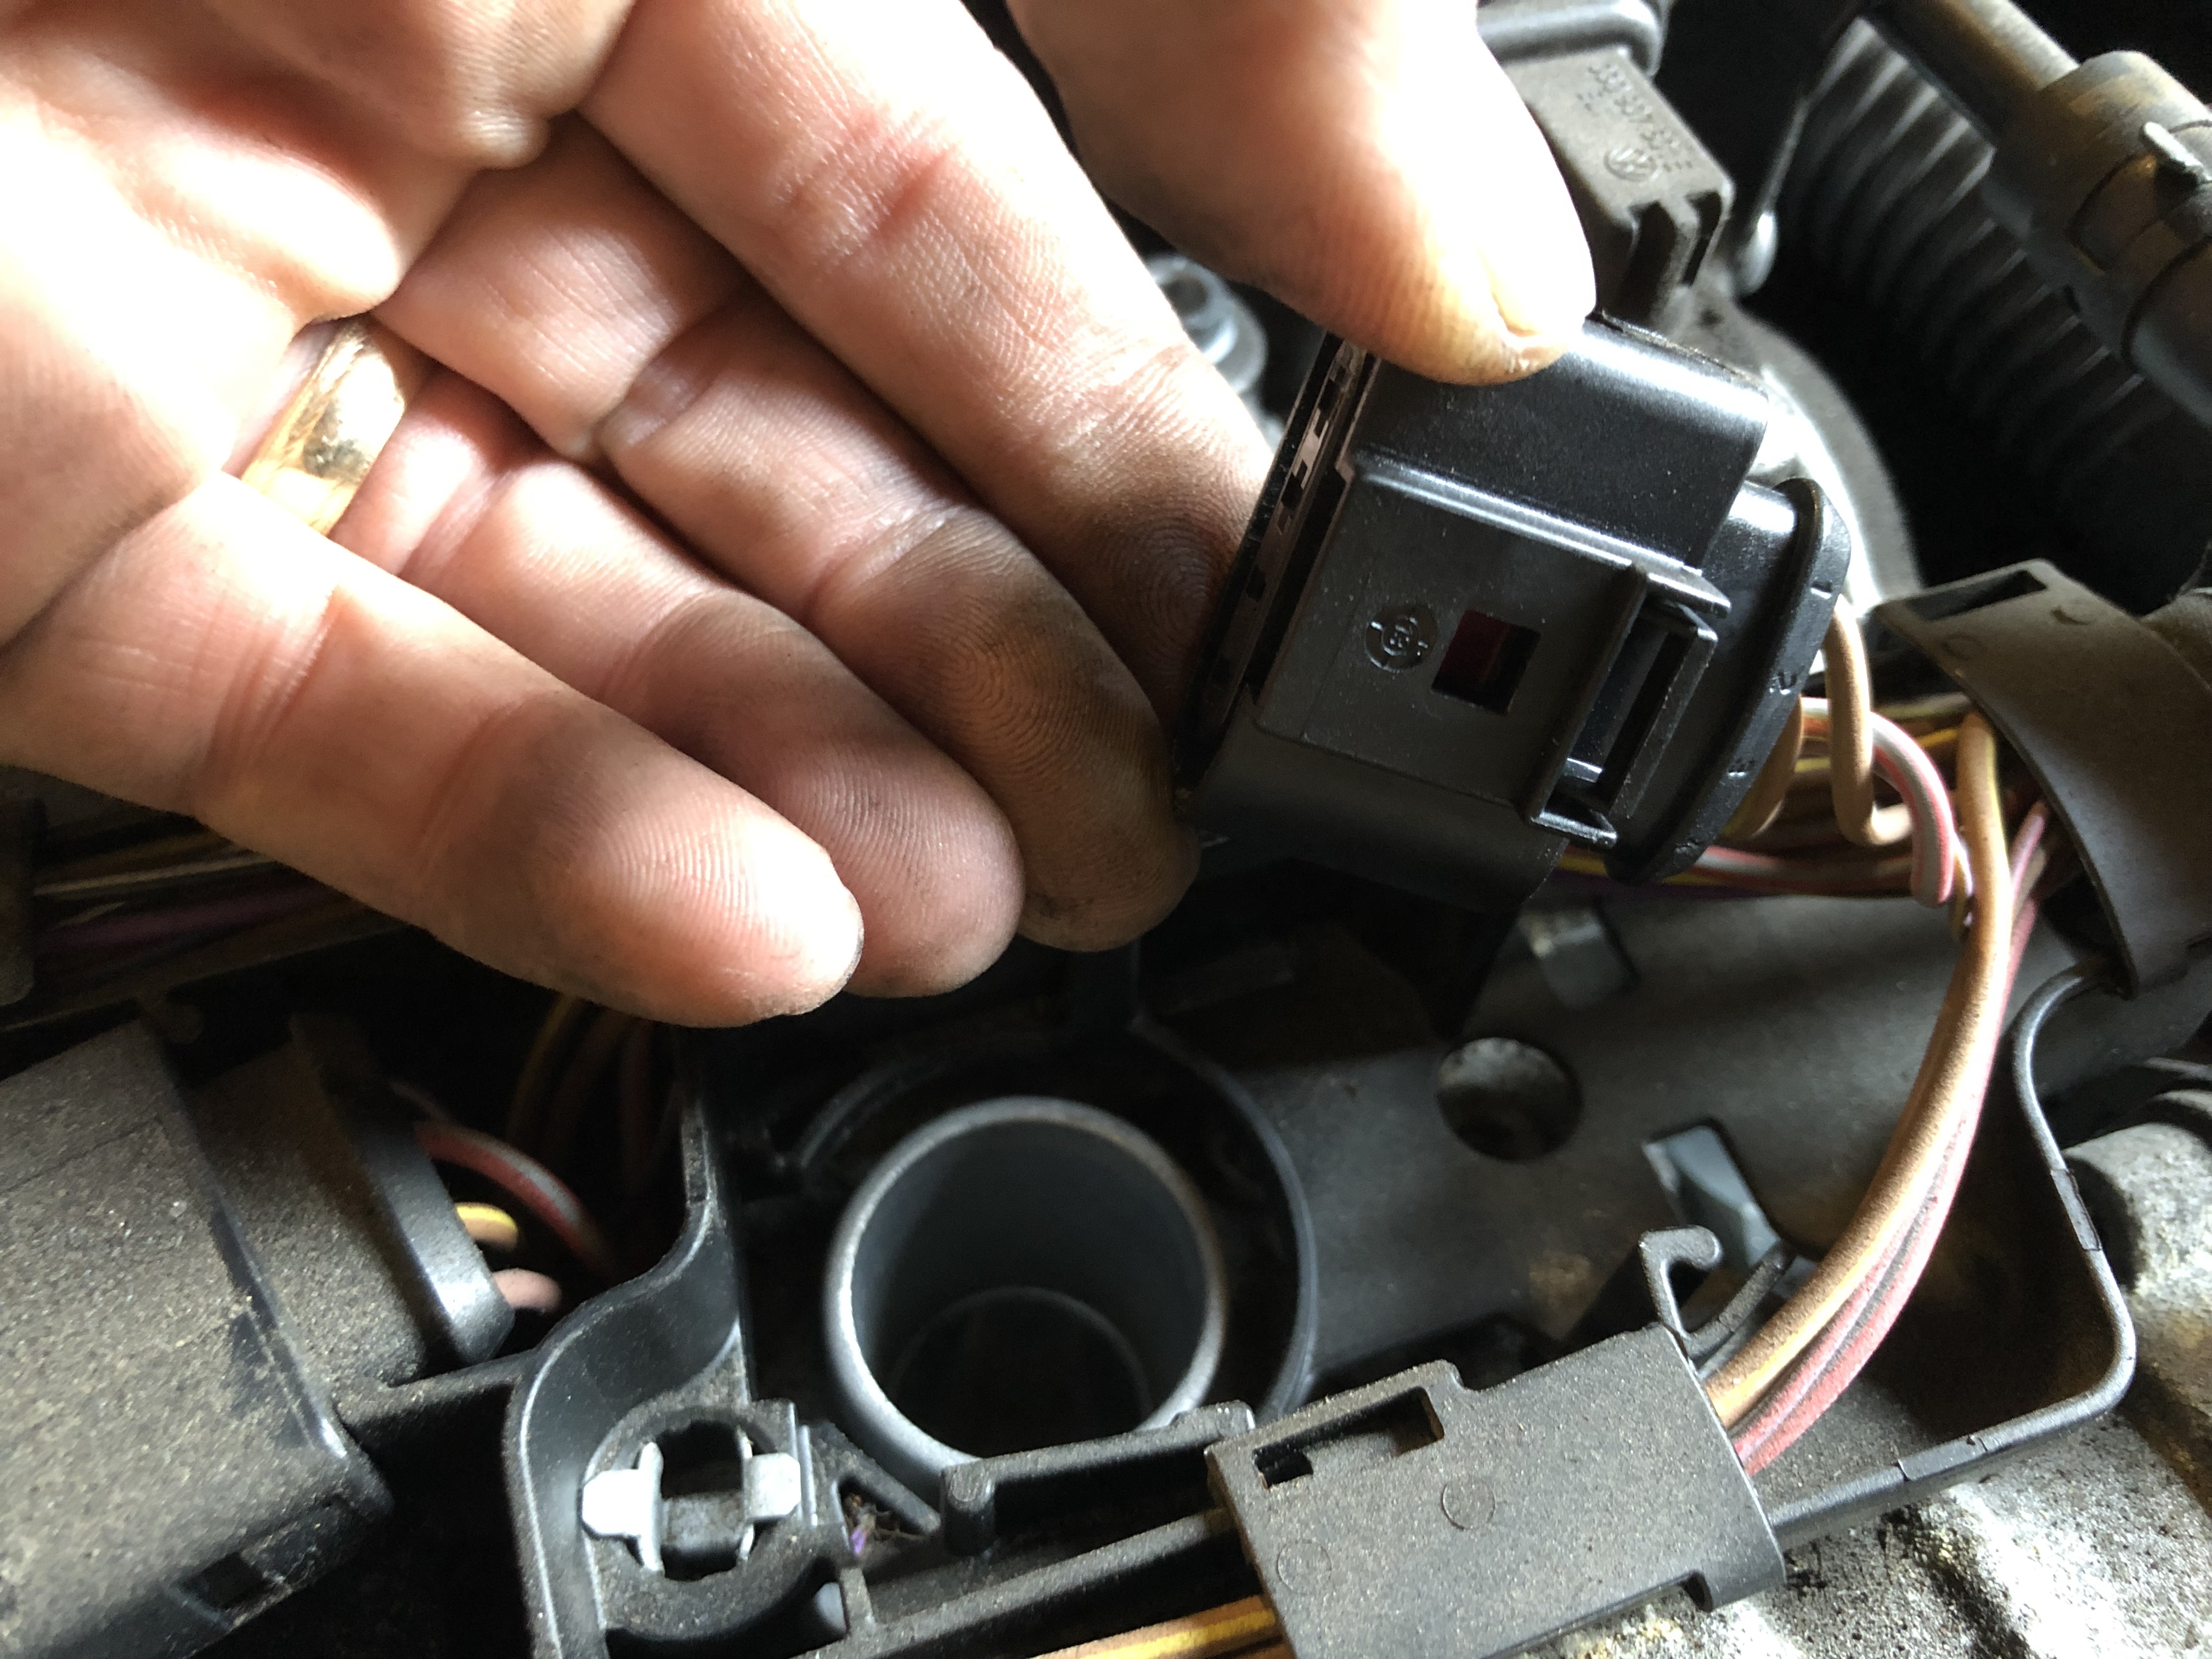
View of plug showing locking tab.....(coil pack removed). Always refit the coil packs back into the same cylinders
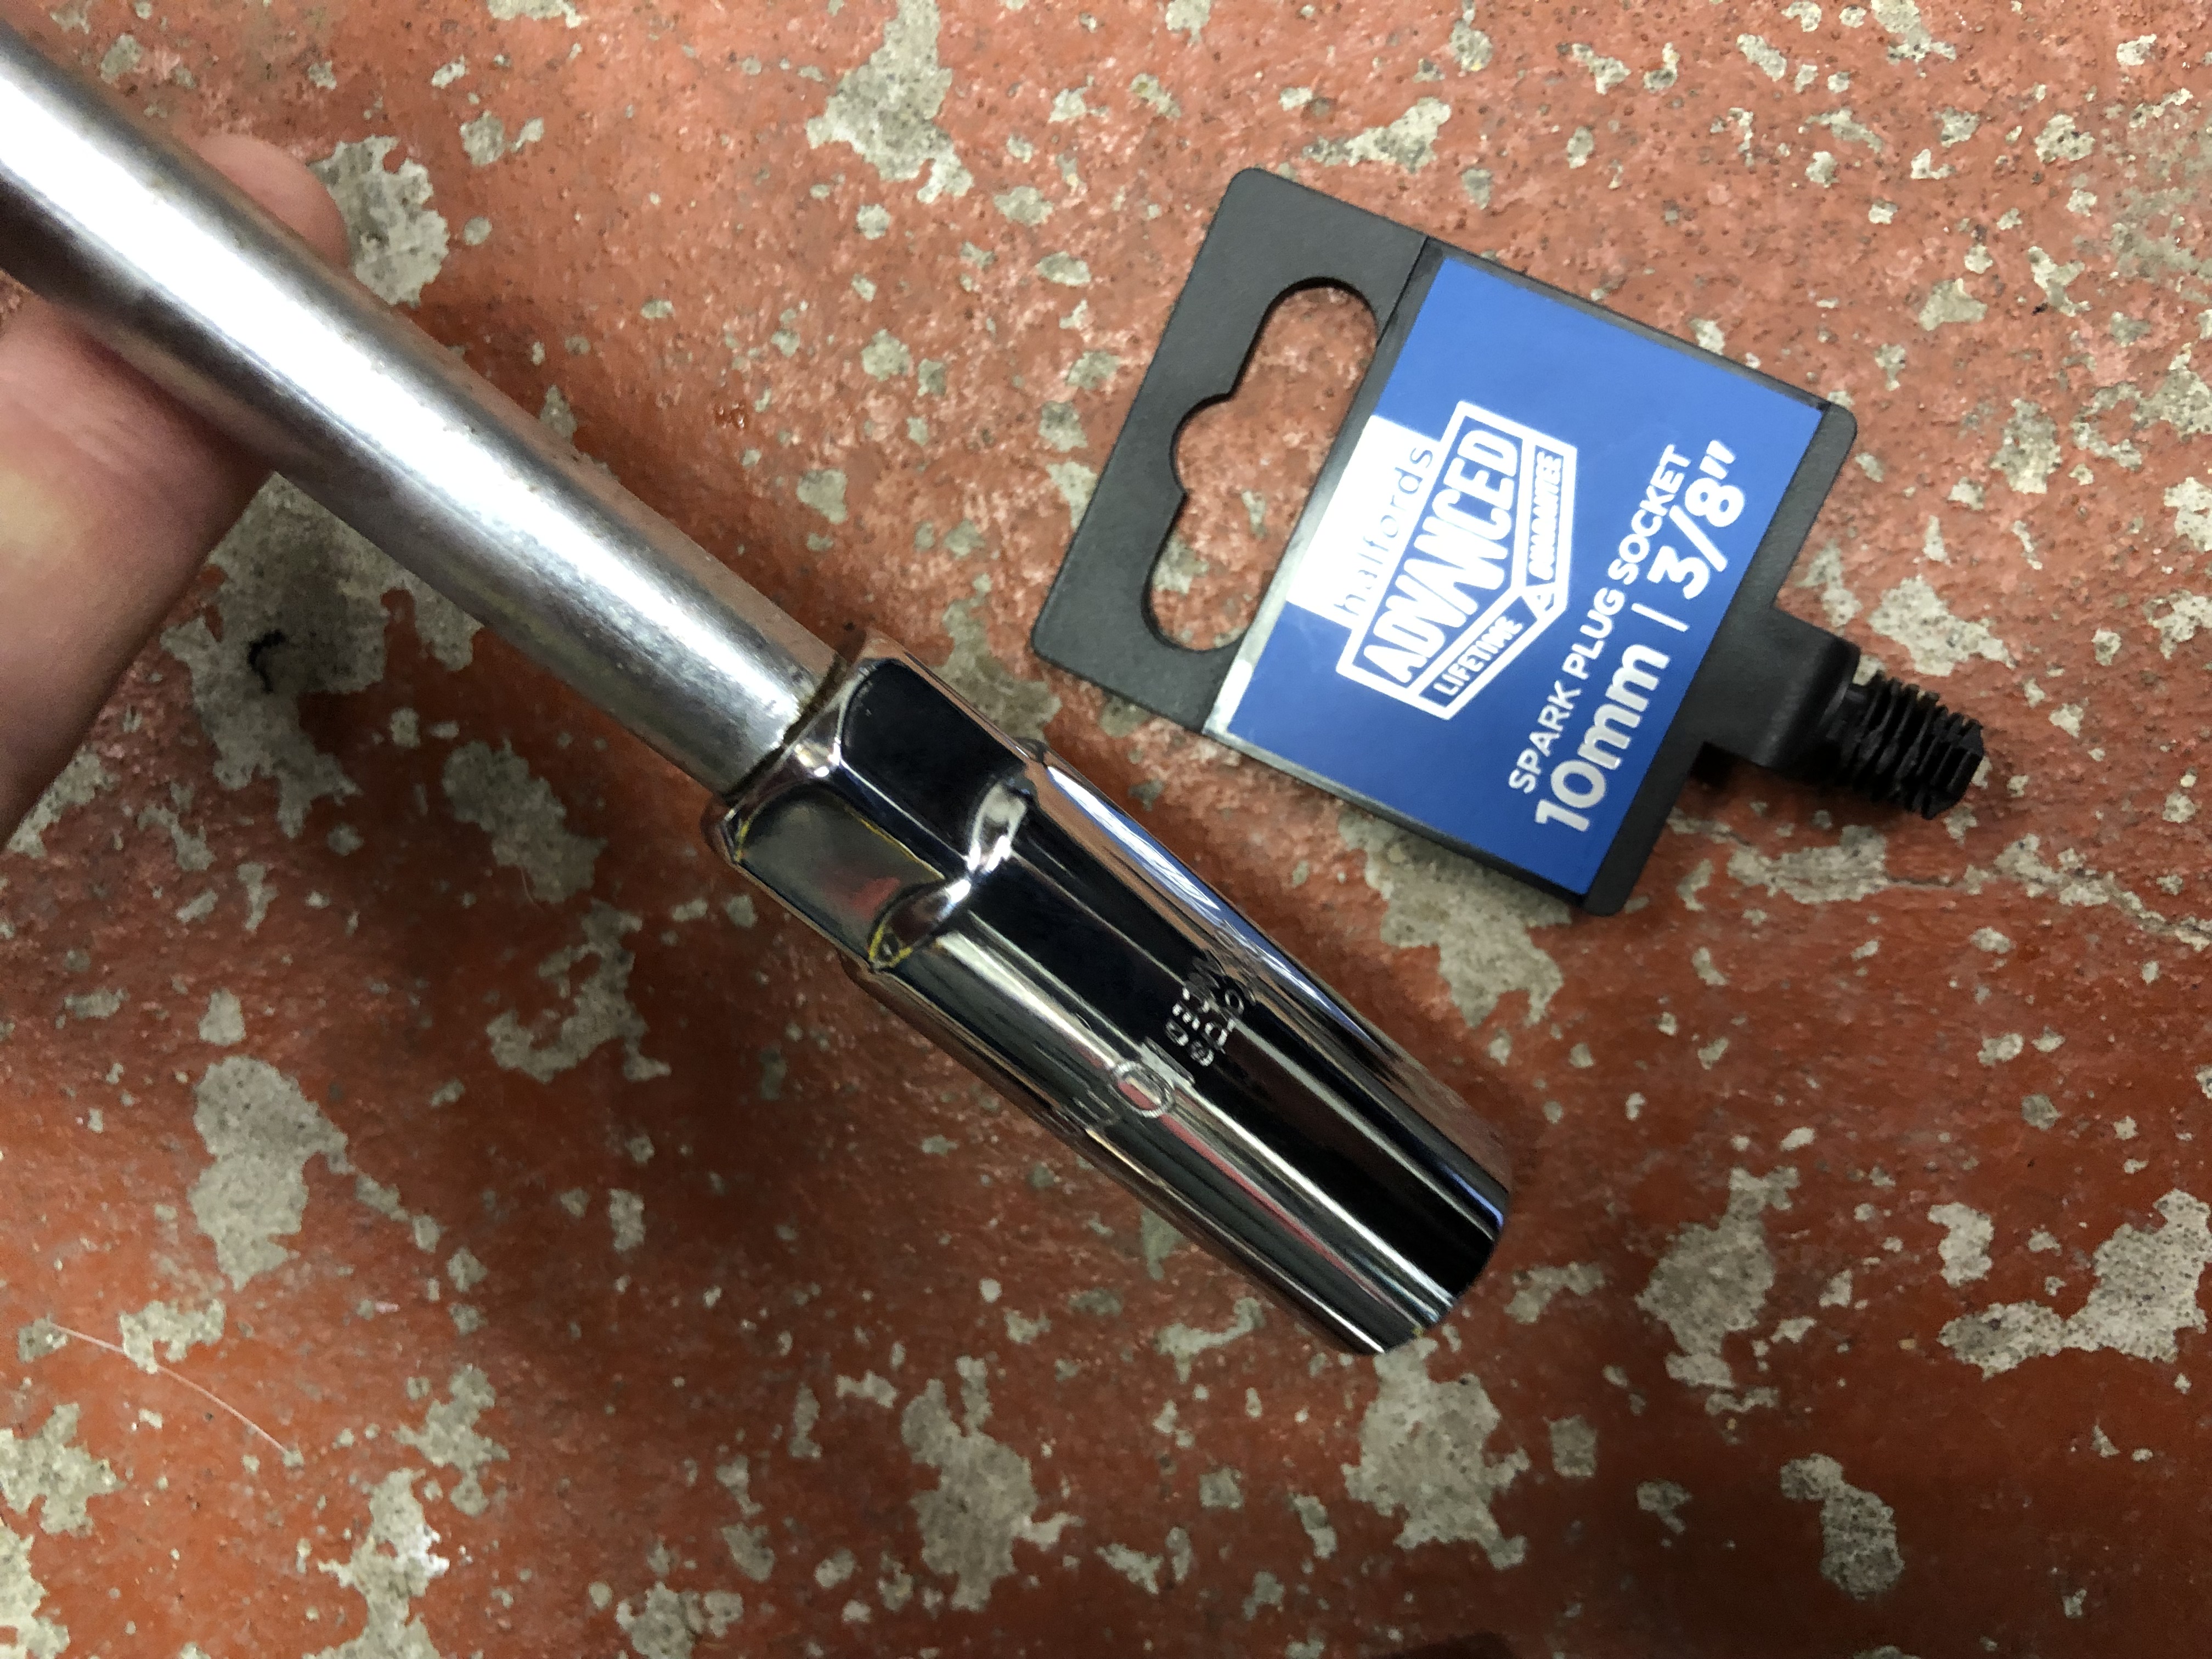
Now we can get to the spark plugs themselves..You will need a 10mm Spark plug socket, now I have an extensive tool
kit purchased over the years and after driving diesels for many years (including MK1 vRS) when it came to using my plug socket,
the rubber insert designed to hold the plug was pretty much non-exsitent, so I popped to Halfords to get a new one....
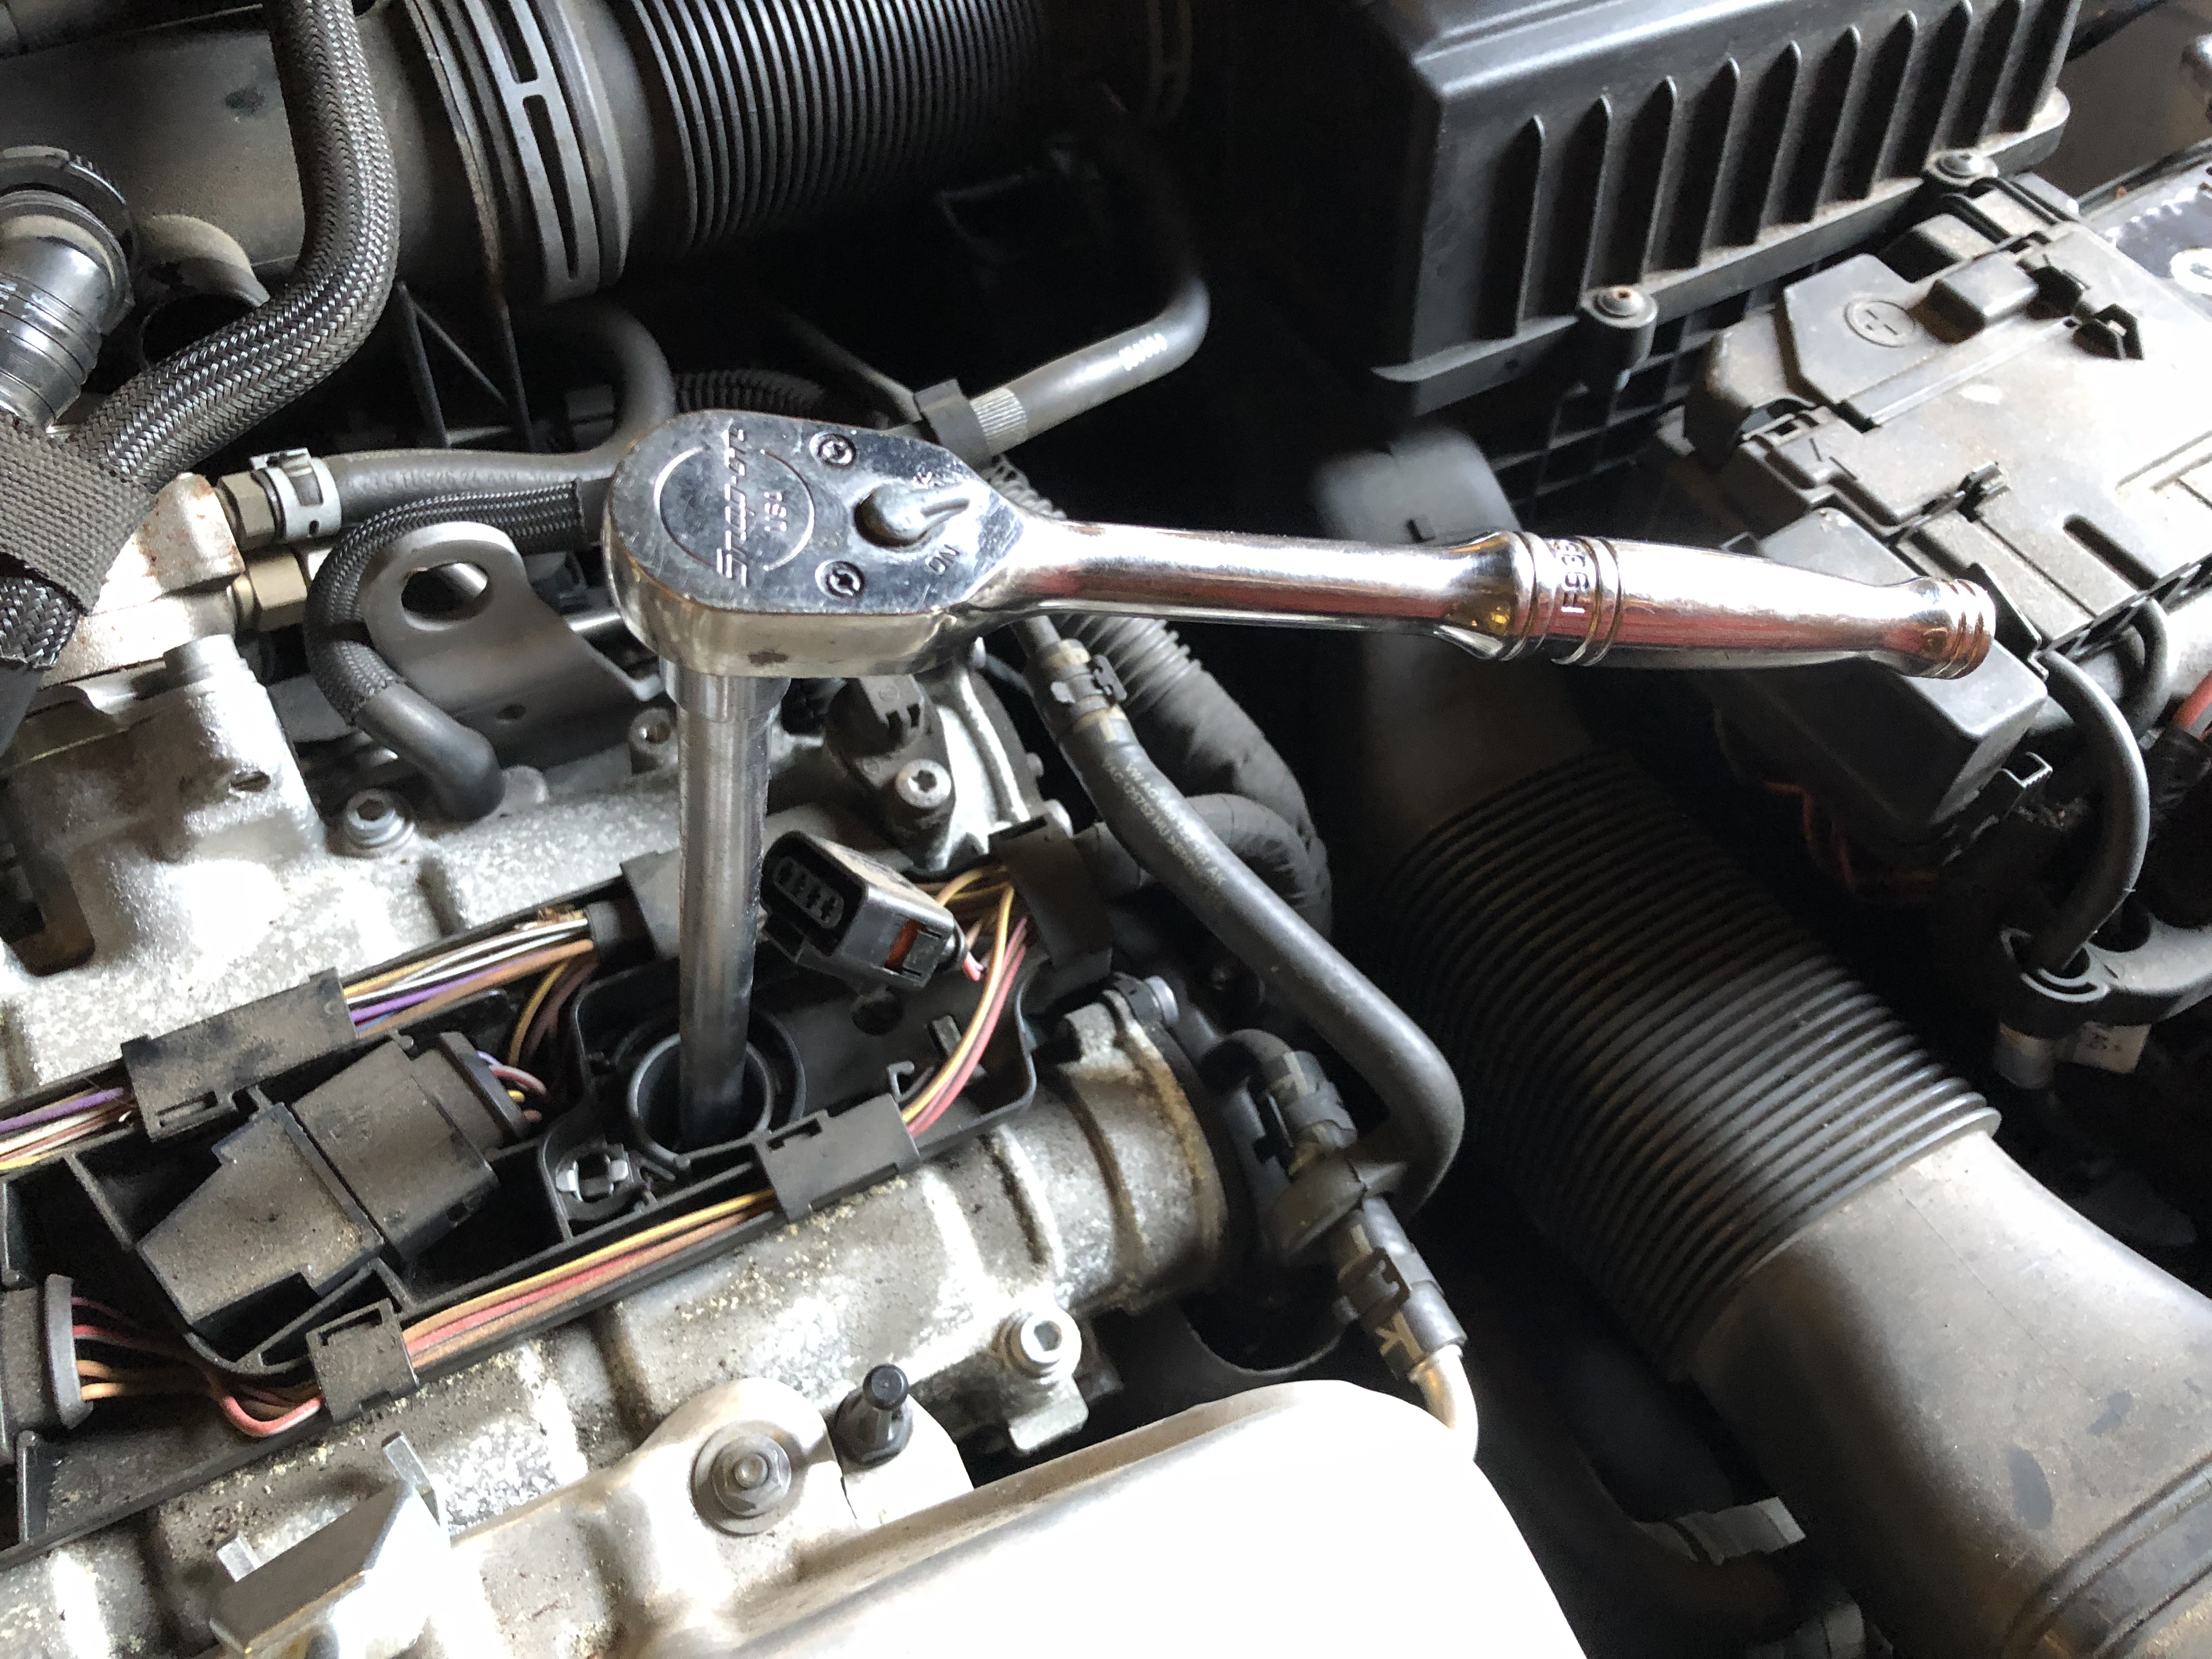
So carefully lower your socket and extension into the spark plug chamber and "pop" it onto spark plug and
undo and remove the plug....
Now you can do one at a time, or all four, thats your choice...but remember you "open" holes into the engine
if you do all 4 together.............I chose to remove one, refit one.
Heres what my plugs looked like after 17,000 miles....this is "assuming" they were replaced when I bought the car.....
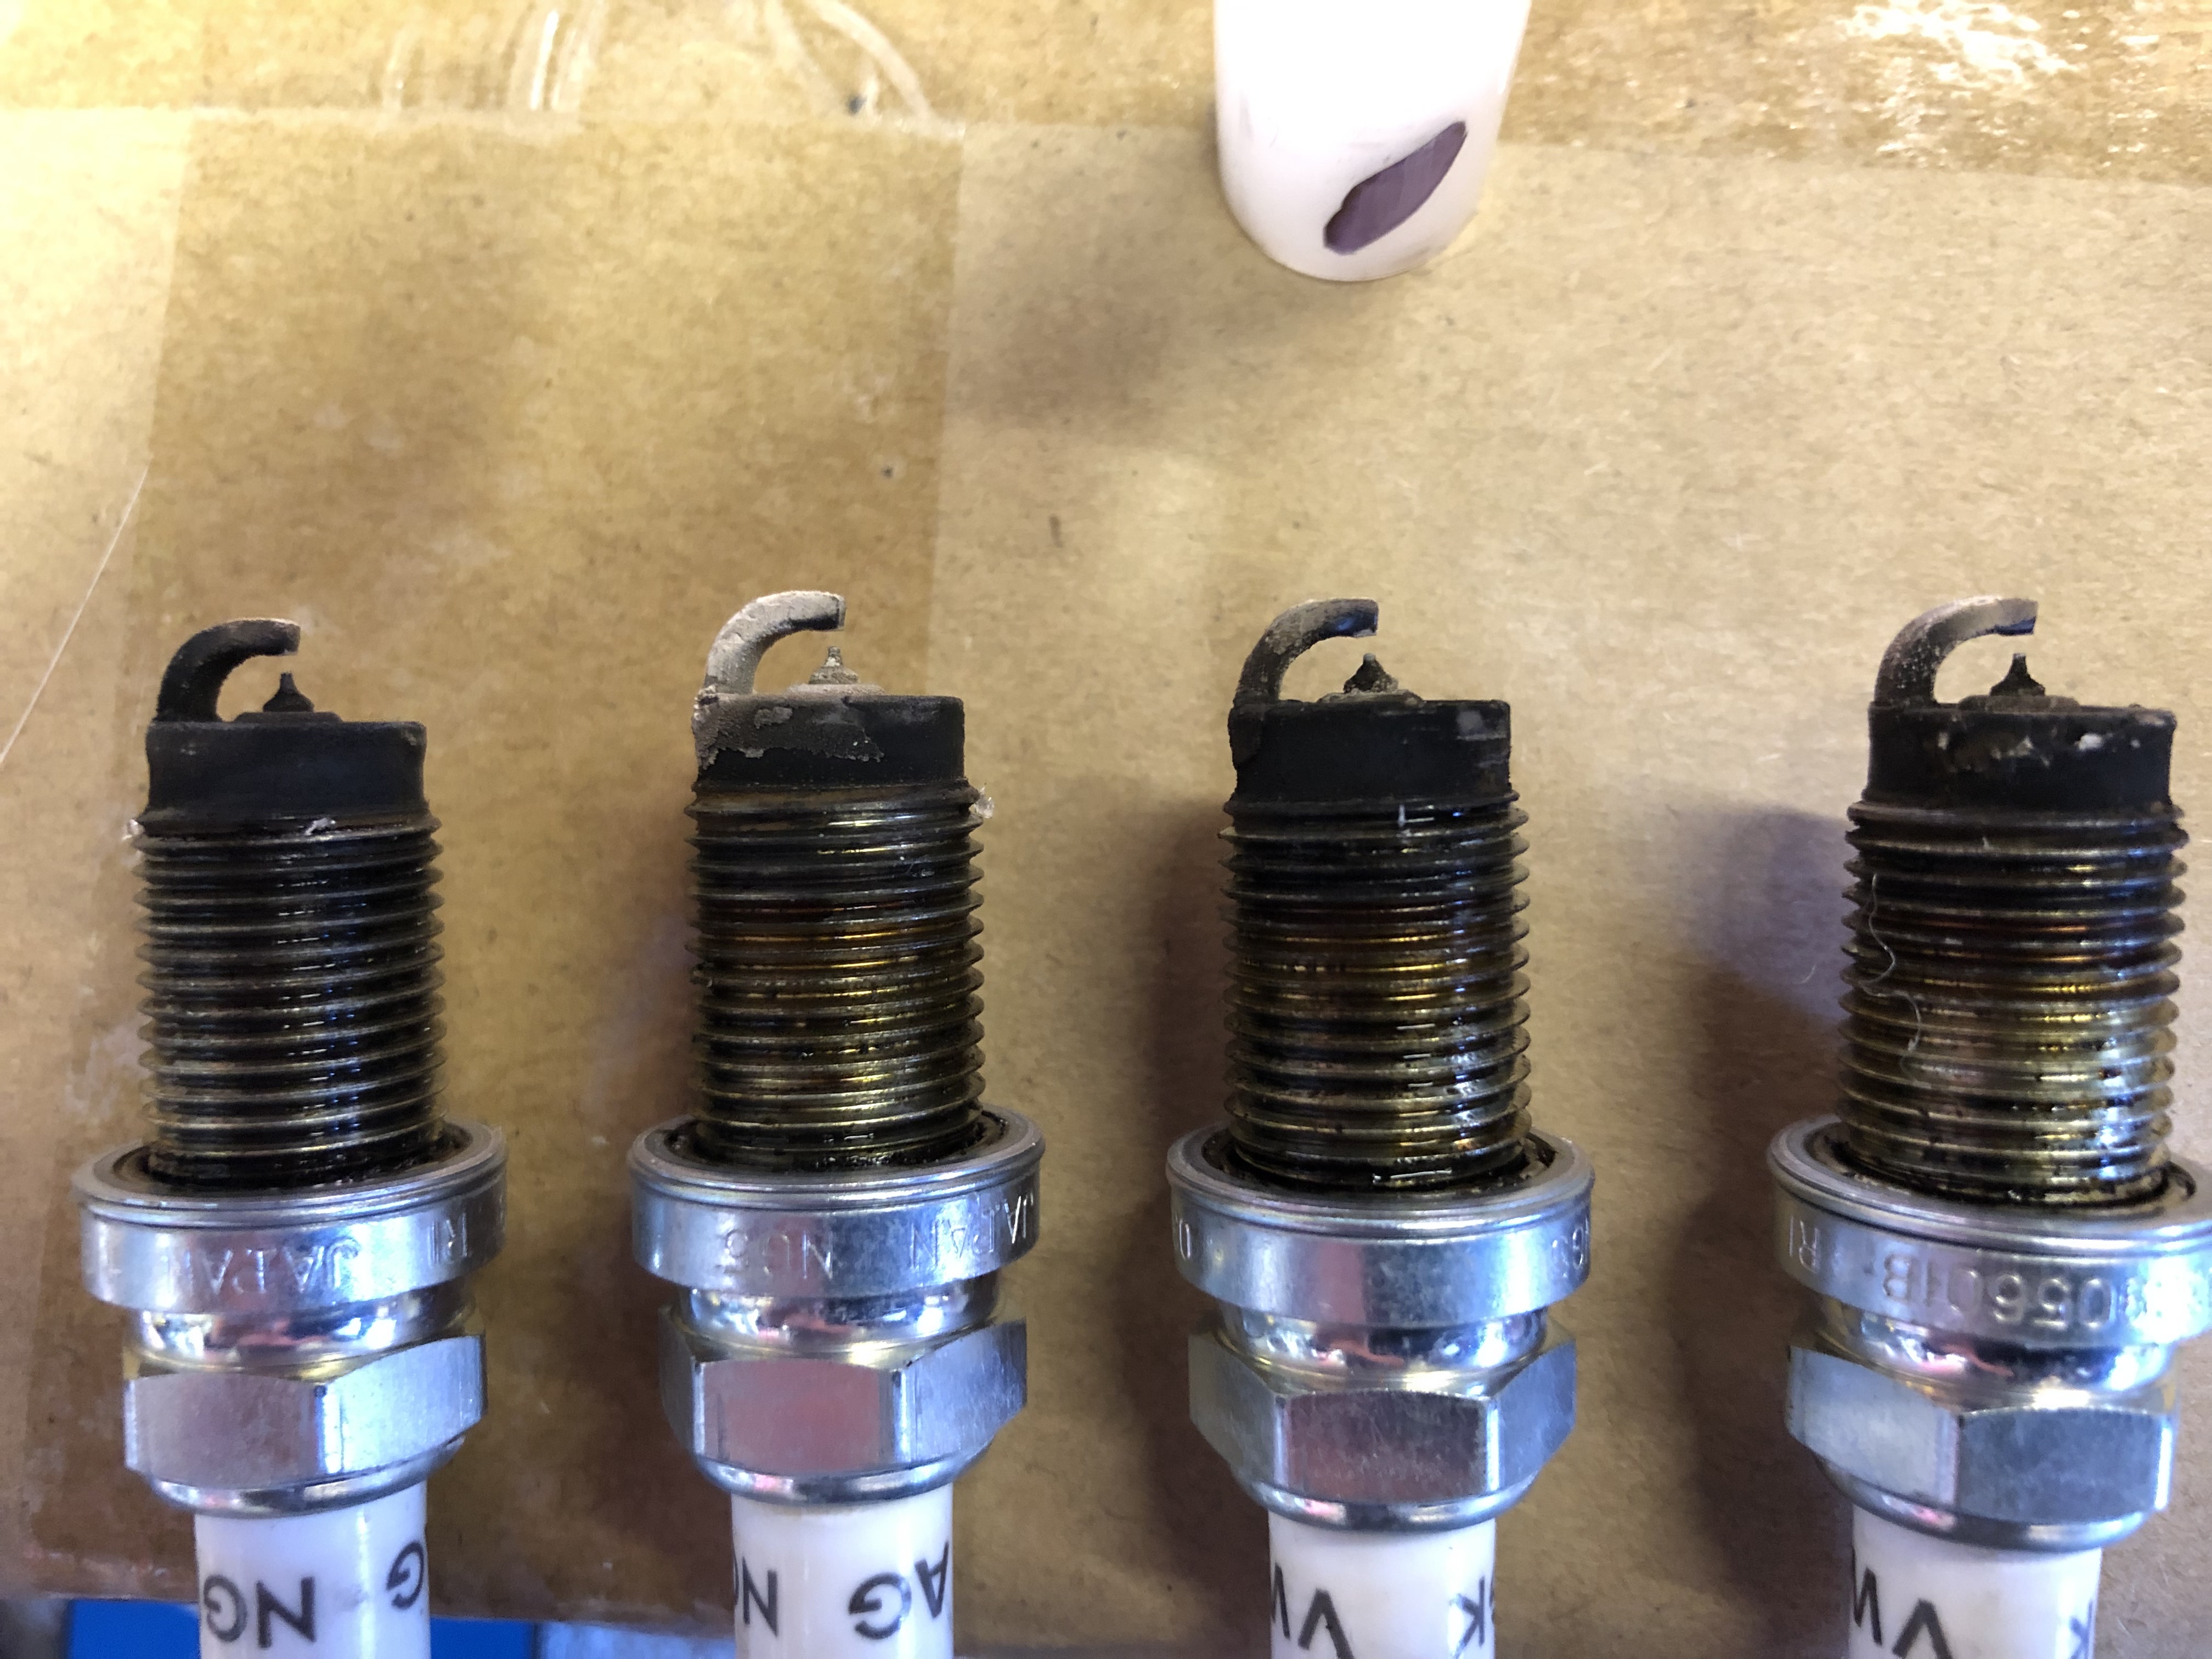
Don't look to bad, atleast they are complete !!! thats always a bonus!! did not have any issues either,,,
Heres the plugs I purchased......
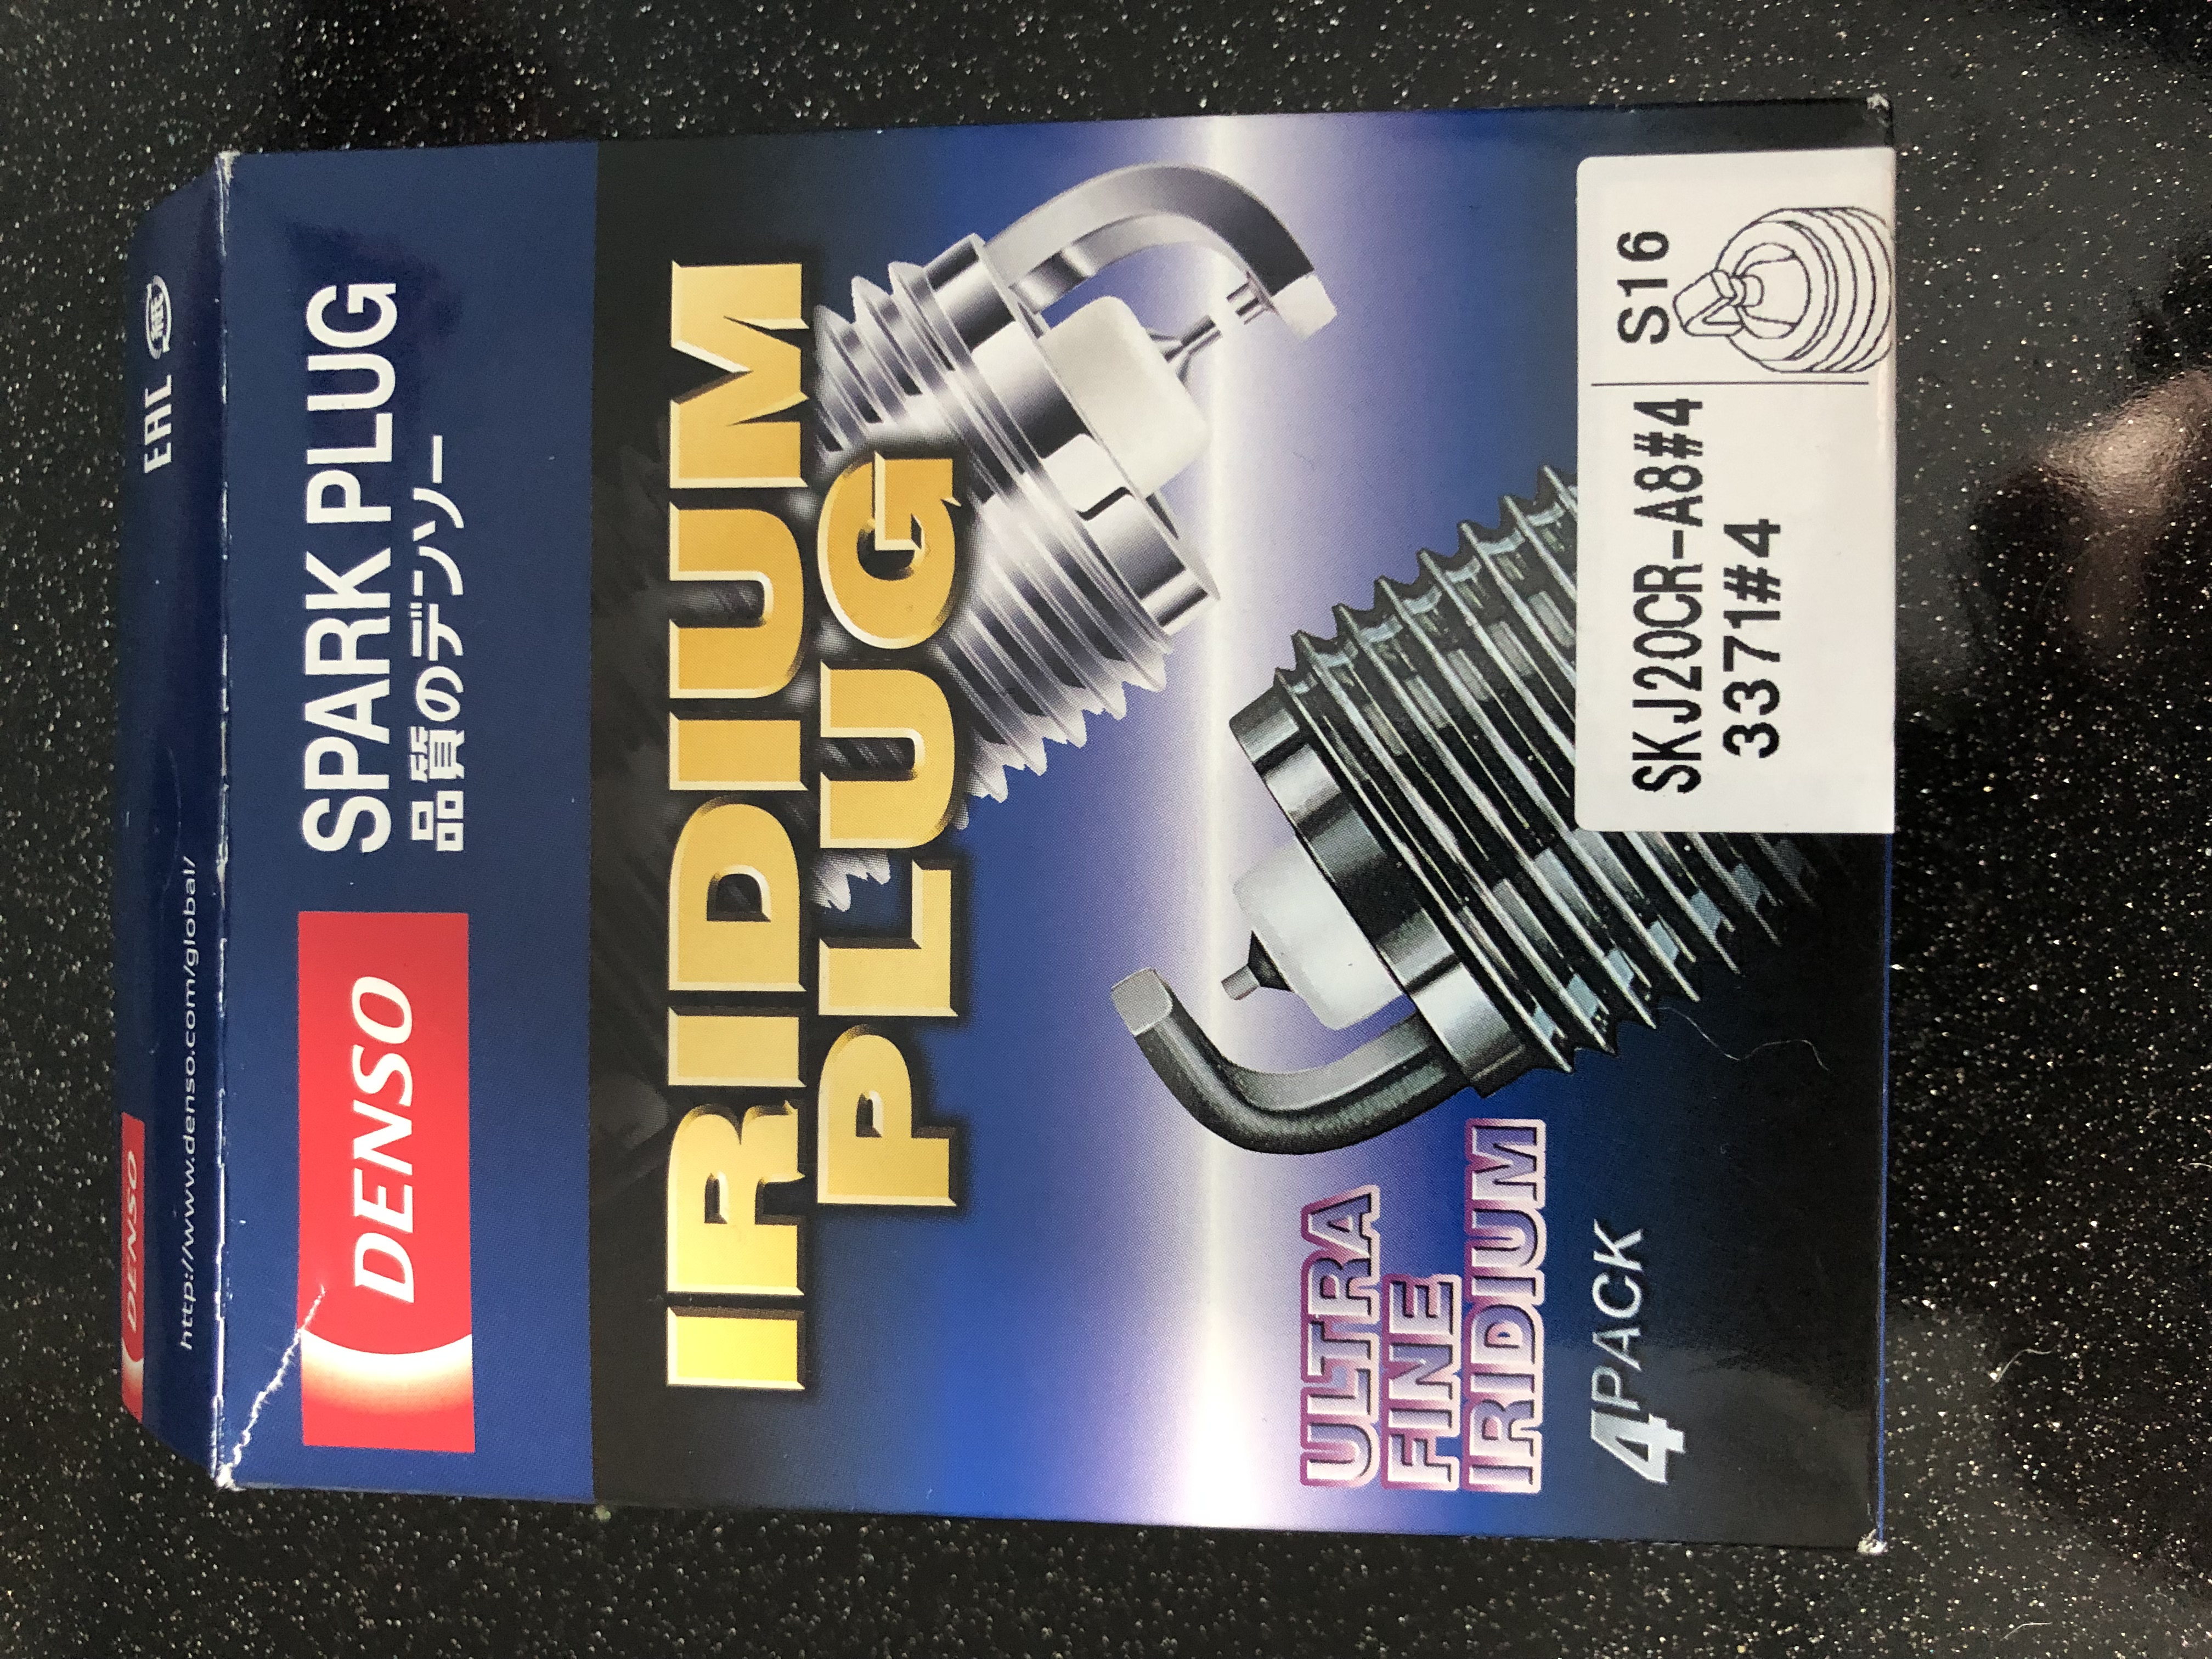
The recommended gapping is 0.8mm, I checked mine with feeler gauges and they arrived at 0.790 mm
If they need gapping, ensure you use a proper plug gapping tool to avoid damage to the plugs..
Push the new plug into the socket and extension....then carefully lower it into the cylinder and start them by HAND..
Do NOT drop them in, damage to the threads can occur....
Just nip them up by hand as they need to be torqued....
Torque each one up to 30NM...
Once all the plugs are in, we need to refit the coil packs.
The coil pack should be "lubricated" on the rubber part so to stop them sticking to the plugs....
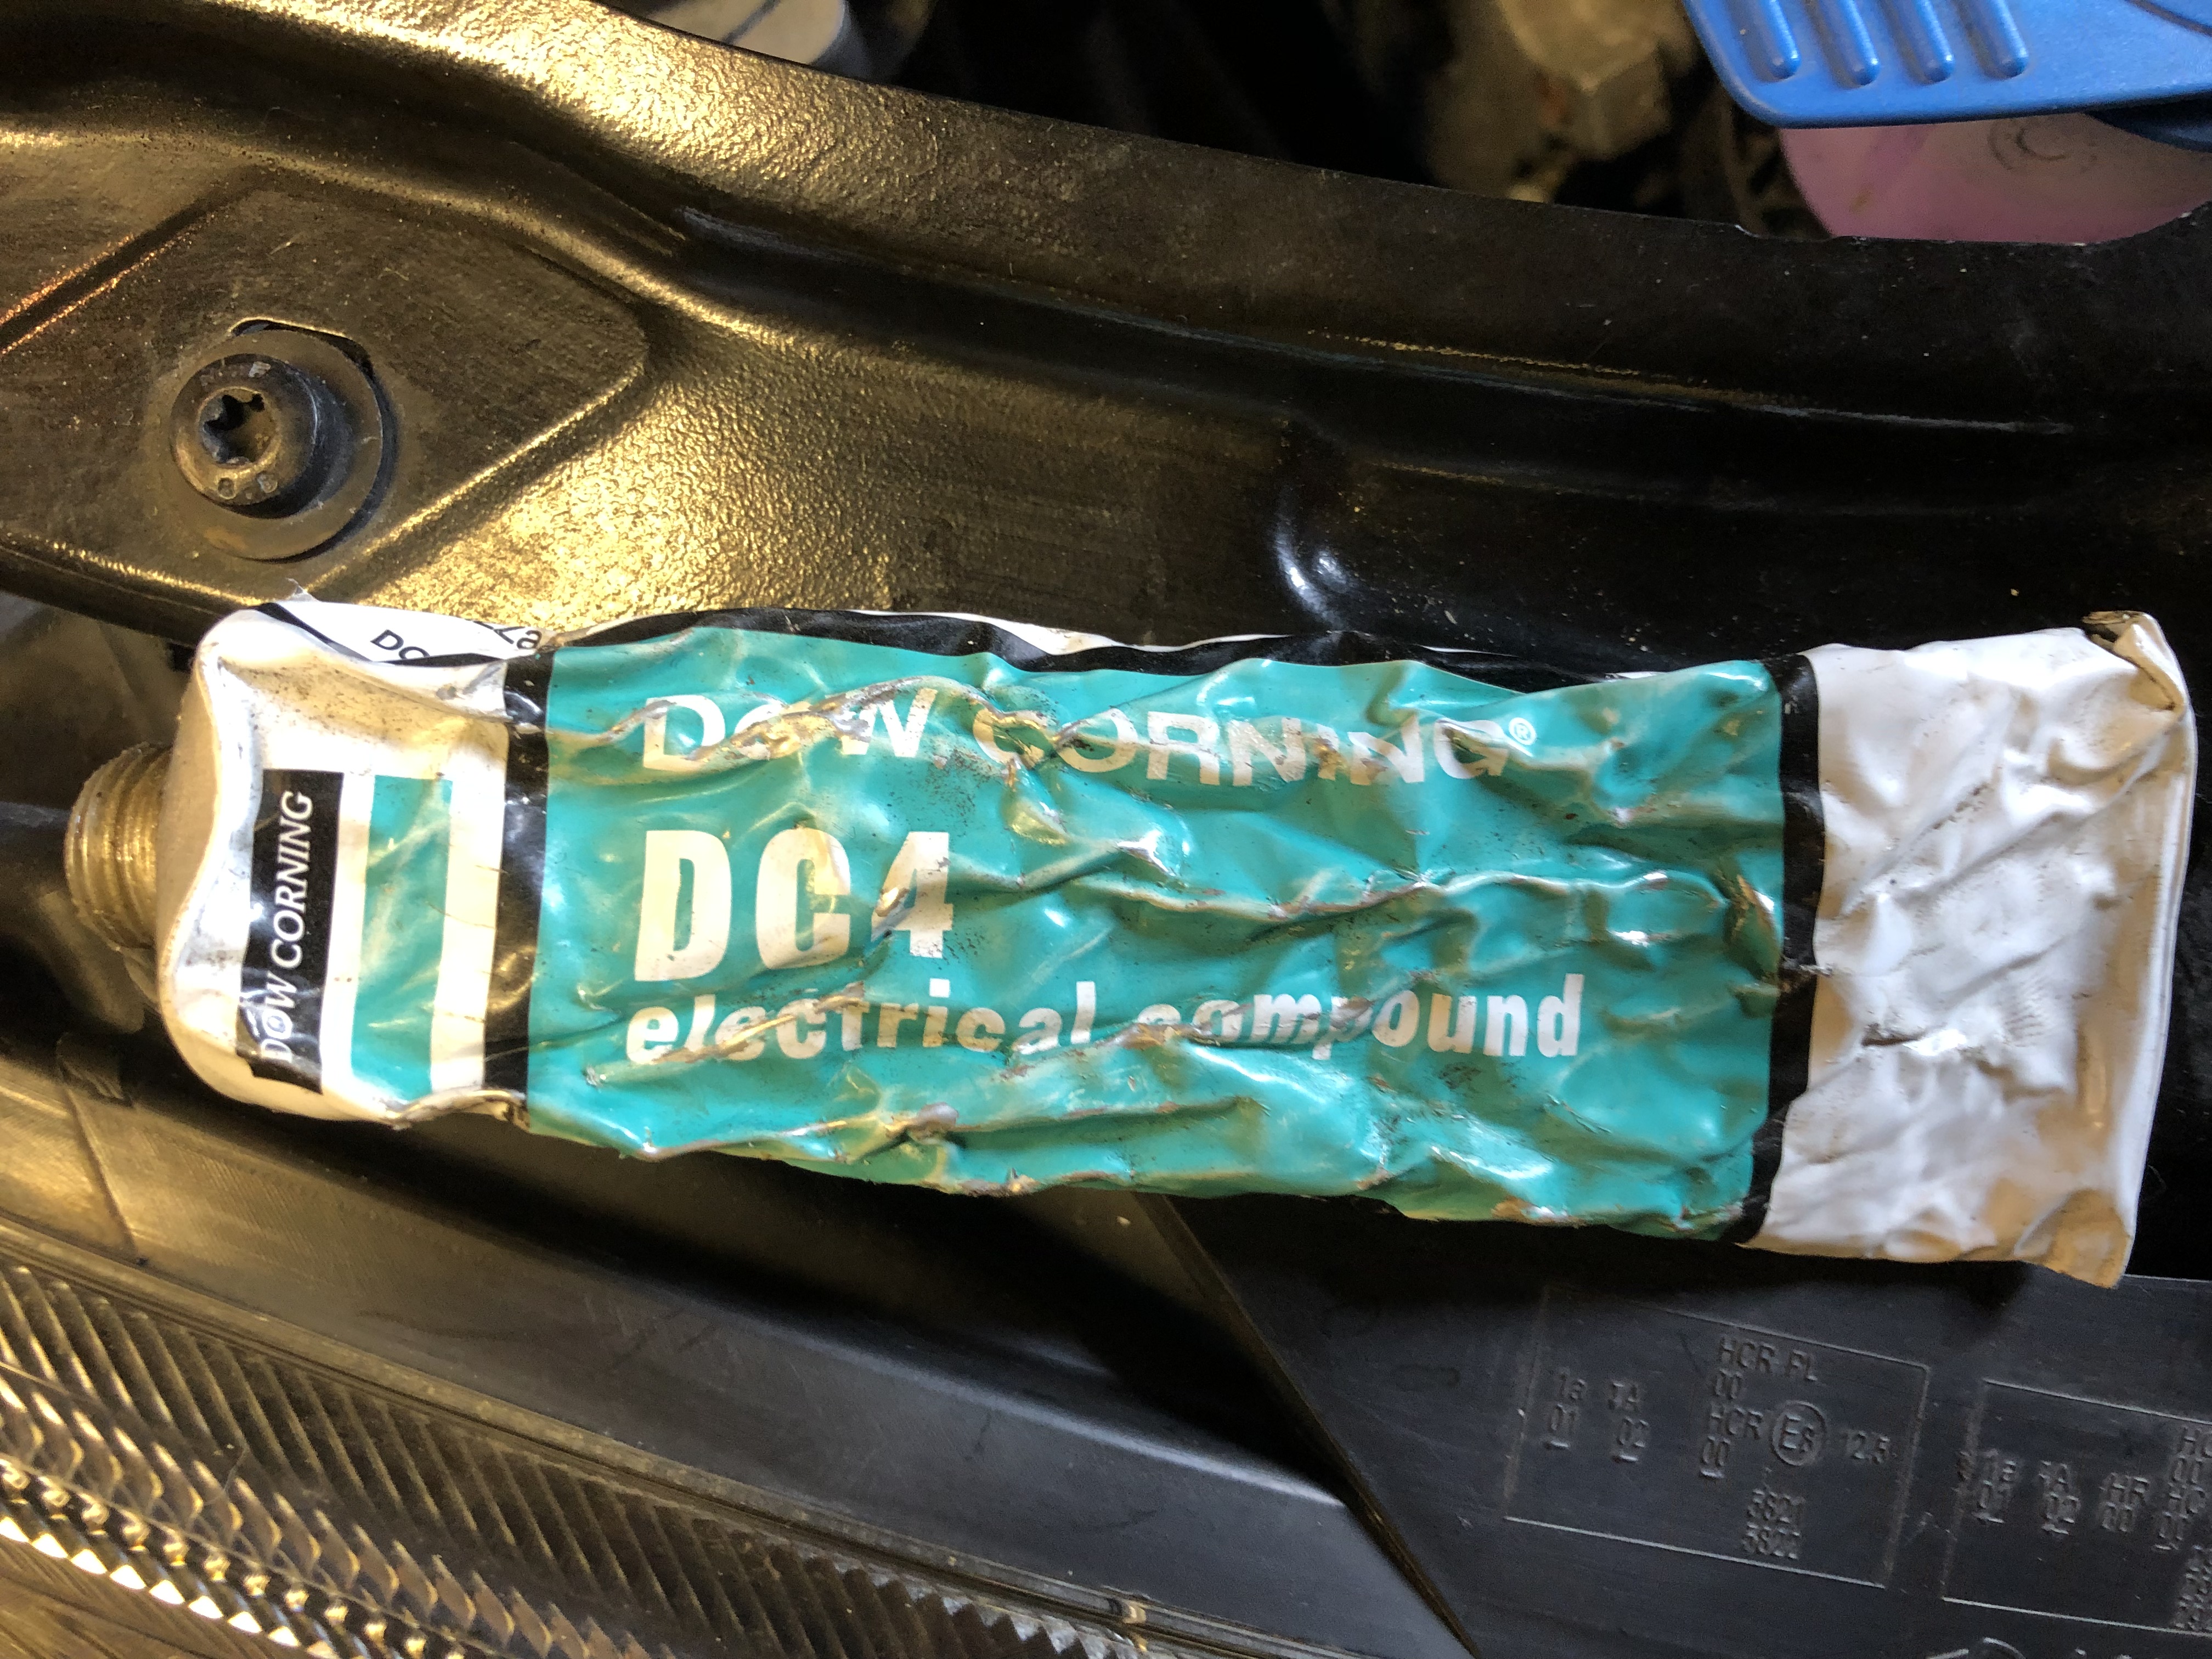
I looked in Halfords for an alternate to the VAG specified grease, but nothing was suitable....
it's lucky I have a silicone grease / electrical compound suitable....Here is what I used...
here below is "how" to lubricate from the workshop manual...

So carefully doing one at a time, lower the coil pack
into the plug hole, BEFORE you push it home, clip each electrical plug back on in turn....ensure you hear
the "click" as you connect the plug, once the electrical plug is on.....
Using firm "thumb" pressure (more may be required) push the coil pack home..,you will feel a "click"
Repeat for all other coil packs, and then the rest of the refit is the reverse of removal...
Remember the 2 plugs and wires fed under pipe assy earlier for clearance on cylinder 1- re-position before screwing assy down..
NOTE :- when refitting breather pipe assy....the rear section where the screw was removed clips "back" and over into place,
Ensure this is correctly positioned / seated BEFORE trying to screw it down...
Once everything is refitted, start the car and ensure there is no warning lights and she is running well.....
clear the tools away and go for a spin!!!
Time will tell on the suitability and longevity of the Denso plugs...10,000 miles would now be recommended to replace again..