![]()
|
Viscous Fan Pulley - Bearing Replacement |
||||
|
|
It's a well known fact that bearings eventually wear out, bearings that are sealed from manufacture are no different. The viscous fan bearing has to cope with quite a high load, not only produced by the aux belt, but also by the force generated by the viscous fan, so it's no surprise that after a decent mileage this bearing can wear, become noisy and even exhibit some play. The vehicle in this article is fitted with a 15P engine and had covered over 150,000 miles, so in fairness the bearing had not done to bad. The procedure for replacement would be the same on any variant of the TD5 engine. NOTE some images are library images from other articles. Below is the bearing, this was supplied as an OEM part (NOT pattern) and as you can see if it arrives in a SKF box, then we can be sure it's a quality product. The Land Rover Part No for this bearing is ERR5285
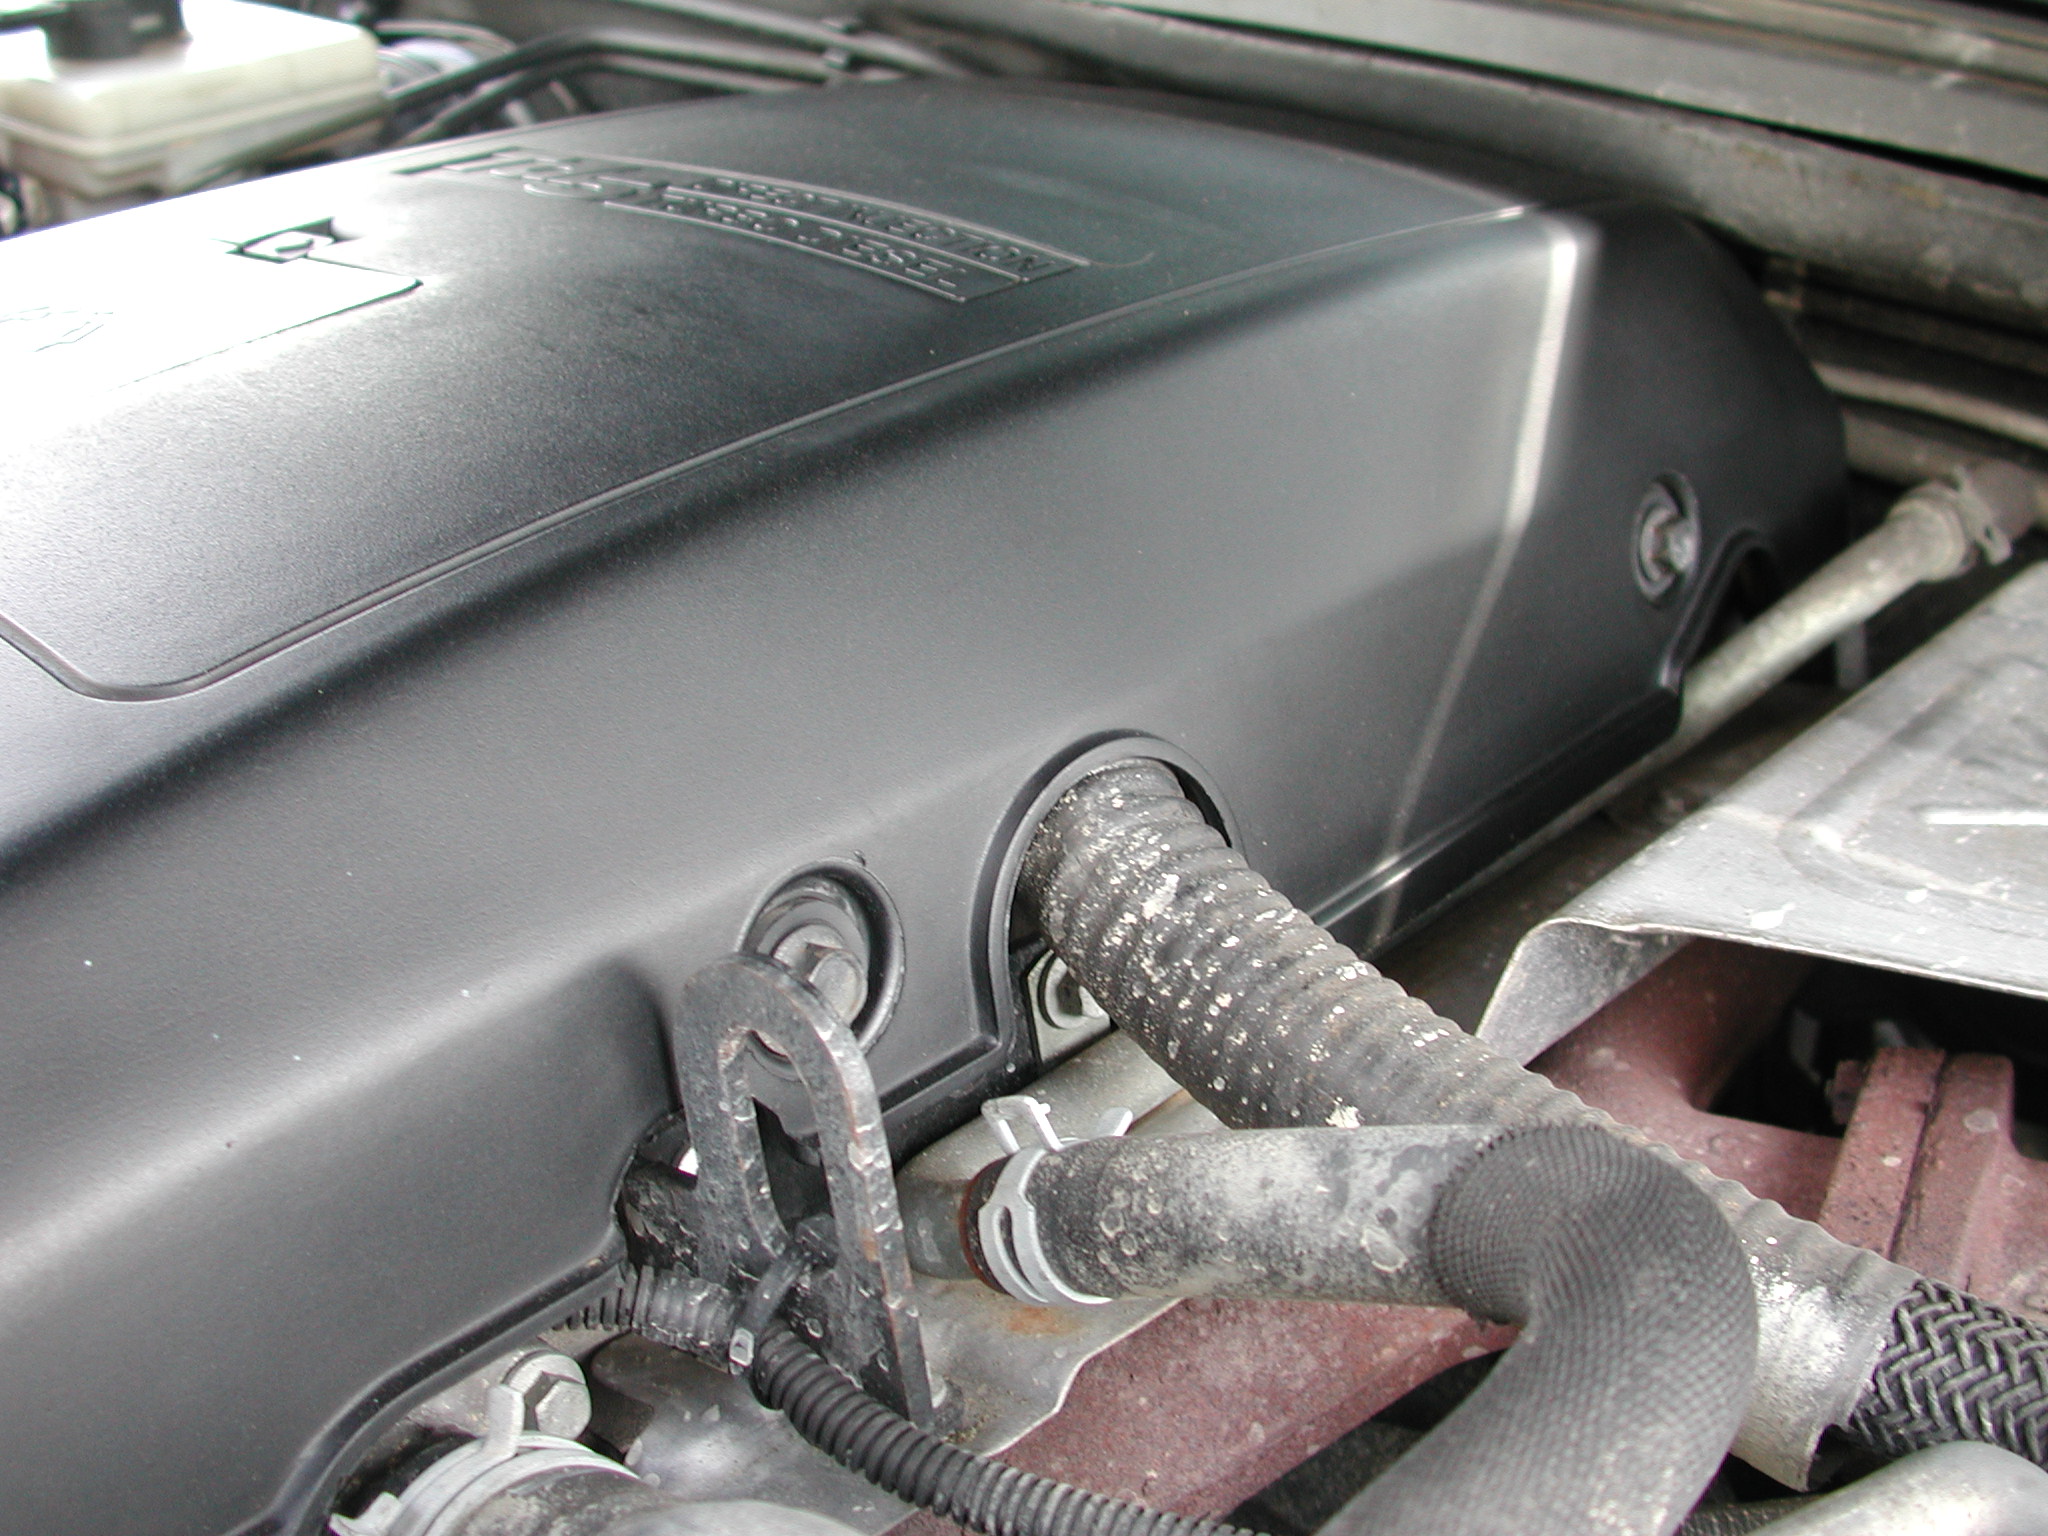
First of all, remove the top cover,
then radiator cover,
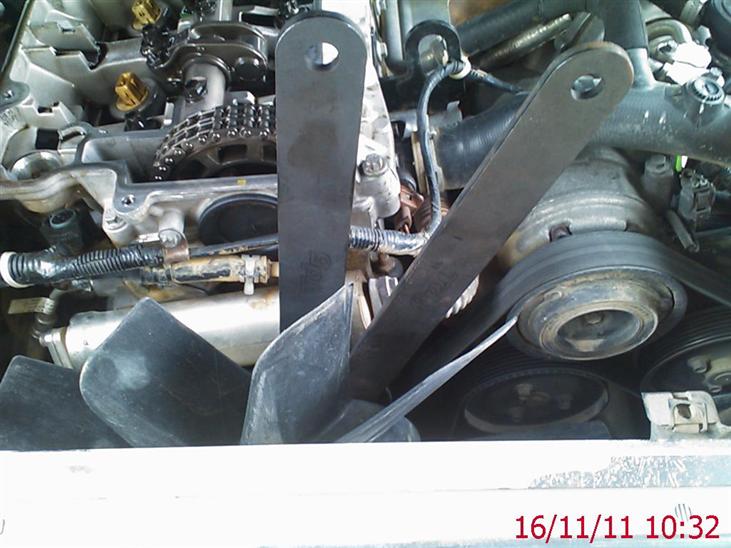
Next we need to remove the viscous fan itself. The fan has a NORMAL right hand thread. The best way to remove the fan is to use spanners like these below....
One spanner sits over the pulley bolts, the other fits the nut on the fan itself. These spanners are available on Ebay and a well worth buying, not only for just fan removal itself, but you will NEED one of these spanners also as a tool to do the actual bearing replacement. It is not 100% needed, but I also remove the fan shroud as well, this is held by the 2 screws on the top corners of the radiator, simply remove the screws and lift the fan shroud out of the way being VERY careful to move the plastic coolant pipes aside as you do it. Once the shroud is removed, then I STRONGLY advise that you fit something to protect the radiator..... this will ensure that should you slip etc with any tools you wont damage or even worse puncture the radiator...I use a 2mm metal sheet cut to size....
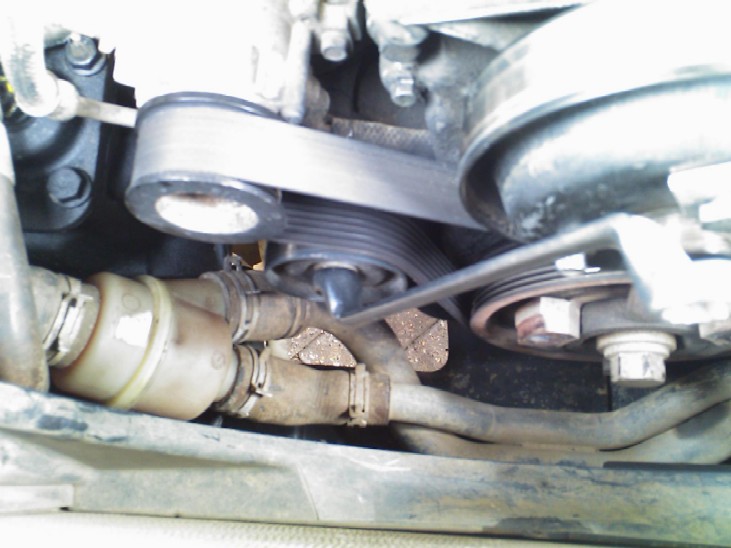
Using a 15mm spanner, release the tension (anticlockwise) on the aux belt tensioner and remove the aux belt taking note of which way around it was fitted so it can be re-fitted exactly to run the same way as before...
Next you will need to remove the fan pulley. The shaft of the Fan pulley has a 12mm Hex in the end which enables you to hold the shaft and stop the pulley rotating whilst you undo the 3 pulley retaining bolts.
The 12mm Hex tool is CRITICAL to the bearing replacement job, so you will need to obtain one of those BEFORE attempting this job. I highly advise you get one in a bit that will fit a 1/2" breaker bar / ratchet tool. Once the bolts are undone, then remove the fan pulley..
This reveals the fan pulley flange. Now using the viscous fan spanner that hold the bolts, position the fan spanner over the flange and using the pulley bolts, bolt the spanner to the flange using all 3 bolts like below.....
The flange on the pulley is threaded onto the shaft just like the viscous fan, so using the spanner to hold the flange and the 12mm hex in the centre,
This will enable you to wind the flange off the shaft. Now the flange is thread locked onto the shaft for obvious reasons, you have to "break" that threadlock. Heating the flange in that area with a blow torch will "soften" the threadlock a little, even then it was VERY tight and required one person to hold the fan spanner and the other to turn the breaker bar. To wind it off, hold the fan spanner and turn the shaft using the bar and hex tool CLOCKWISE as to undo the flange...Once it breaks the threadlock, wind it all the way of the shaft. This will reveal the bearing and more importantly the circlip which retains the bearing in the housing..
Now clean all the dirt etc away from the circlip and housing, then using circlip pliers, remove the circlip....it is advisable to wear safety goggles when removing and re-fitting circlips. Once the circlip is removed, we need to refit the flange again, so wind it on a couple of threads (still bolted to the fan spanner) and then using some suitable spacers....I used 5mm flat bar about 30mm wide, position the spacers between the back of the flange and the housing ensuring that the spacers are only against the housing and will allow the bearing to pass....
Then whilst holding the the fan spanner, wind the hex tool ANTI-CLOCKWISE as to wind the flange on, this will then fight against the spacers and withdraw the bearing out of the housing (as above). You may have to change spacers if you run out of thread if your spacers are to small. Once the bearing begins to move, you should find it winds out very easy..
Now we have to remove the bearing from the shaft as it is pressed on, so unbolt and remove your fan tool and then using a press (recommended) or large vice, press the shaft out of the bearing..
It should press out fairly easily...
Clean and degrease the shaft, a small wire brush is useful to remove the old threadlock from the threaded section.. Now with the shaft clean and dry, push the shaft back into the new bearing...
New bearing fitted to the shaft below.... it simply goes all the way in till the shoulder of the shaft is against the bearing...
Now go and put the shaft and bearing into the freezer for about 20 mins, whilst the shaft is "cooling" use the time to clean up the housing where the bearing sits...
Ensure all the dirt etc is removed and there is no burrs at all. Fine emry cloth or scotchbrite is suitable to use to clean the housing... When the housing is clean and dry, using a blow torch with a gentle heat, slowly heat the housing all the way around where the bearing sits....
Take care to not heat anything else, you only want to warm the housing gently...do this for 5 mins or so....allowing the 20 mins for the shaft and bearing that is in the freezer... Then grab your shaft and bearing and position it into the housing ensuring it is SQUARE, I then used a small hammer to tap all the way around the bearing GENTLY and she went back in really nicely.....tap until the bearing is fully seated...
Then carefully refit the circlip to secure the bearing.....ensure you see / feel / hear the circlip spring into it's recess...
The rest of the refit is a reverse of the removal. When re-fitting the flange back to the shaft, apply some threadlock to the threaded section for about 10mm away from the bearing face. Using the fan spanner and the hex tool, wind the flange back onto the shaft until it bottoms against the bearing face, then apply a good tug to the tools to tighten, remove the fan tool and begin the rest of the refit. That's it job done!!
|
|||
.jpg)

.jpg)
.jpg)
.jpg)
.jpg)
.jpg)
.jpg)
.jpg)
.jpg)
.jpg)
.jpg)
.jpg)
.jpg)
.jpg)
.jpg)
.jpg)
.jpg)
.jpg)