![]()
|
Rear Axle "Watts" Linkage Bush / Bearing Replacement |
||||
|
|
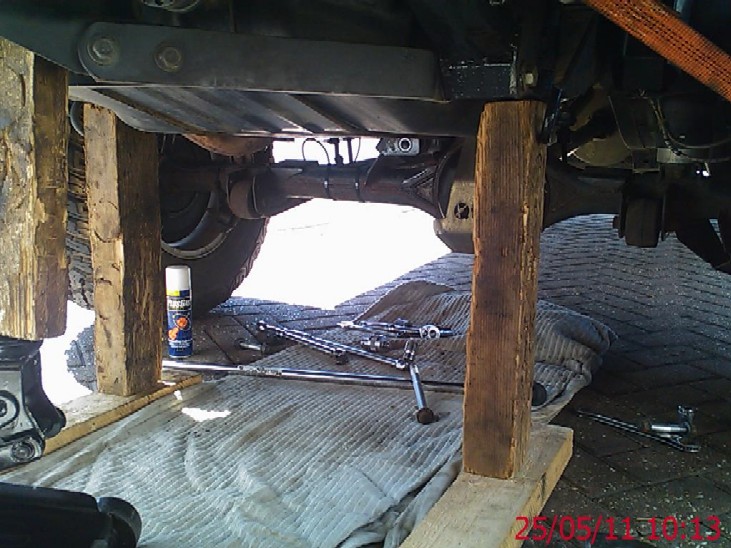
UPDATE :- As you can see by the pictures in this article I used Britpart bushes to refurb my watts linkage, unfortunately they lasted only 7 months before failing even more than the 10 year old Land Rover bushes.....they have now been replaced again with GENUINE Land Rover bushes and I highly advise you take the same route if re-furbing your watts linkage. After "playing" offroad recently I noticed a "knock" coming from the rear when going over rough terrain, it also did it when reversing off my drive and down the access ramp. It sounded almost like the rear door was not latched shut properly and was knocking on the latch. After thinking more about the knock it must be "one" of the bushes on the rear axle, this "could" have been the shocks (but they are relatively new) the radius arm bushes or the watts linkage. So I drove the rear up the ramps and went under with a a pry bar to give everything a heave here and there to see if any had some visible play. I started at the watts linkage and did not need to go any further, the top bush on the central pivot could be levered back and forth, if I did it quickly it would knock. I also found that lying on my back and pushing up on the tow bar flexed the watts linkage and the rod could be seen to move sideways before pivoting, so new ones were ordered. To do this job you need to support the chassis on flat and level ground, I jacked the vehicle slightly to get a little more room underneath and used some large blocks of wood to support the chassis / body by the rear tie down points.
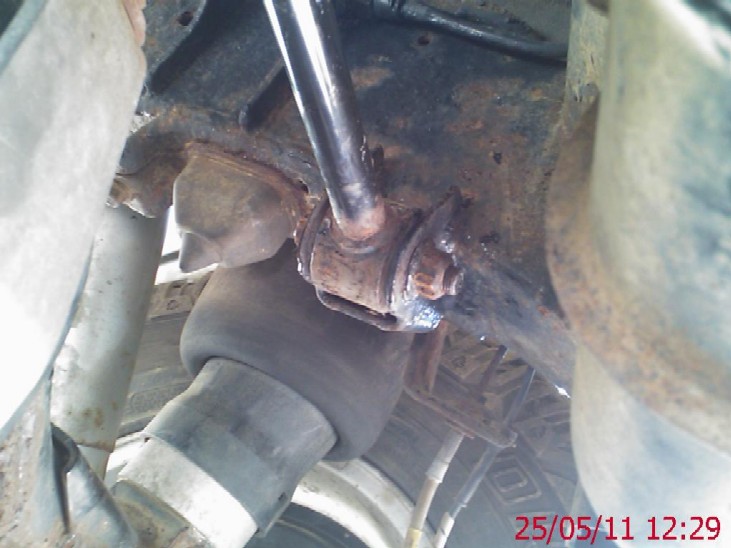
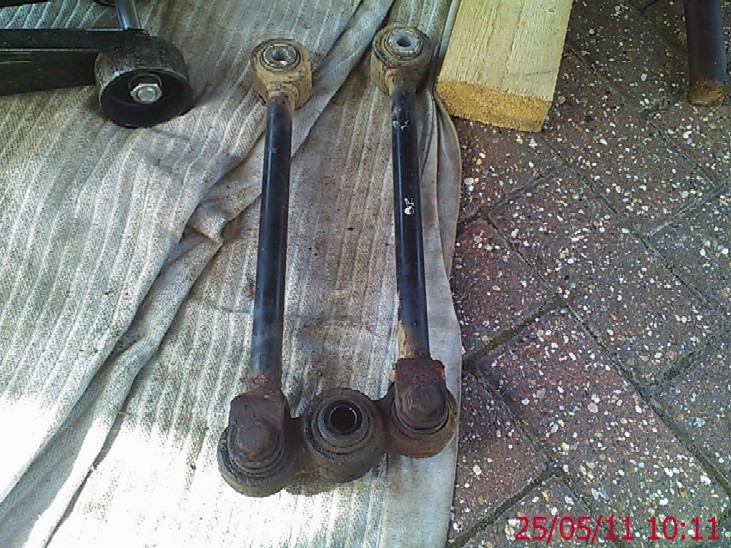
Note ......I also left a trolley jack and bit of wood under load under the tow bar assy. First of all you need to undo the bolts and remove the "link arms" from the chassis mountings, right hand side shown below, left hand side similar.
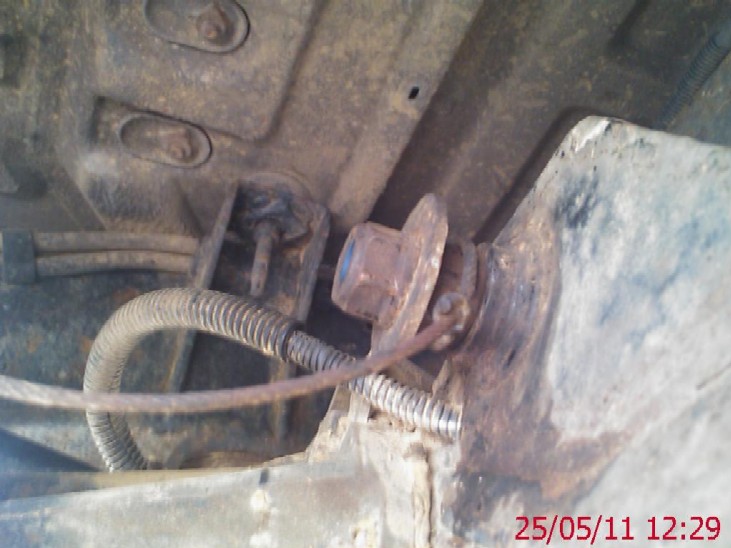
NOTE :- These are what keeps the axle and the body central to each other, once you remove the bolts from these if the vehicle is not on level ground it can move sideways !! The arms may or may not drop out, especially the left hand side as the mounting structure around it keep it in position, it does not matter because when you remove the central pivot bolt they will easily come away. So after the link arms are done, you have to undo the central pivot bolt, this bolt goes all the way through the axle mounting and protrudes out the back with a nut on it, BUT also on top of that nut is a large Nylock nut and washer used to keep the lanyard for the rear axle damper in position....Pictured below.
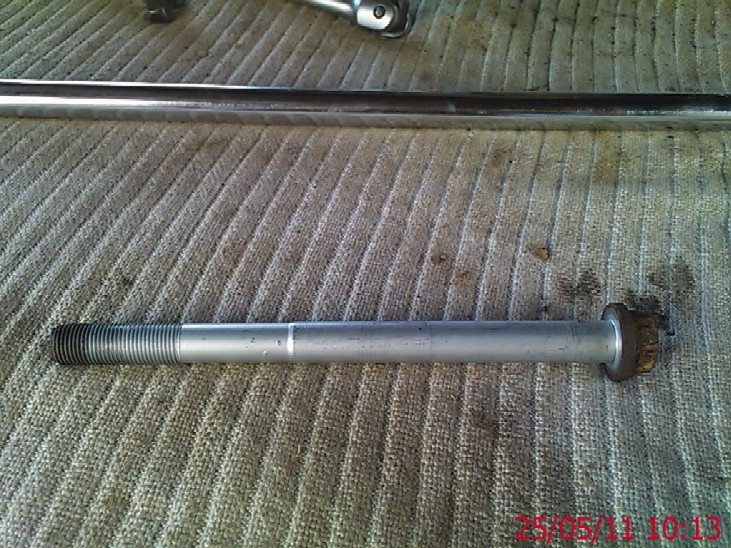
So remove the 24mm nut, then the washer and lanyard and you can then access the central pivot bolt nut. This bolt is torque'd to 170lbs ft, so its quite tight to undo. Once that's undone, remove what is probably the longest bolt on the car!!!
After the central bolt is out, you can then pivot / wiggle the watts linkage to remove the assy from the car...
NOTE :- If you are not replacing the outer chassis bushes in the link arms, then it's good practice to note / mark which one went which side so it goes back together "as it was". This article only covers the 3 central bushes / bearing, but the procedure would be the same to do the link arm outer bushes. The bolts that secure the link arms to the pivot section can if you wish be undone / loosened whilst it's still on the car, I chose to wait till I could hold it in a vice and get a better purchase on them as opposed to doing it lying underneath the car with god knows what dropping in your eyes.....(safety glasses are a good idea!!) Now the fight begins, these bushes are obviously "pressed" in, so in an ideal world the use of a press to remove them would be best, a hammer and a vice / selection of old sockets could be used, but I could not say "if" that would be successful or not ( read on) I used a 10ton press to remove these bushes as its easier, less work and far less time consuming...the workshop manual states "heat" maybe required to remove these bushes even with a press, I decided to "try" them first and see how it went... I started on the outer bushes, for info a 1-1/8" socket is pretty much a prefect size to use to push the bush out, I also used 2 steel tube receivers underneath to support the pivot piece...
The first outer bush took only 2 Tons of pressure and away she went.......The other side followed not to long after with only 1.5 Tons of pressure.....So as mentioned earlier, you "may" have been able to do these with out a press.....but for simplicity I suggest a press is used. Now only 1 of my outer bushes (the top one) was worn, but to take this all apart and only do 1 is a bit of a false economy in my opinion. The same goes for the central pivot bearing ( yes it's a bearing not just a bush) so I decided to renew that as well. The same socket also fits the middle bearing as well.....
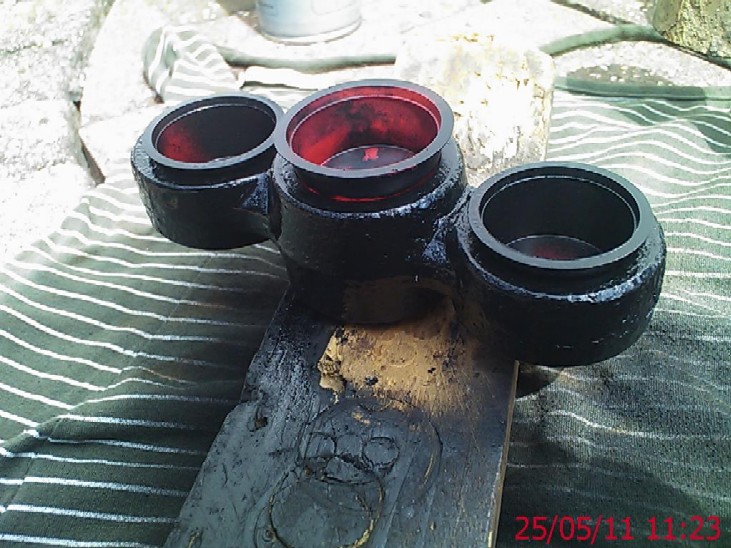
Now this is where I believe you would have struggled to remove this without a press, this bearing took nearly 6 Tons before she went, and took a continual 3 tons to push it out, I simply don't think this could have been done "on the bench". With the old bushes and bearing out, I took the opportunity to "clean" up the pivot and also made it pretty again with a lick of new spray paint..... Bush apertures "blanked" for painting below.......
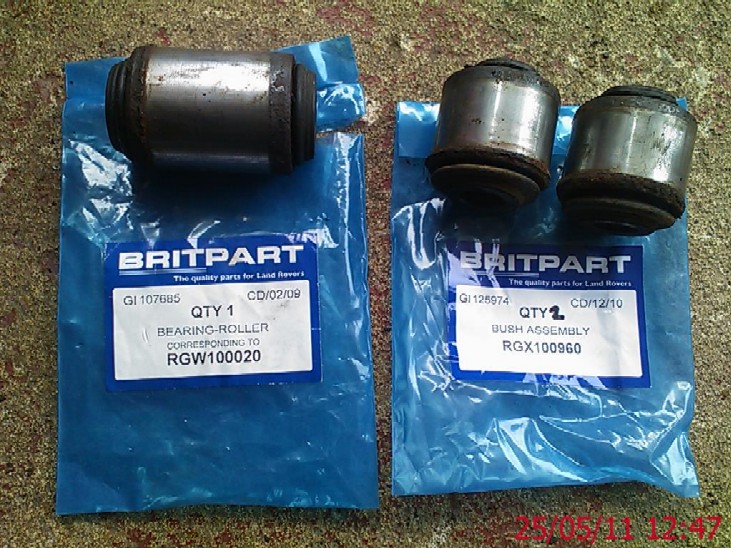
Below is the new bushes and central bearing showing the part numbers, NOTE:- I changed the quantity to "2" on the bush bag because that's how many you need......(they are sold singularly) .....I know its obvious, but its the old bushes shown below......
Now you can use the same socket for fitting as removal, just "feed" the socket over / around the rubber on the new bush carefully first...
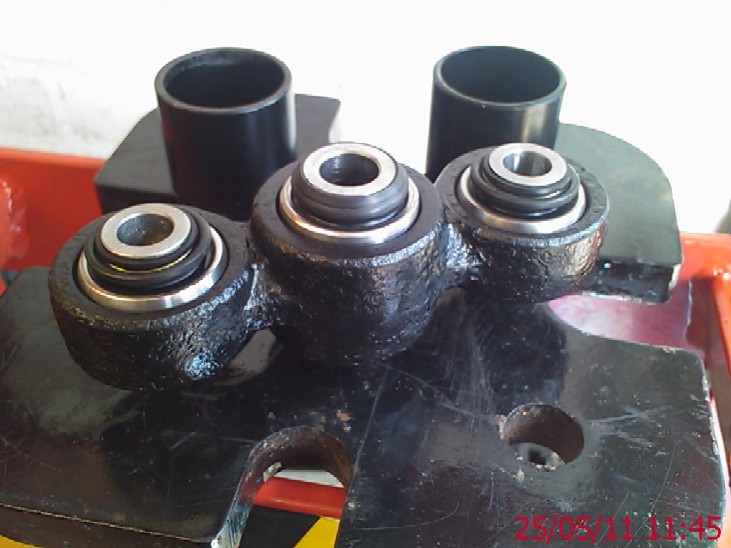
Push the new central bearing and outer bushes into the pivot link so they protrude equally out each side. Picture below of new bushes fitted in the nicely painted watts pivot....
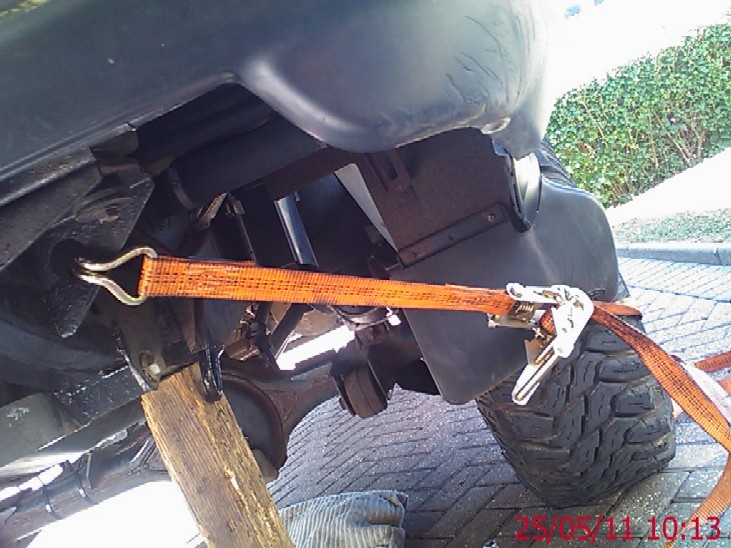
The refit is a reverse of the removal. I used anti seize grease on ALL bolts before re-assembling the link back together. First off just slave the 2 link arms back on the central pivot, then wiggle it into position under the car and slave in the 2 chassis mounted bolts in (outer end of link arms) Now my drive way is relatively level, however the body had still moved slightly to the left meaning I could not get both link arms in where they bolt to the chassis...... To combat this, I used a ratchet strap hooked onto one of the rear body mounts and the rear wheel and "carefully" ratcheted away until the body moved across so I could fit both the outer bolts....
Once these outer bolts are slaved in, then slave in the central pivot bolt and nut (the big one) DO NOT TIGHTEN THE OUTER OR CENTRAL BOLTS YET!! Now because the linkage is all supported where its supposed to live, Torque the Link arm bolts at the central pivot to 155NM or 114 lbs FT Then remove the axle stands or wood etc supporting the car and lower it's weight fully onto it's wheels, once its down ensure she is sitting level (especially if you have rear air suspension as some air would have been dumped during the jacking process), if needs be, start the car to ensure she is sitting correctly. Now torque the central Pivot bolt to 230NM or 170 Lbs Ft, then Torque the outer ends of the link arms to the chassis to 140 NM or 103 Lbs Ft. Refit the damper lanyard and the washer and 24mm nut securing it onto the end of the centre bolt. That's it!!, job done and no more knocks!!!... ;o) |
|||