Fit a " 50 " Diff lock lever kit.
|
Right, this is just a brief
little guide, with some handy tips, to help when fitting one of
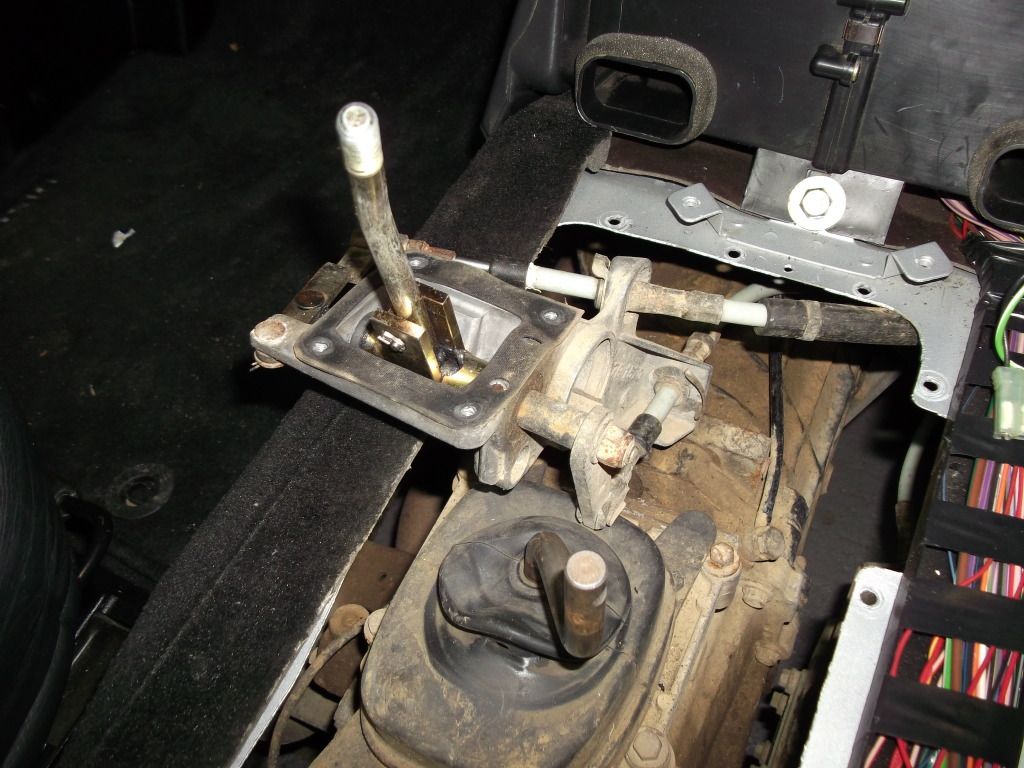
these diff lock lever kits. as this is fairly simple and well documented around the web. the first
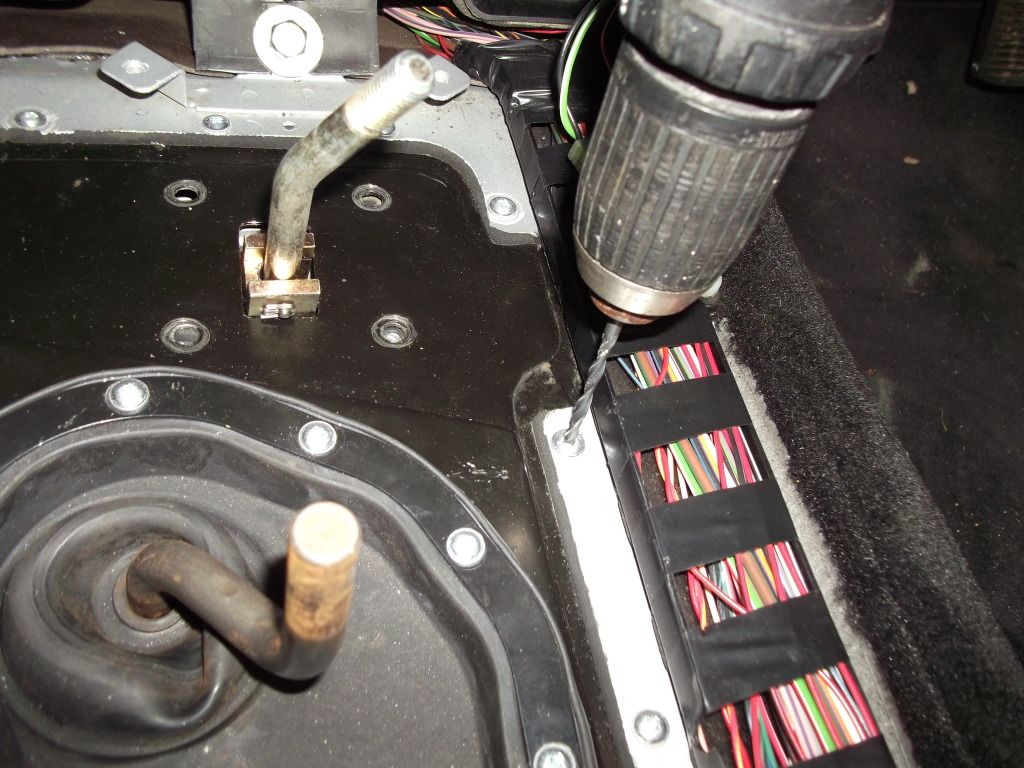
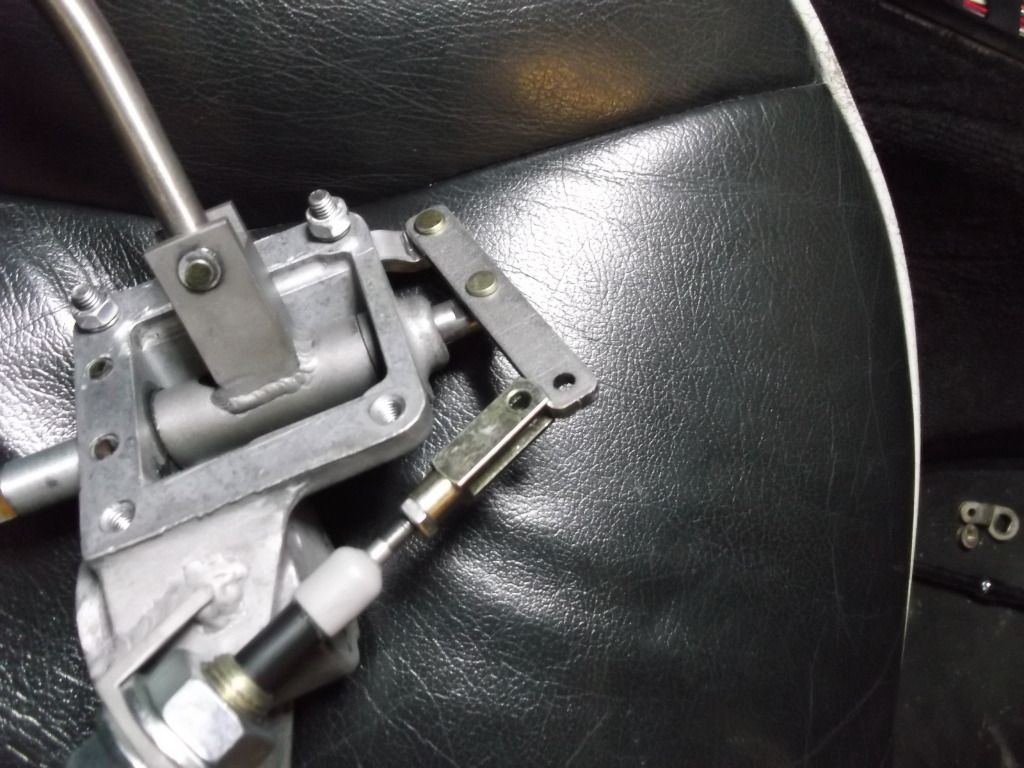
things to do is undo the 4 bolts holding the high/low lever. ( use a
6 sided socket or you may round off the heads )
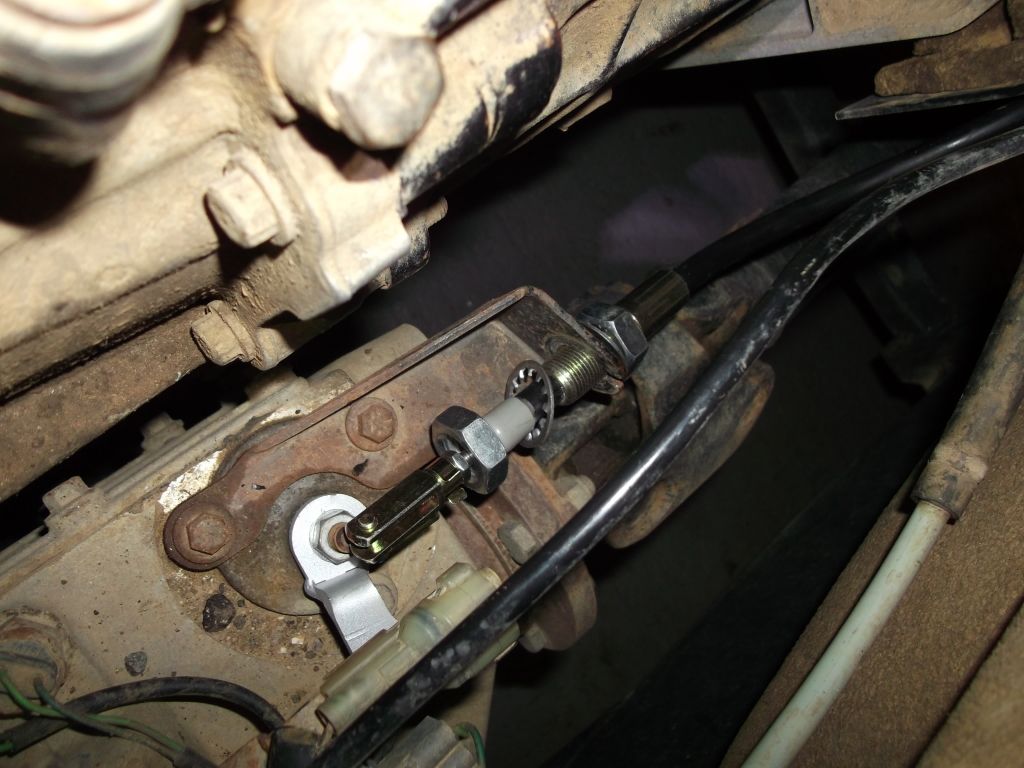
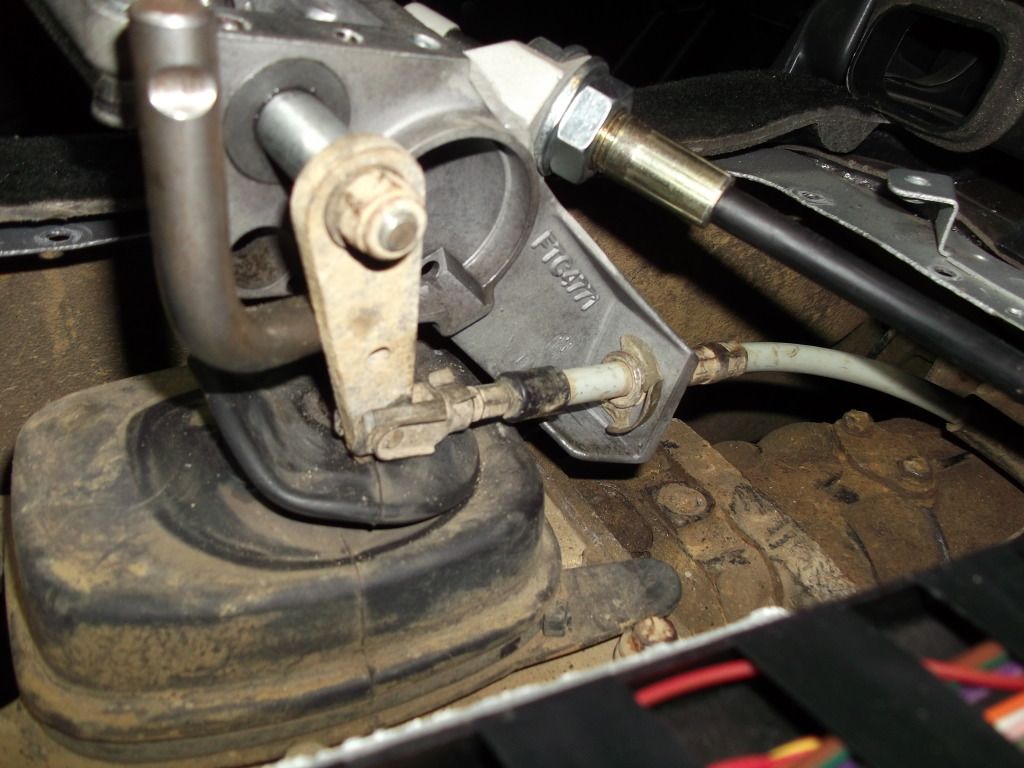
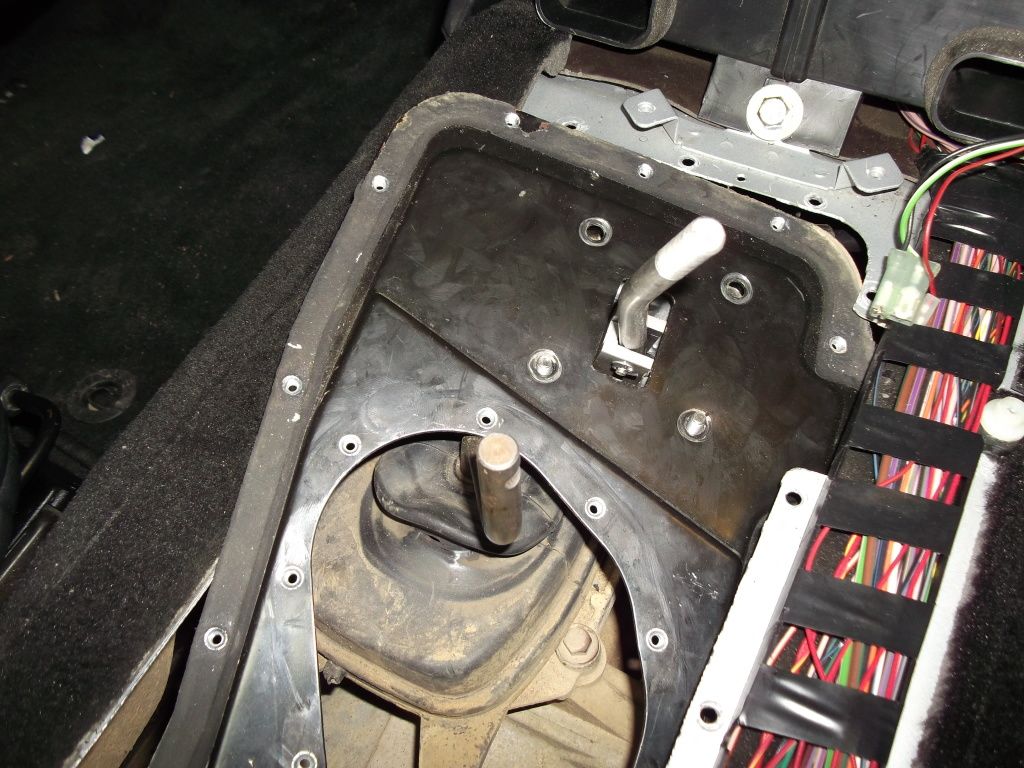
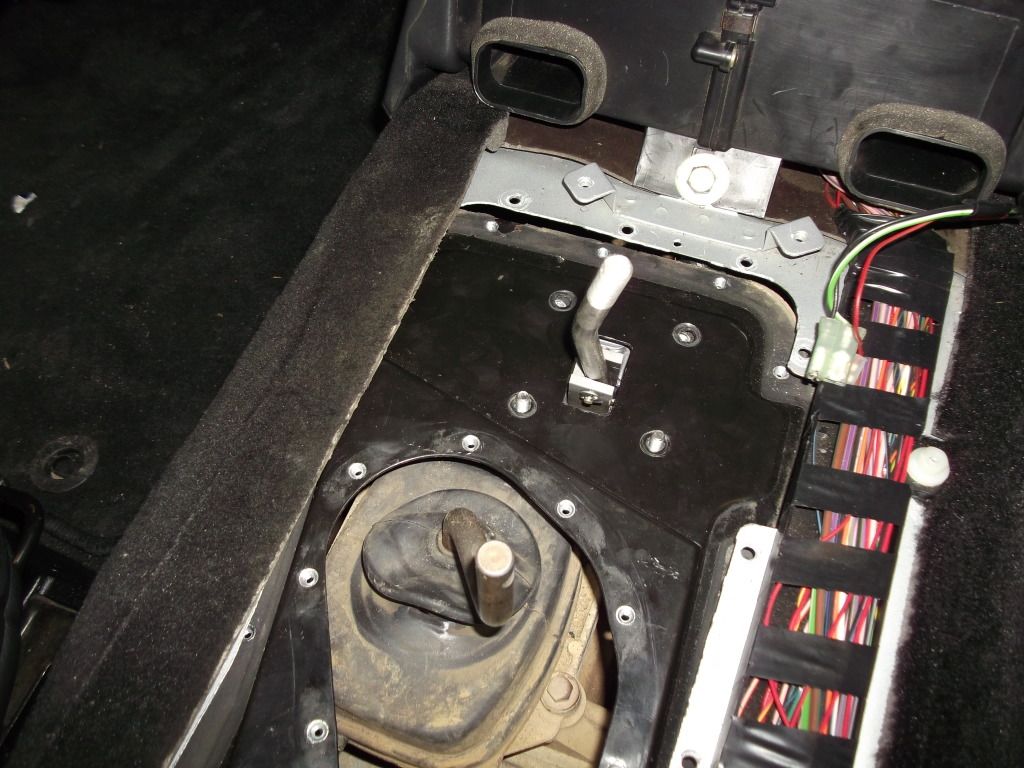
but the plate can be
removed with this still in place. cable to allow removal of the plate from the transmission tunnel.
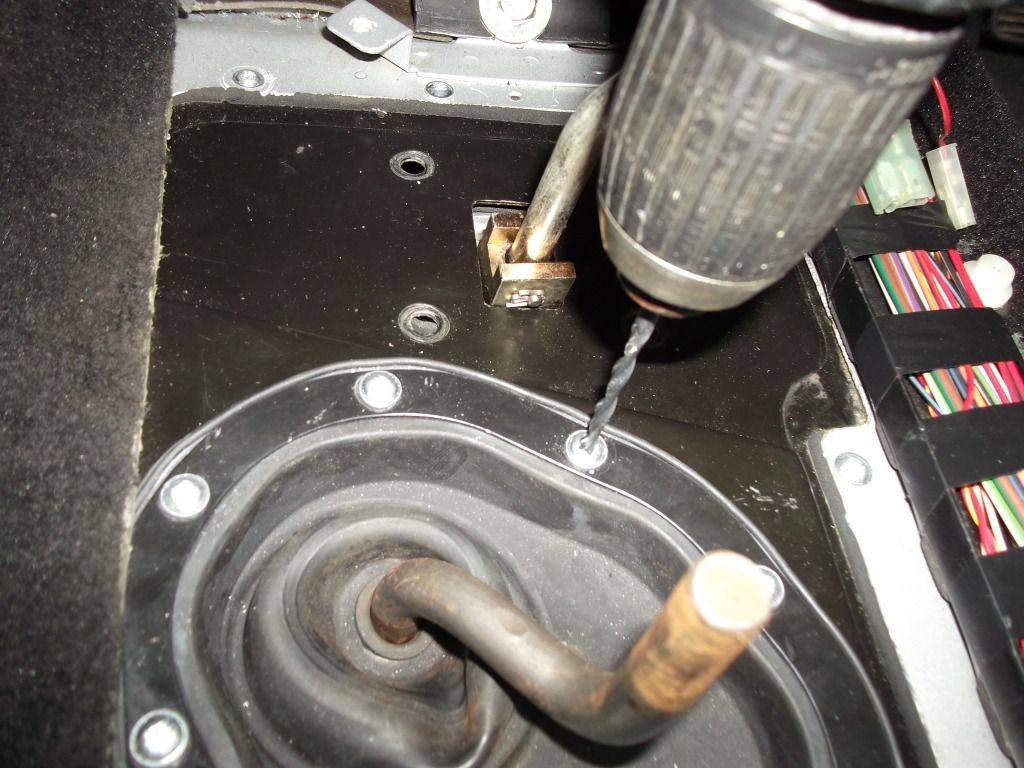
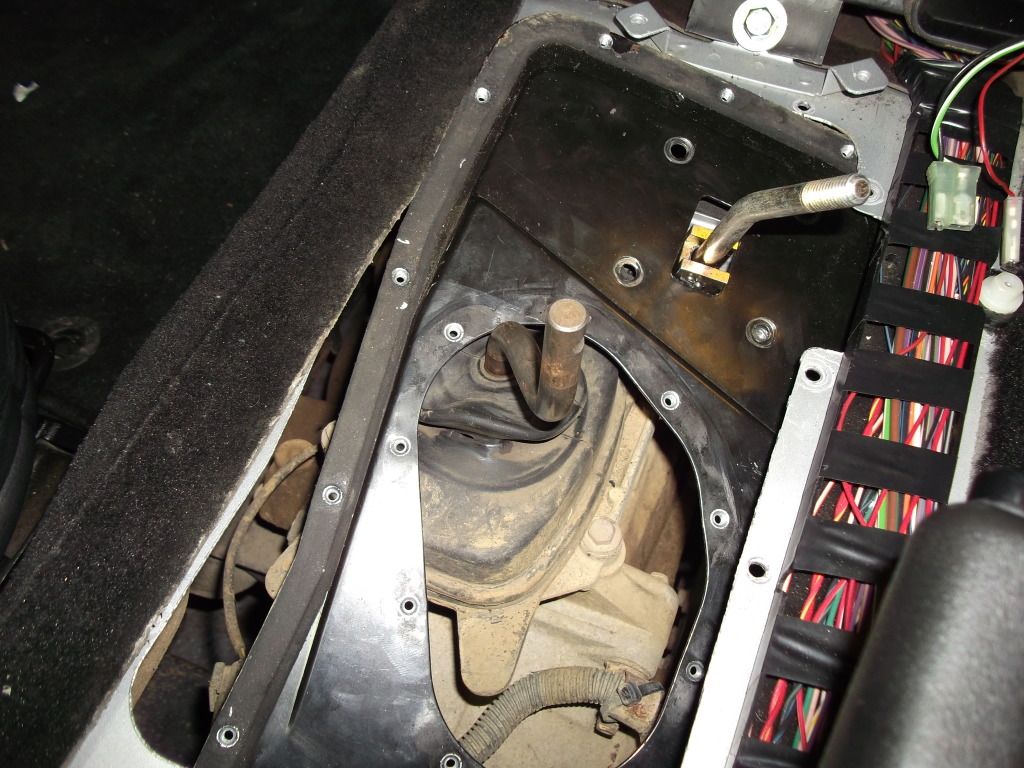
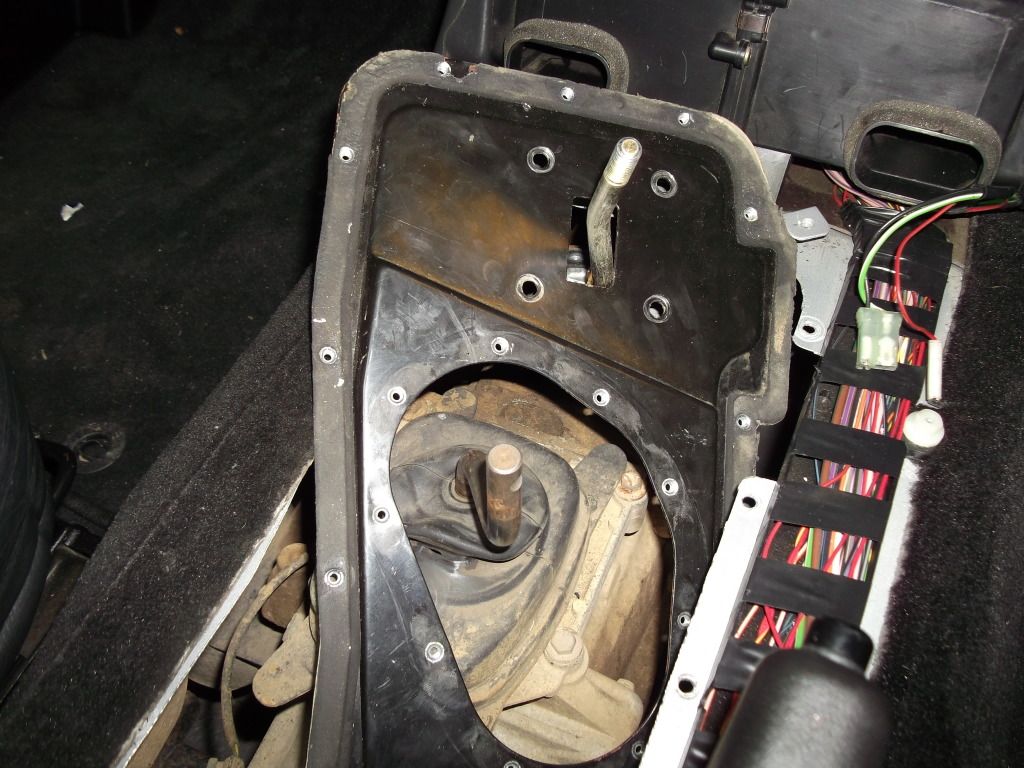
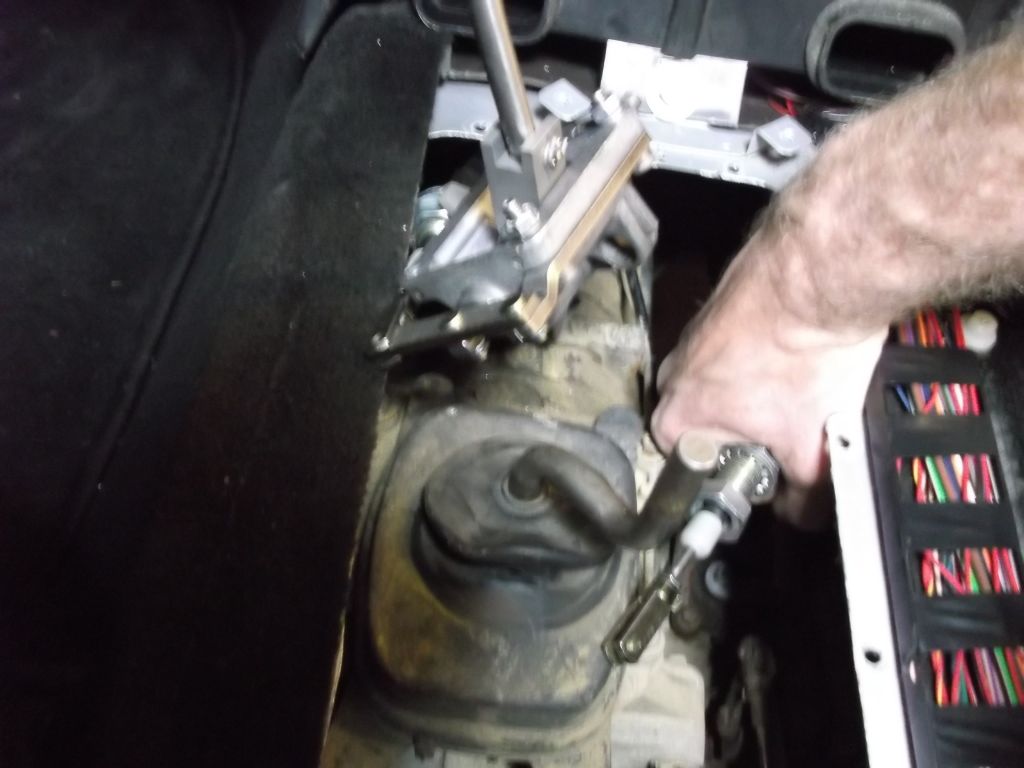
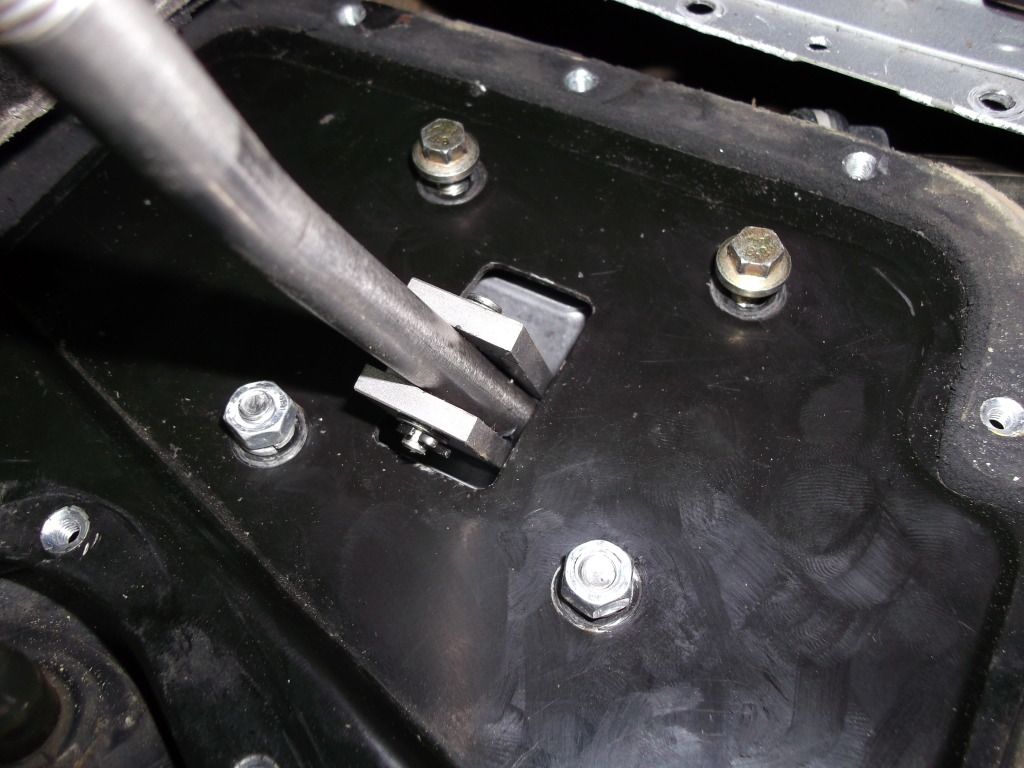
The plate can then be pushed out of the way to gain access to the
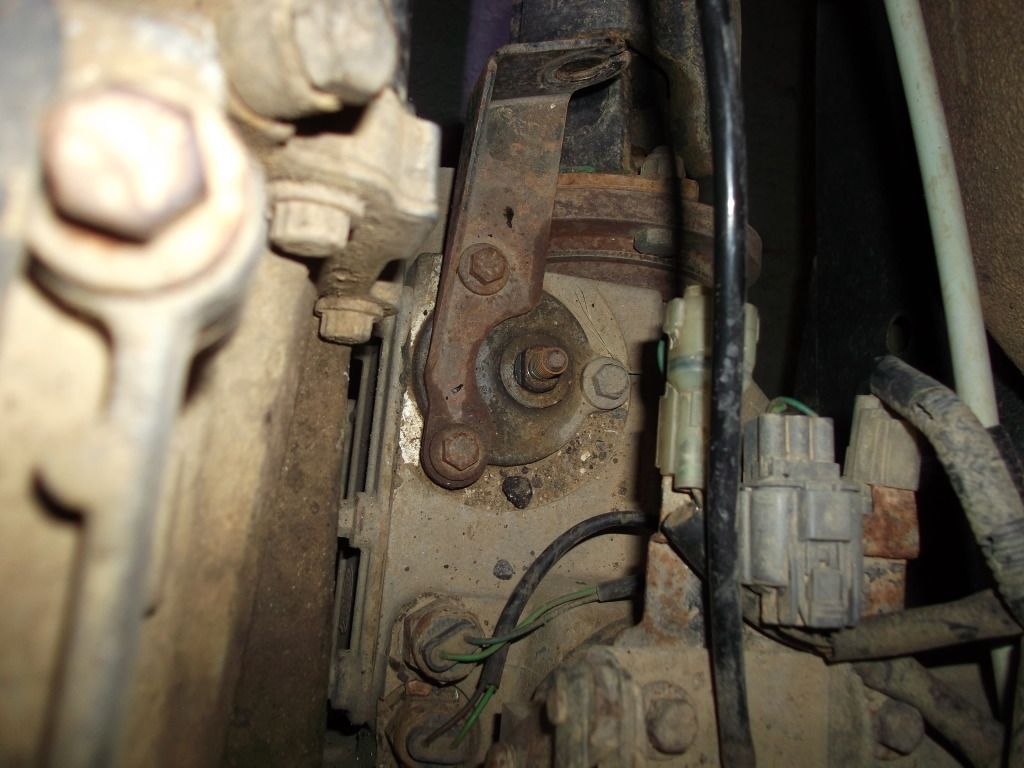
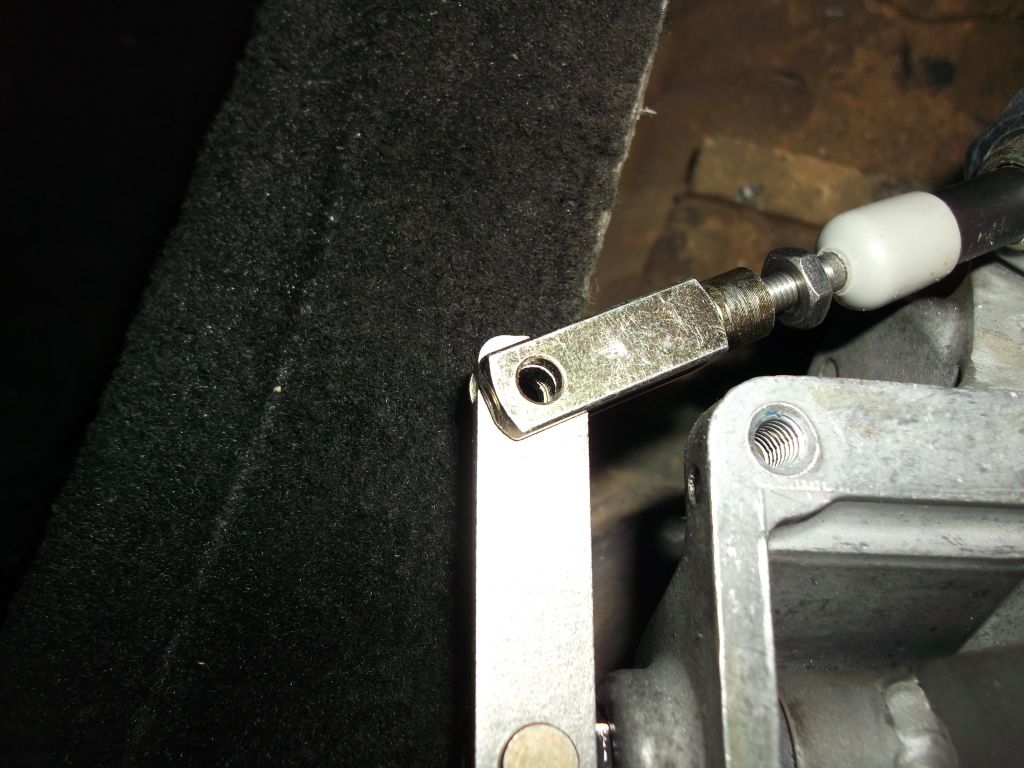
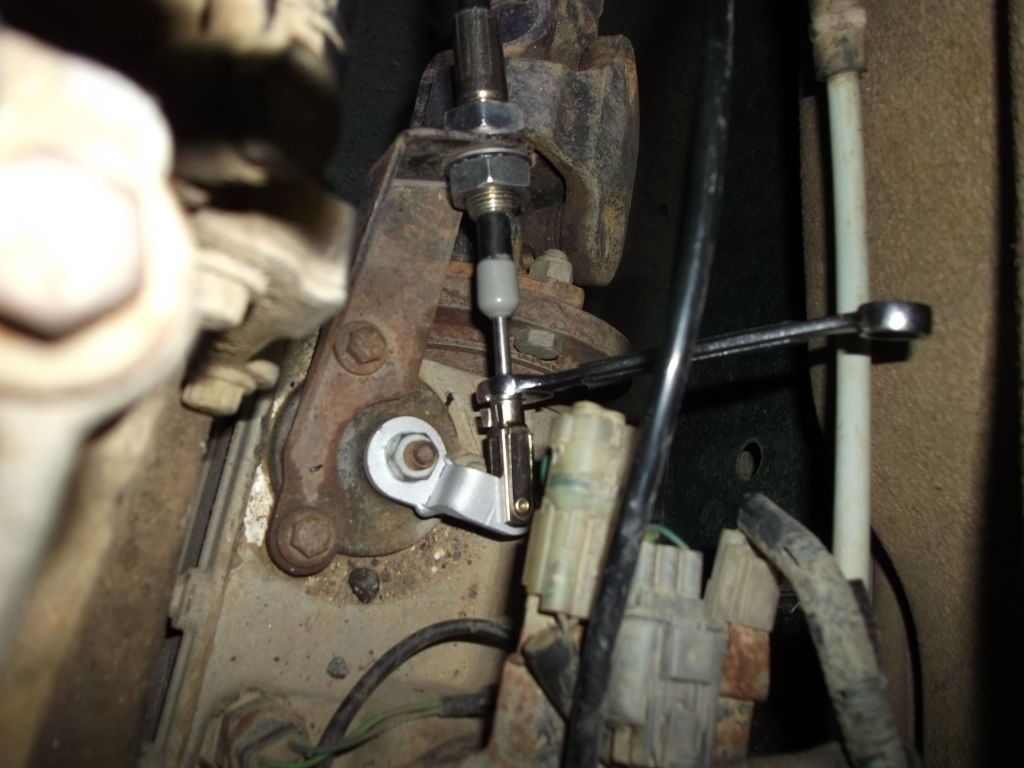
top of the transfer box. NOTE :- Before fitting the control arm (below) Spray some WD40 or similar around where the spigot rotates in the transfer box.
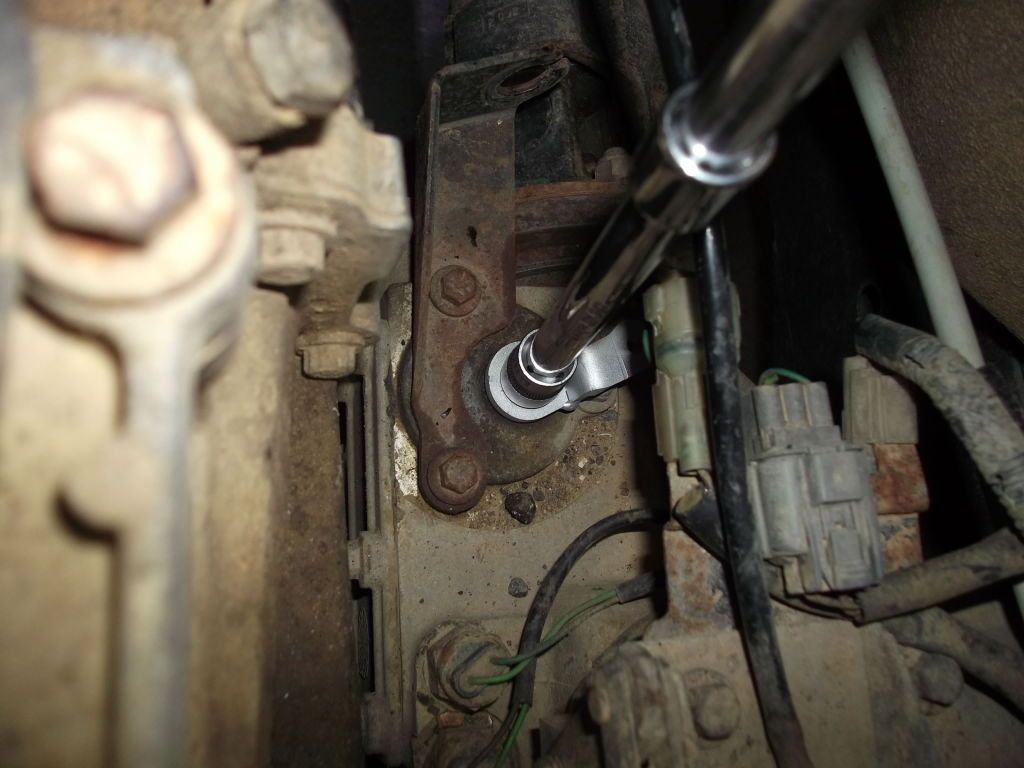
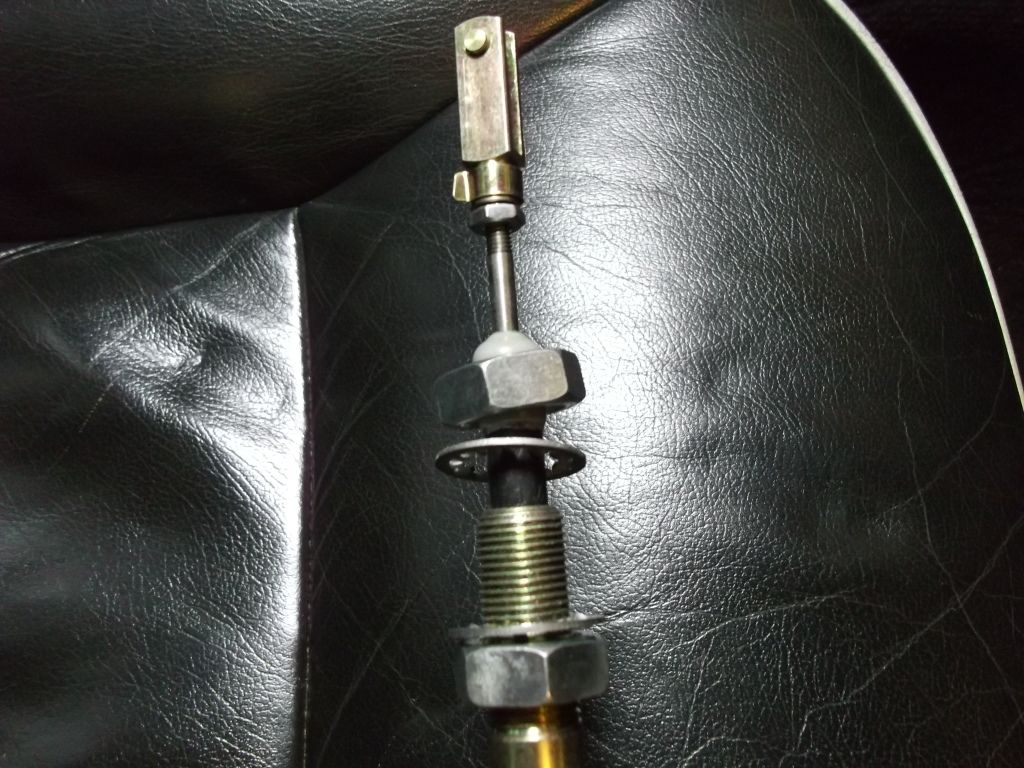
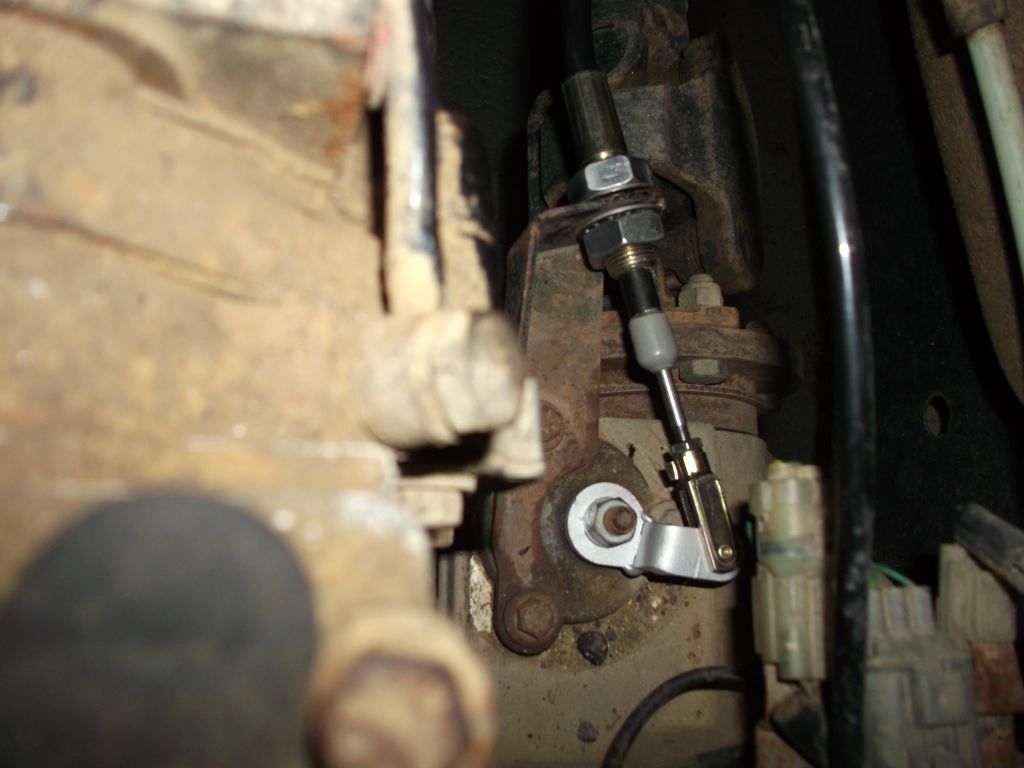
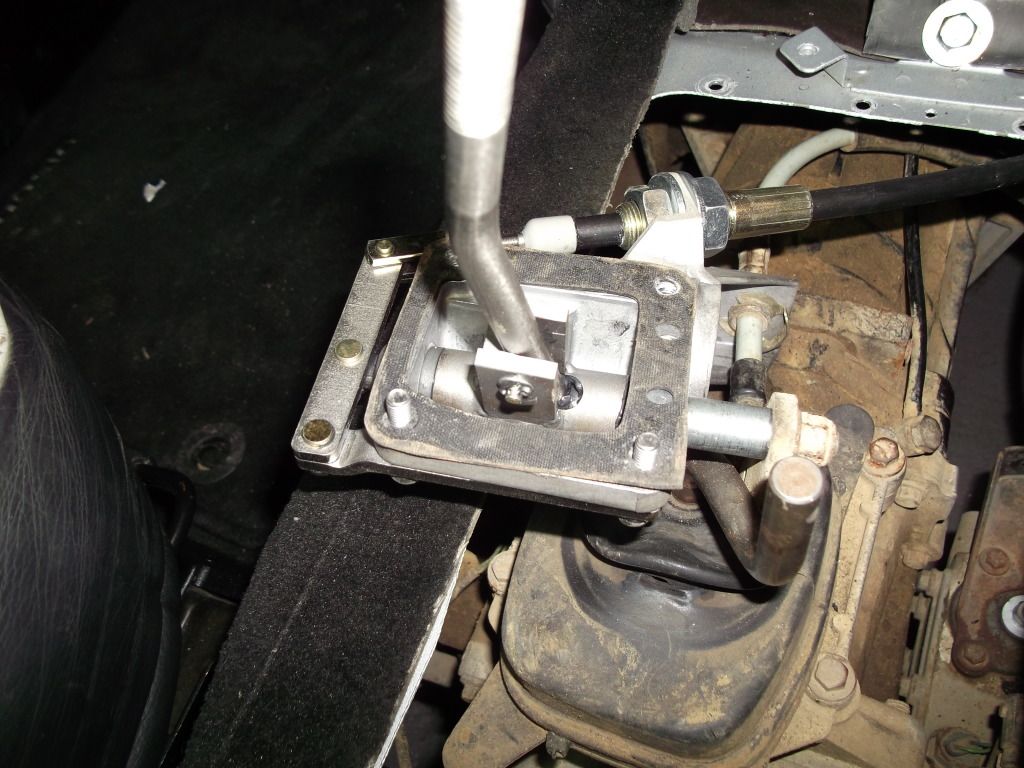
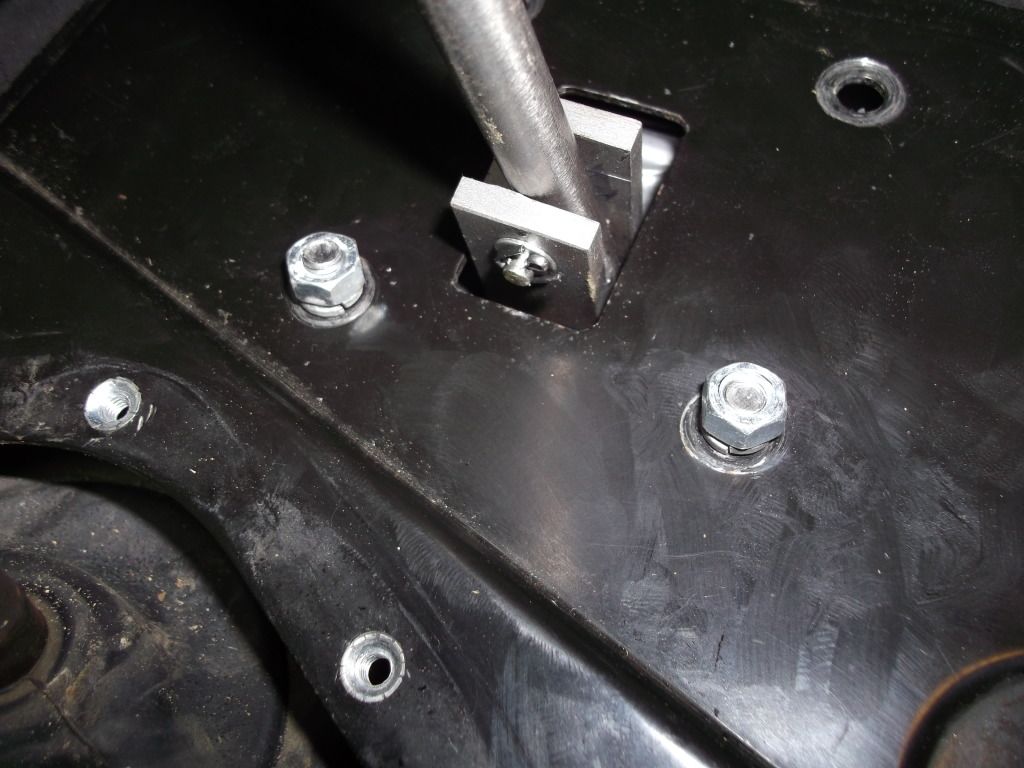
This means the diff is now locked, and you can " nip " the nut up tight. NOW IS A GOOD TIME TO CHECK THAT THE CDL
WARNING LIGHT IS WORKING ON YOUR DASH !! Once this is lined up, the inner
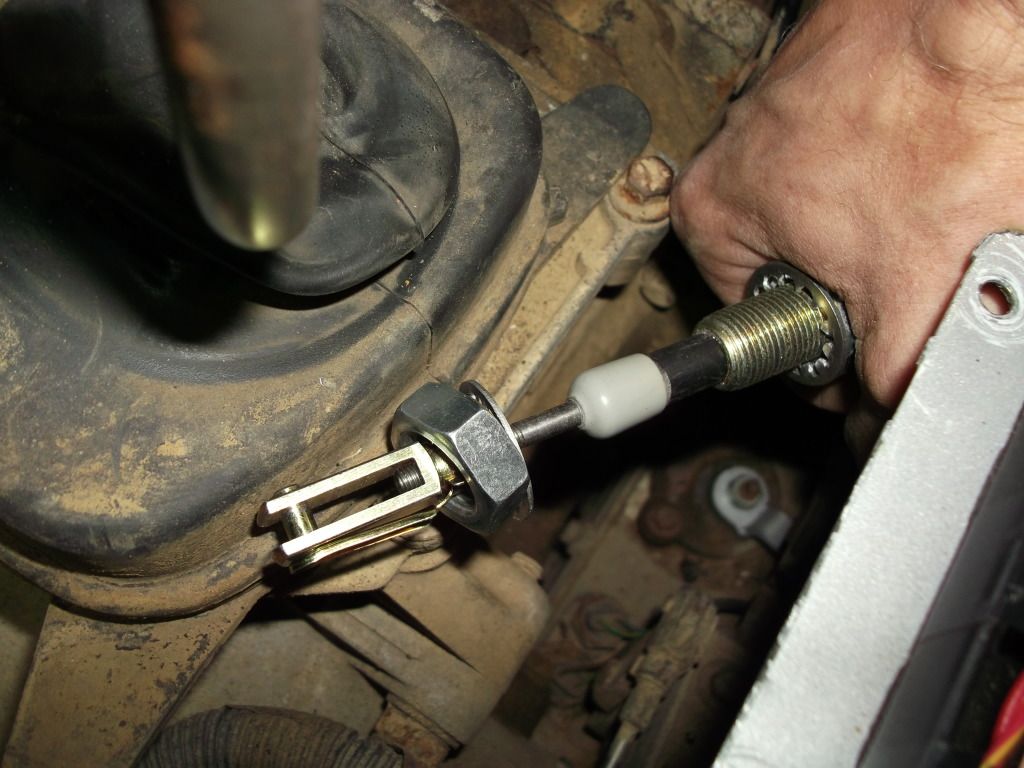
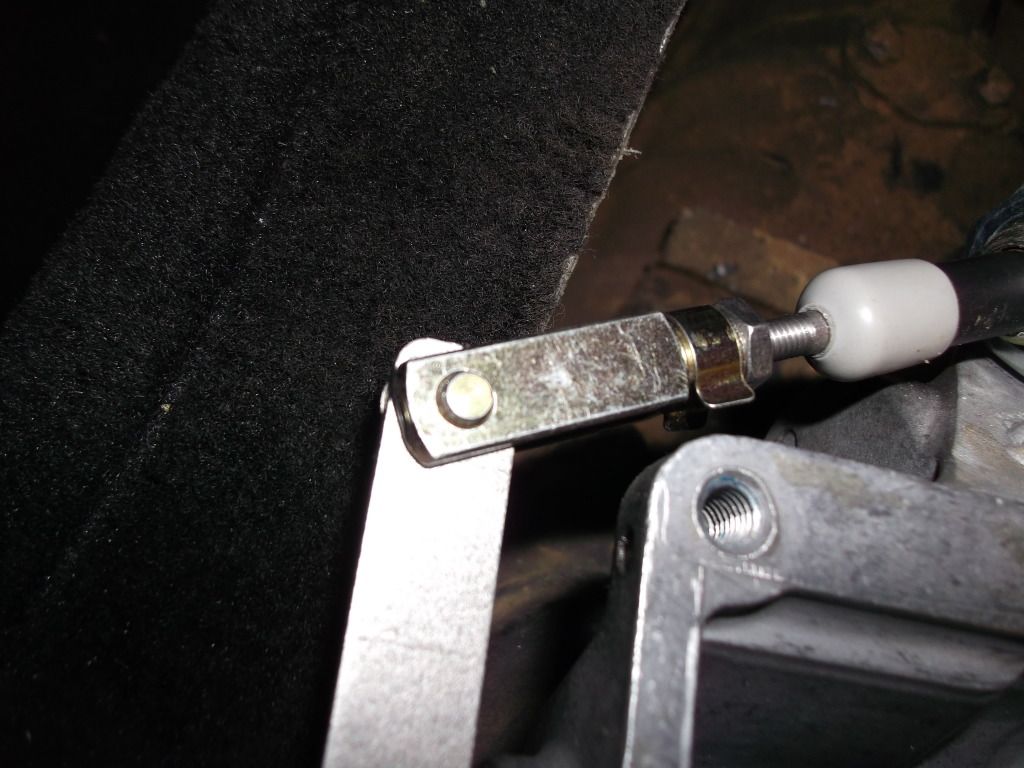
clevis cable can be pulled over the spigot arm, and the clevis pin
put in. ( obviously after pushing the
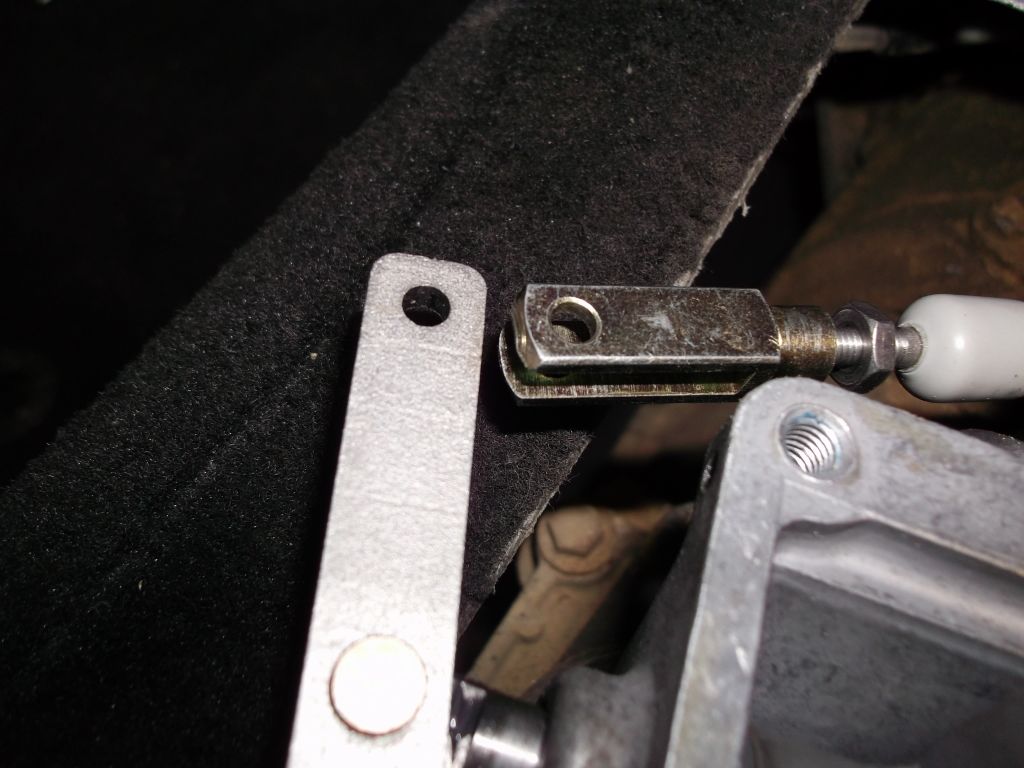
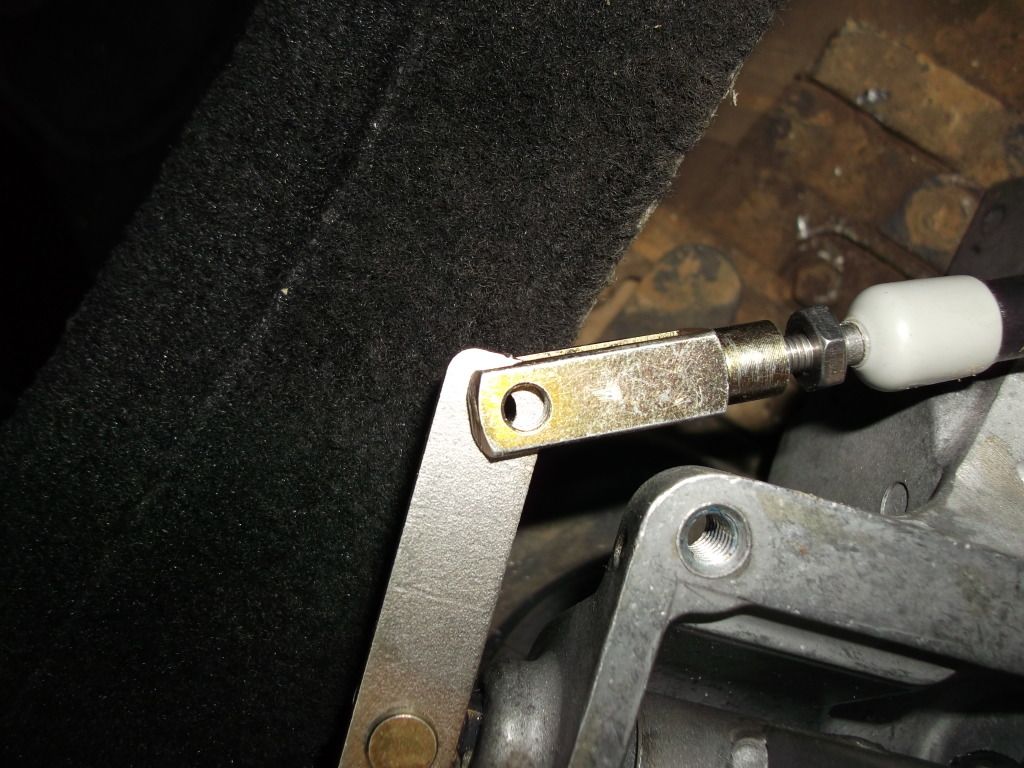
lever back over ). it is now time to tighten the
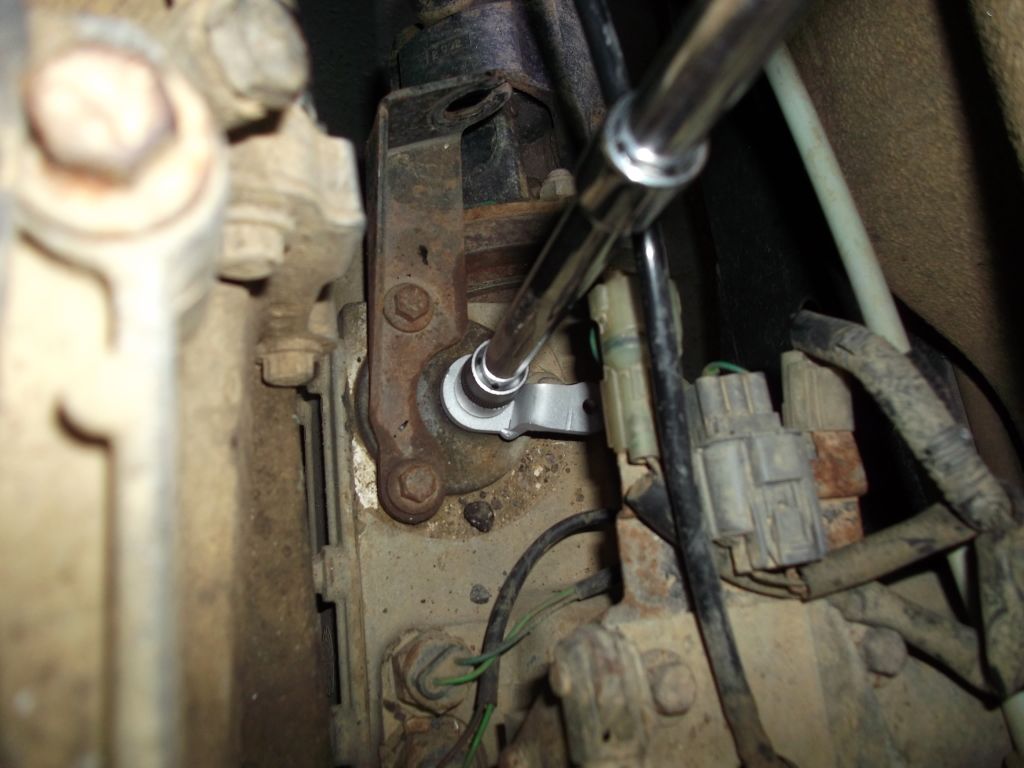
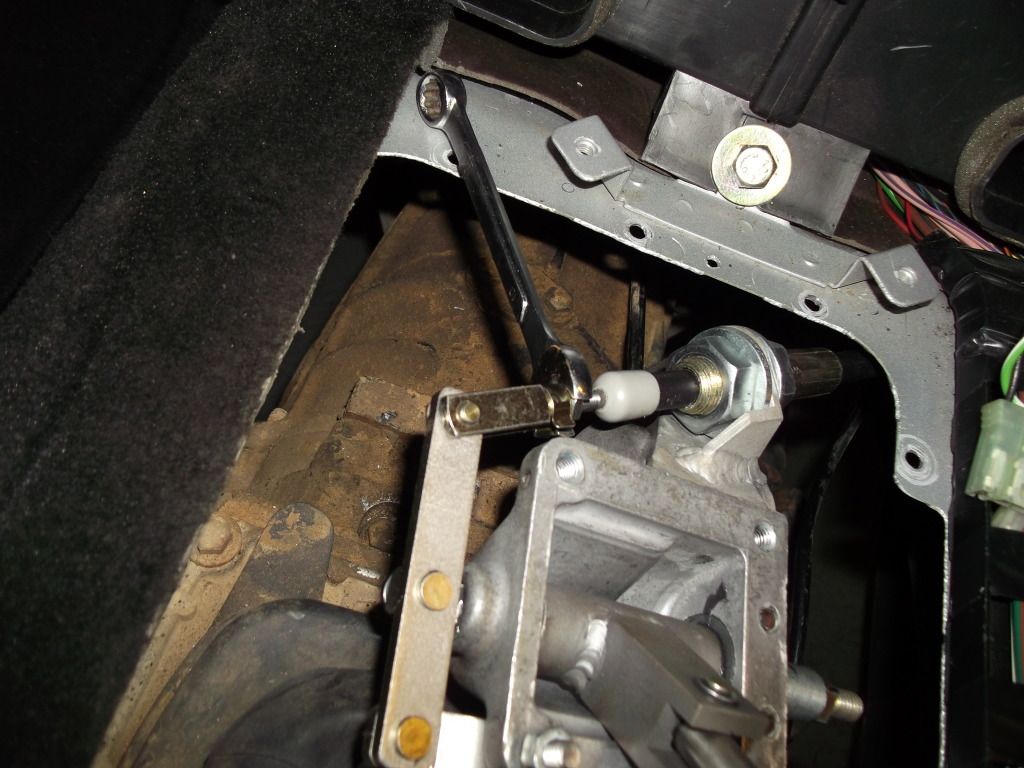
big nut on the outer cable at the bracket end, and then the clevis
locking nut. and re-connect the high/low cable. DO NOT BE TEMPTED TO TRY AND ACTIVATE THE LEVER AT THIS POINT, AS YOU CANT HOLD THE BODY IN ONE HAND AND
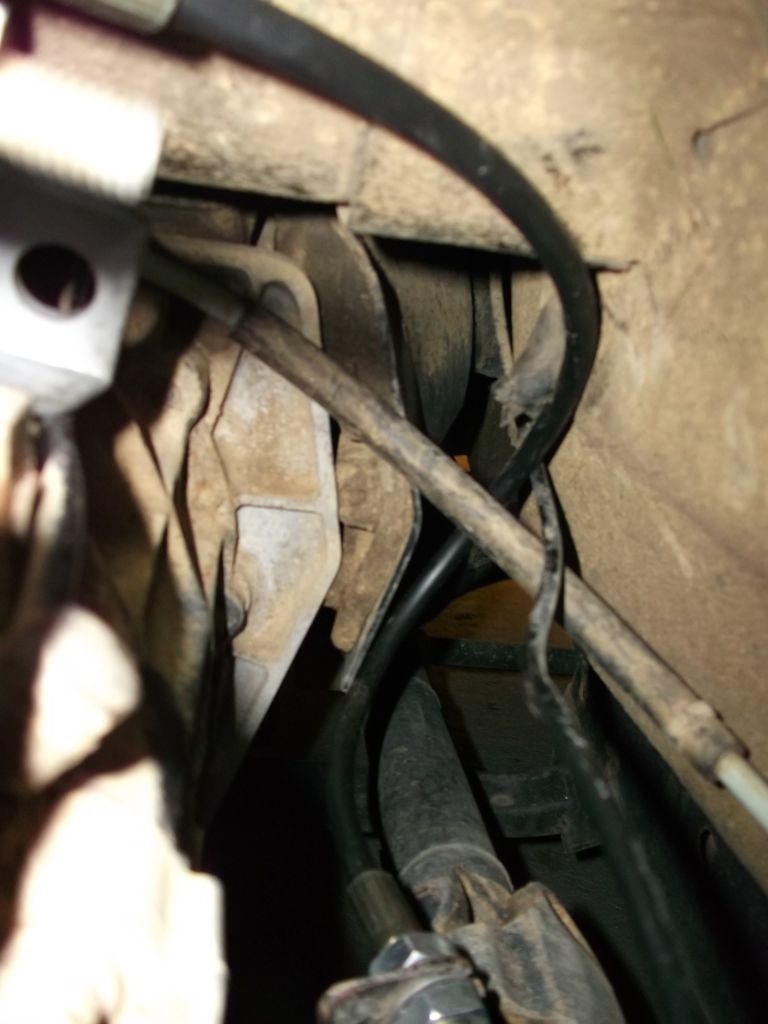
OPERATE THE LEVER WITH THE OTHER !!. the gearbox acoustic cover, and
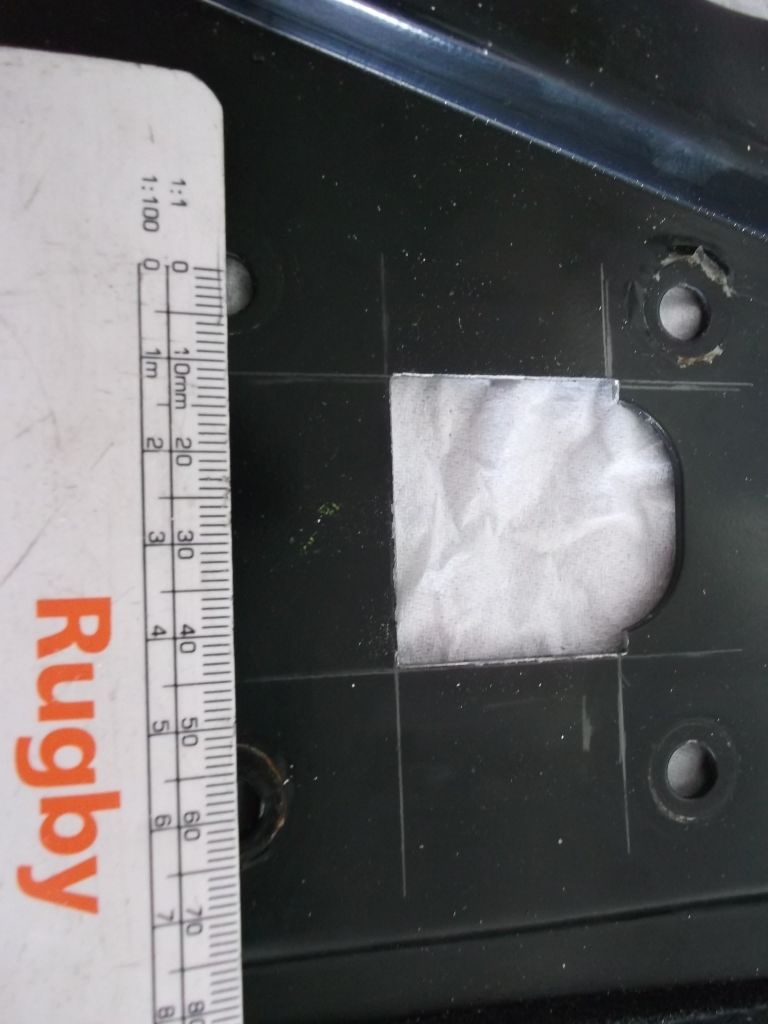
just under the a/c drains.
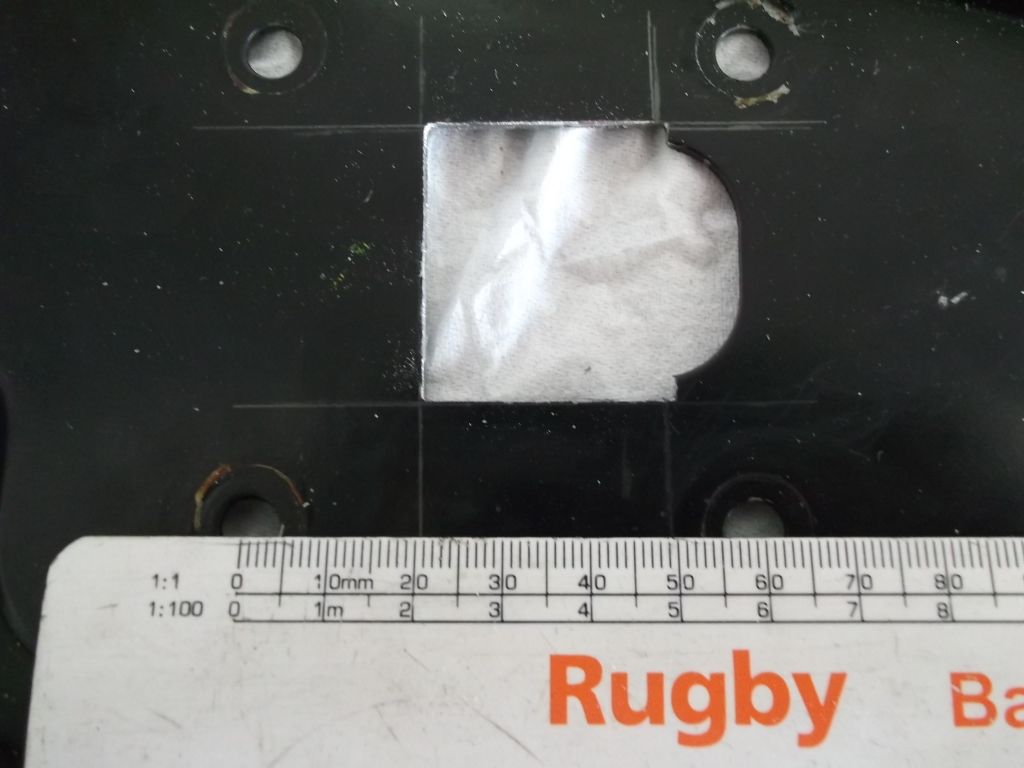
then rest of the rivets can be put in, and the consul put
back.
The cable will " relax " with use, and the diff lock mechanism
will also loosen as it gets used more. you fit it to the console BEFORE you put it back in, as it is easier to stick it on straight.
Any queries, please feel free to e-mail me at |