![]()
| Workshop :- EGR (exhaust gas recirculation) Removal |
|
|
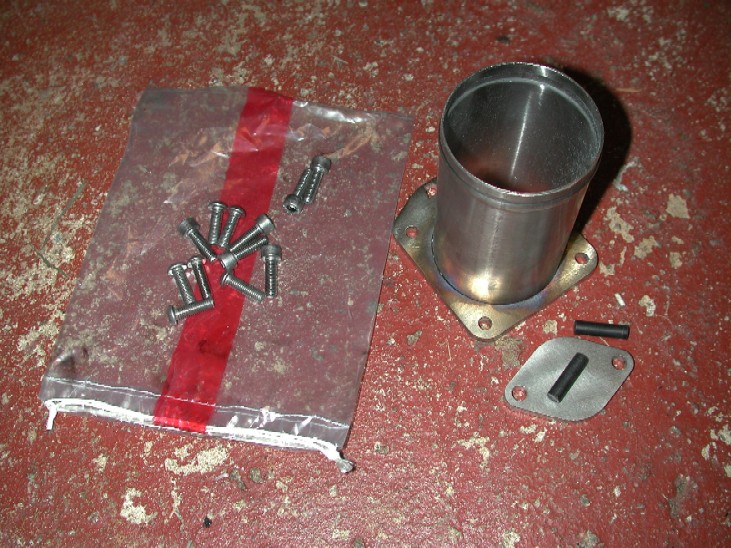
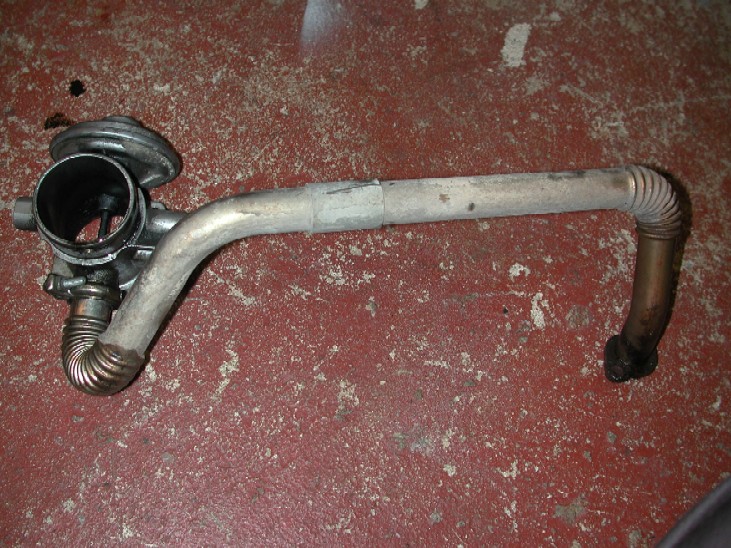
One of the most common mods to do to a diesel Land Rover is to remove the EGR setup. This stops the "dirty" exhaust gases being recirculated back through the intake and into the chambers. The whole system was simply fitted by manufacturers to help reduce NO emissions from the vehicle, but it affects its performance as well. Why do it ? well as just mentioned the air becomes cleaner (no exhaust gases), the removal of the valve itself takes away the restriction to the airflow that it gives when its in place and it can actually improve performance as well. On the "earlier" 300 TDi Discovery's, all you needed was a blanking plate to blank off the exhaust tap off that went back into the intake system, on the TD5 however, its much better to still blank of the pipe and also remove the valve completely to remove the restriction as well, this needs to be replaced with a pipe approx 4" long. There are several companies that do these kits, its up to you which one you choose to use. A couple of them are TD5Alive and Devon4x4. I chose the Devon 4x4 kit in the end as I liked the look of the stainless pipe, its purely down to personal choice as to which you go for. Here is what comes in the Devon kit
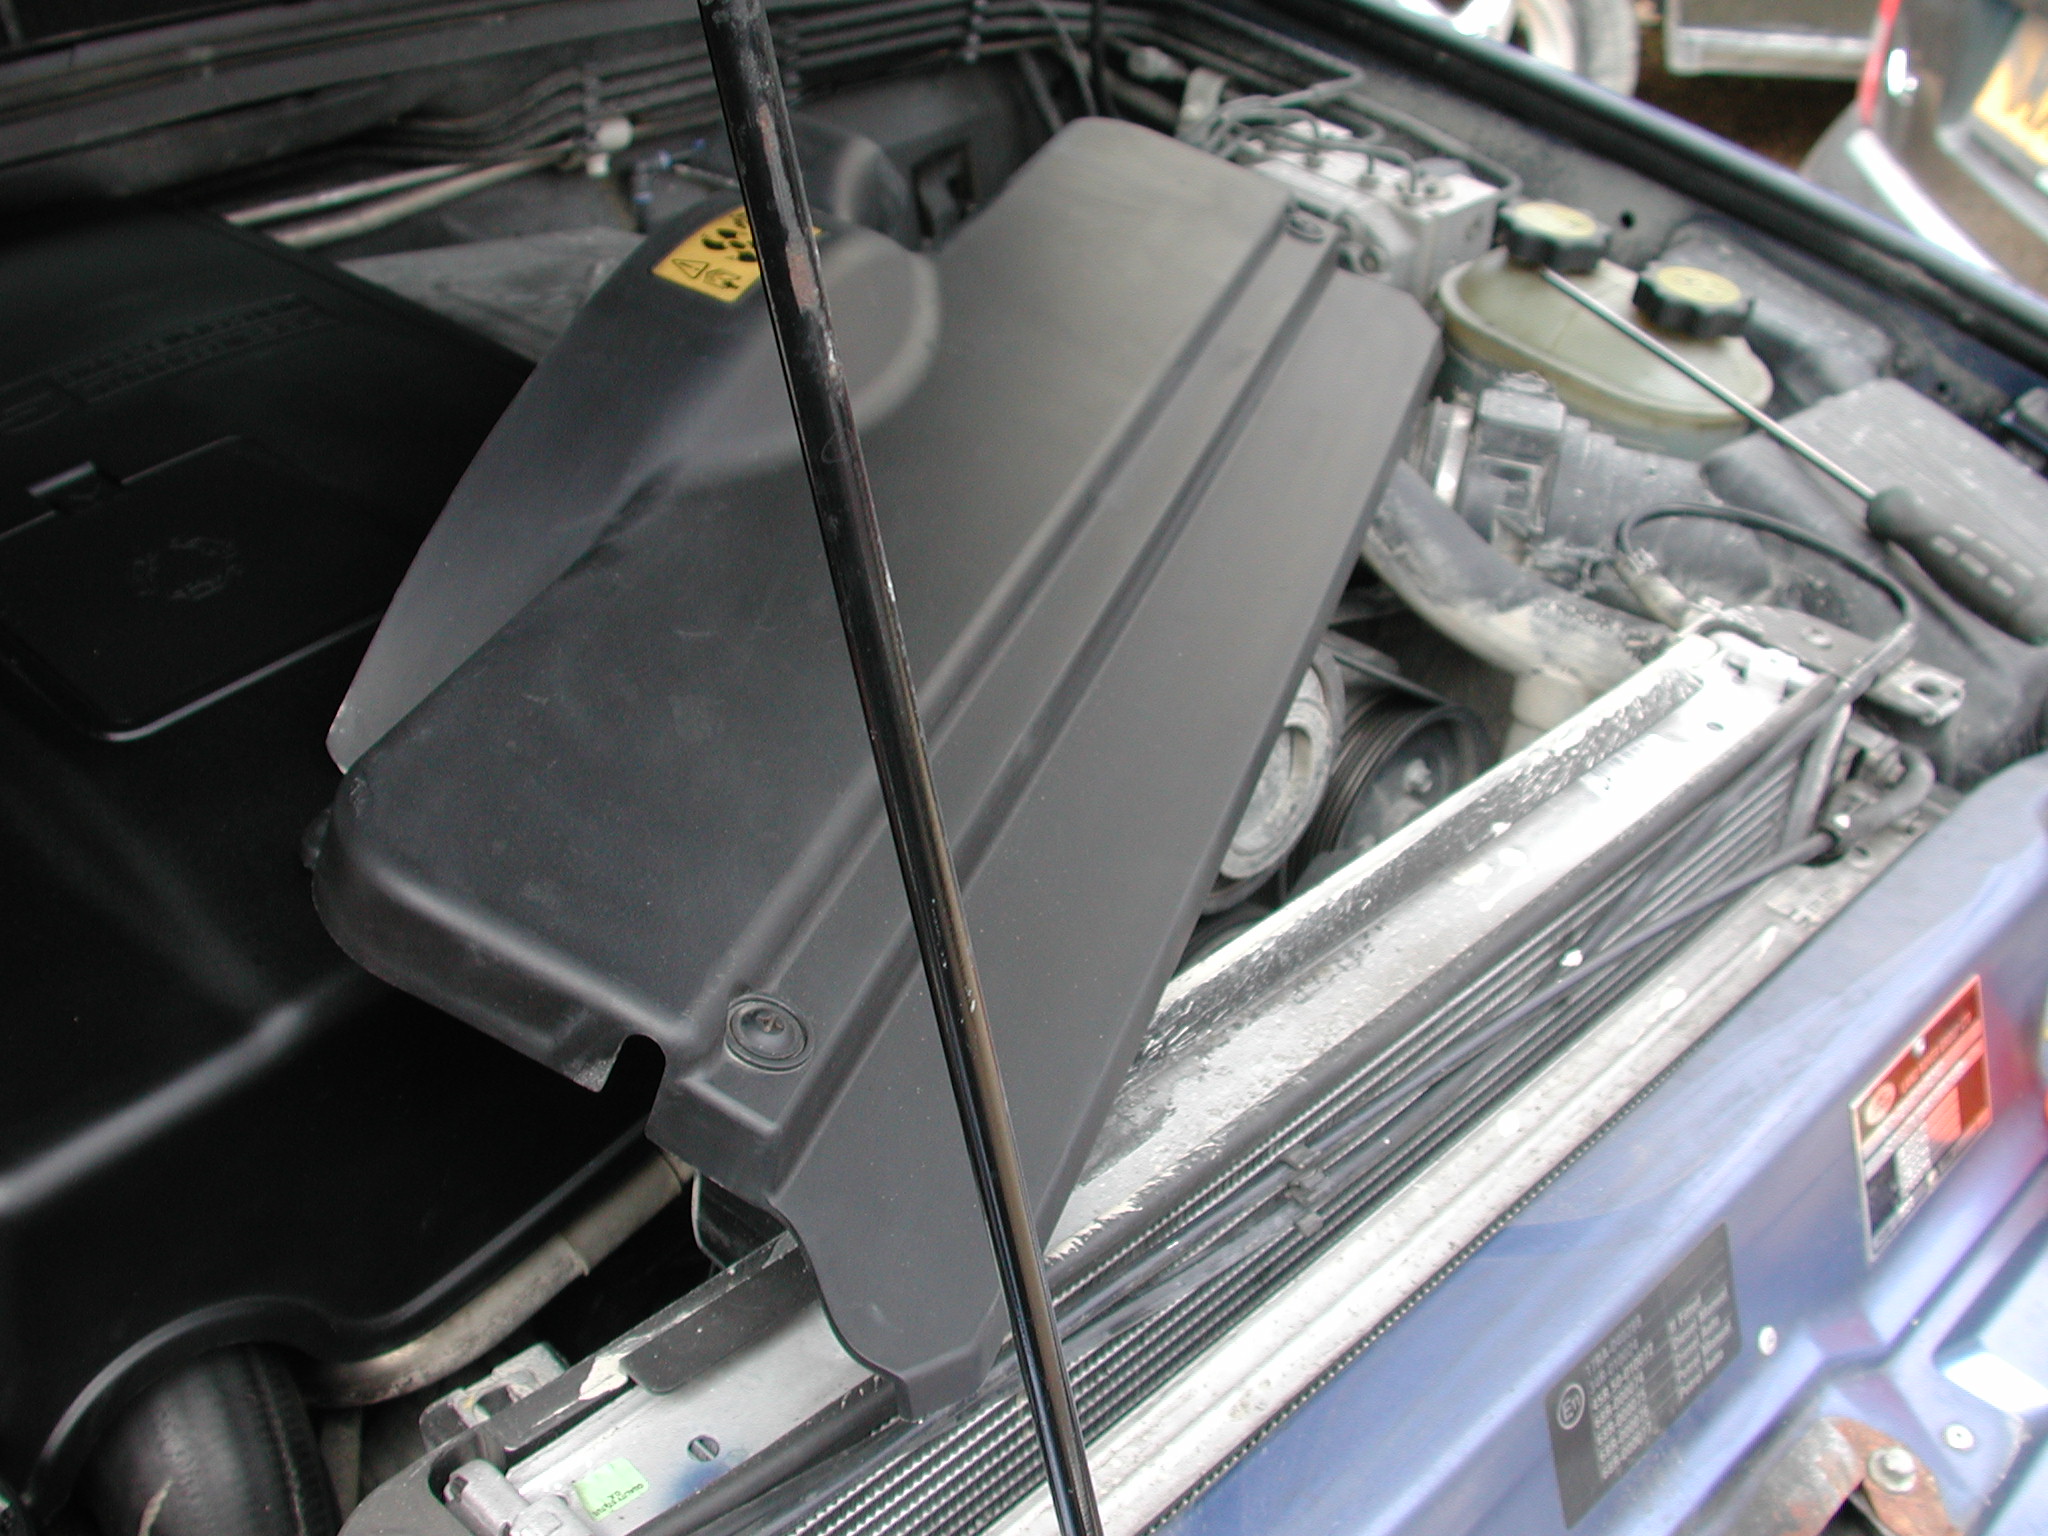
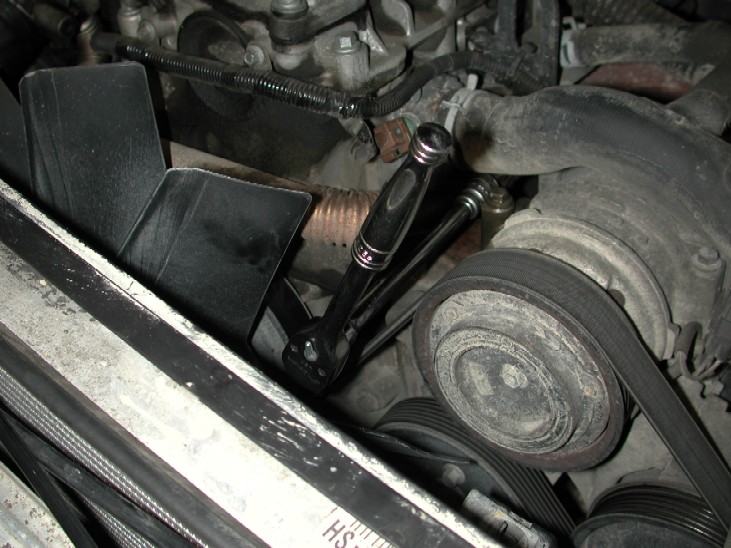
You get the new pipe to replace the valve, a blanking plate to blank of the exhaust tap off, and 2 blanks to cover the vacum pipes on the modulator. The bolts you see are NOT included, I armed myself with some new stainless dome and cap head bolts ready for this install. First off, remove the engine fan shroud This is held on by 4 quick release philips head clips
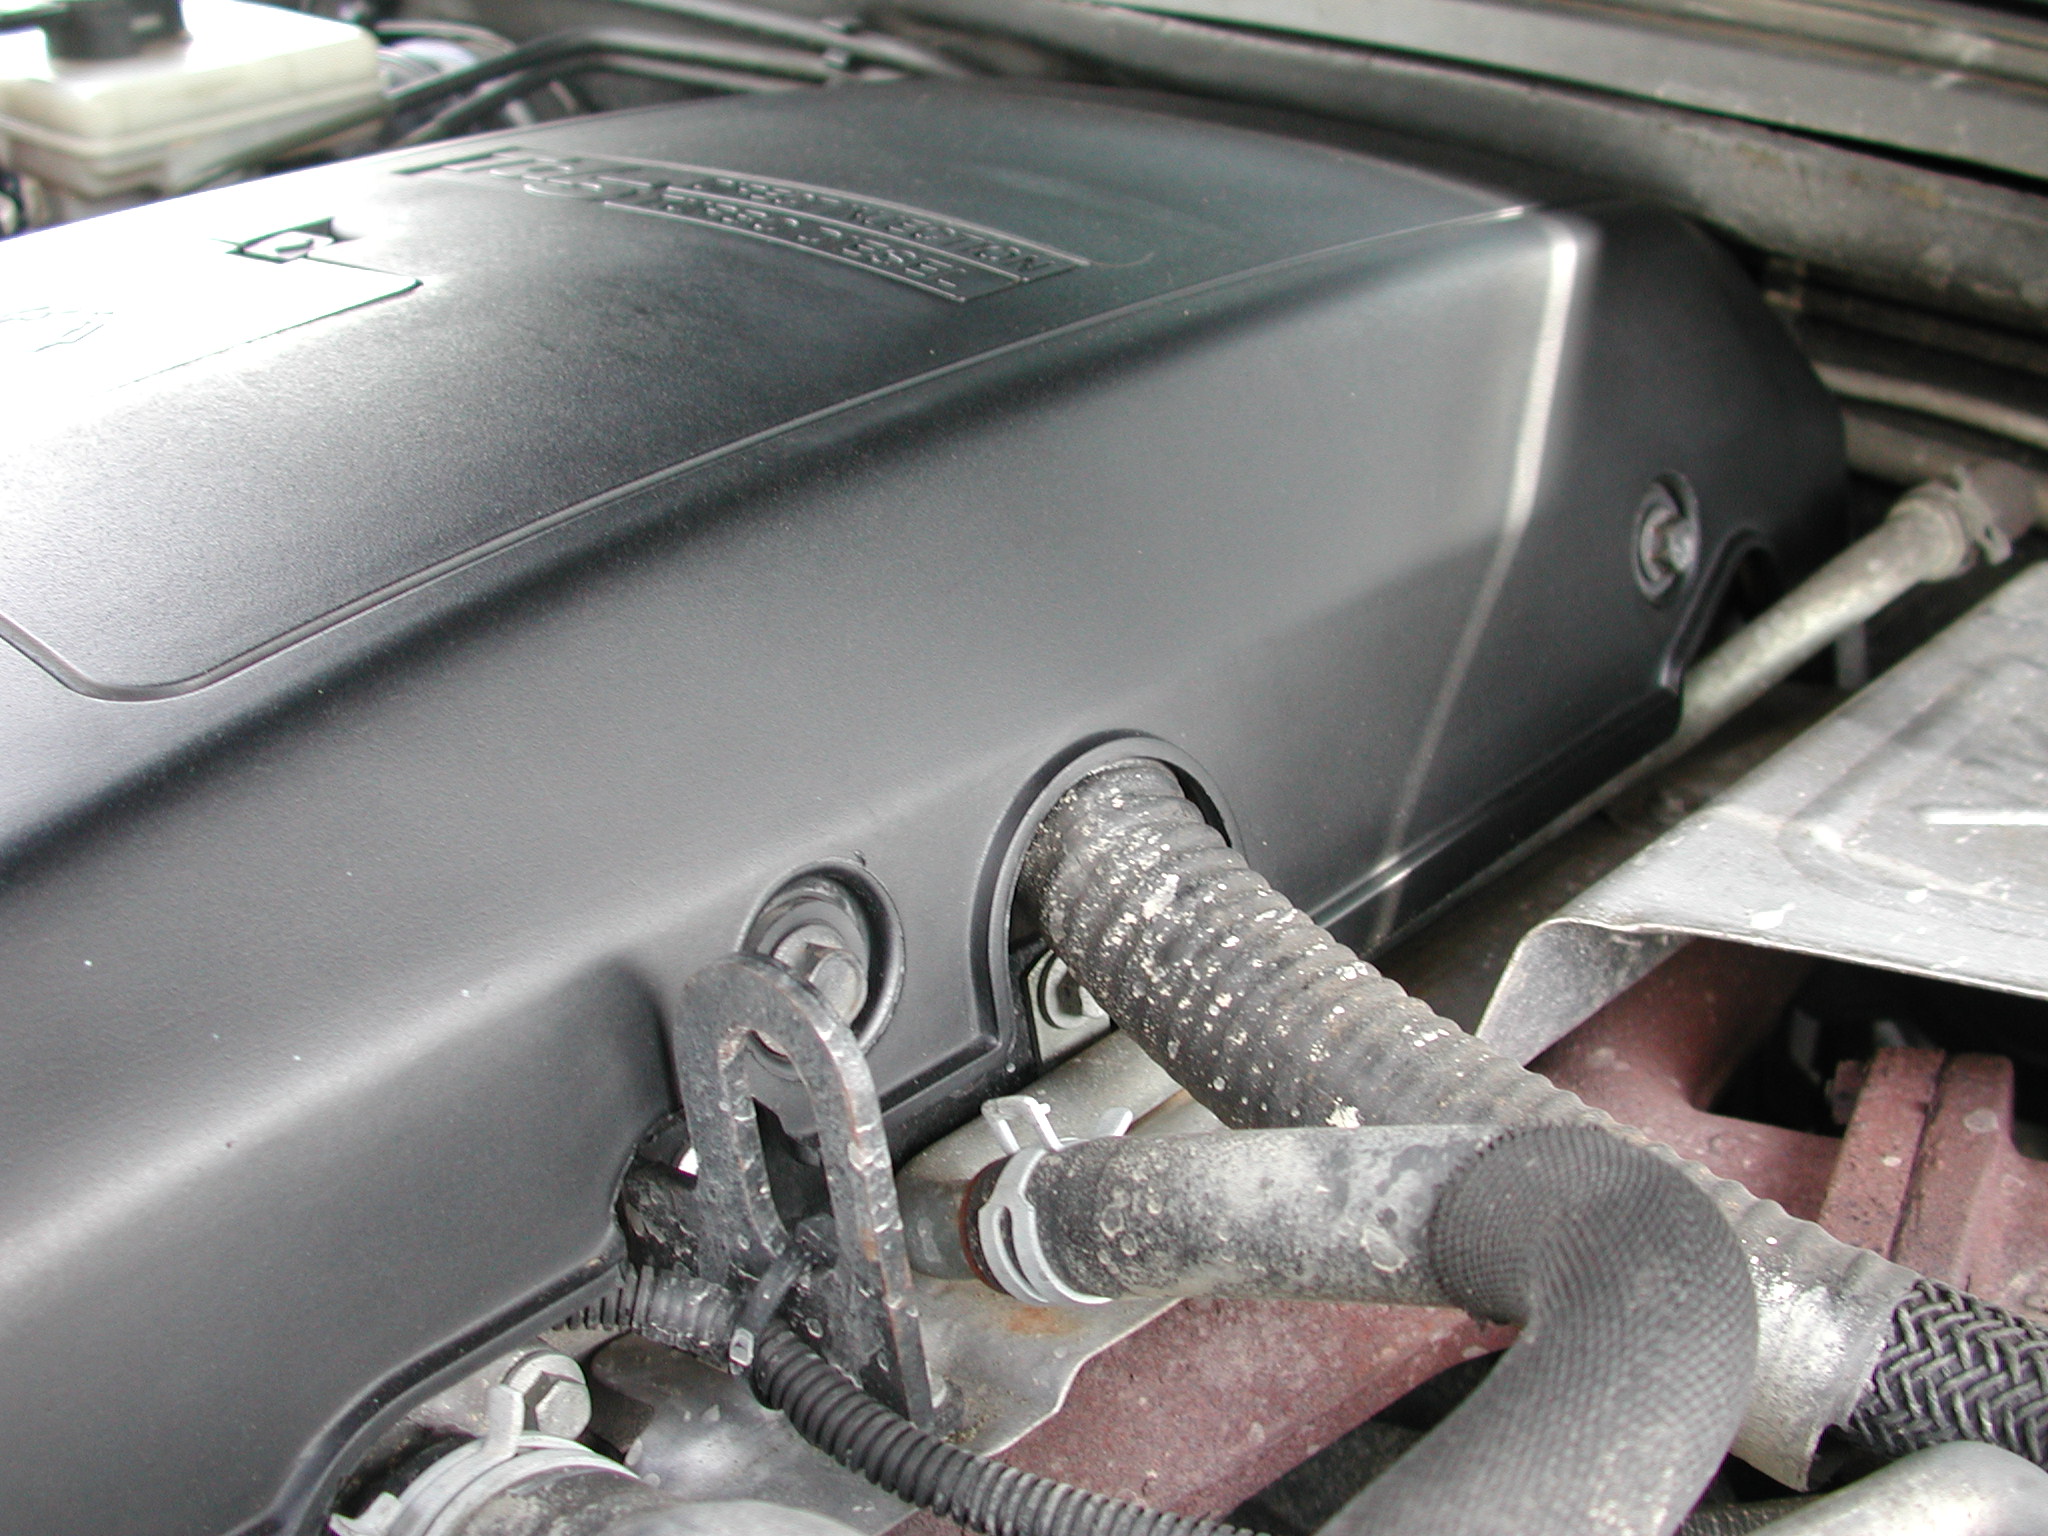
Then the engine acoustic cover , Its held on by 3 bolts, 2 on the passenger side and 1 on the driver side
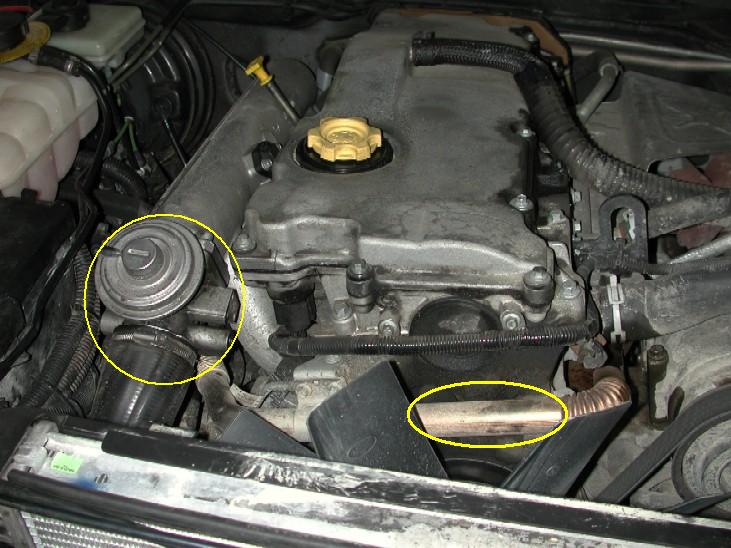
You will now see the EGR valve and pipe that you have to remove, if you have done any work before like cleaning the intercooler or removed a radiator, this should all be familiar to you.
So now you have to undo the jubilee clip holding the intercooler pipe to the EGR valve, you can slide the pipe of the valve to give you enough clearance, but you "may" need to remove it from the intercooler end as well if you need more room Next remove the 2 bolts that secure the pipe to the engine bracket
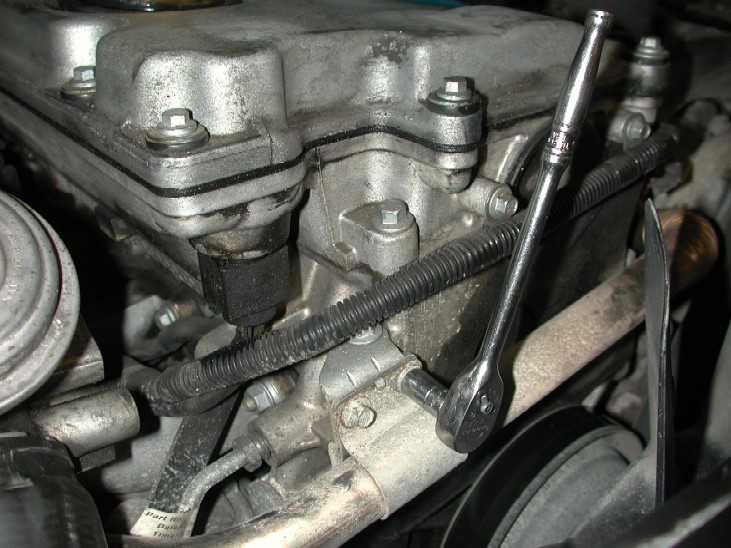
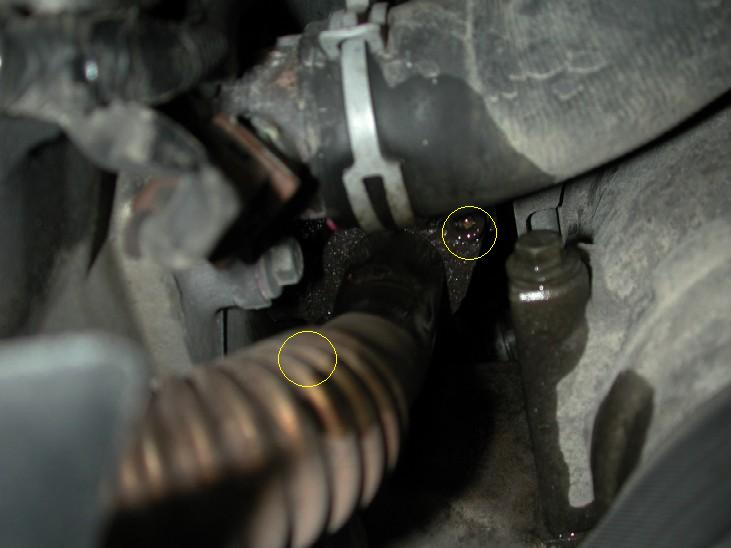
Now remove the 4 bolts that secure the EGR valve to the intake manifold. These should not be that tight and are pretty easy to get on to. After they are out, you now have to remove the 2 allen head bolts that secure the pipe to the exhaust manifold. These have been know to shear of, so its a good idea to soak them in some penetrating fluid or WD 40 etc before you tackle them. They are not easy to see, and even harder to take a photo of them, but the picture below shows where they are
Undo them carefully and slowly, its best if you have a allen key socket and use a ratchet and 6" extension to get on the, so you are square on the bolts and can move the ratchet to undo them
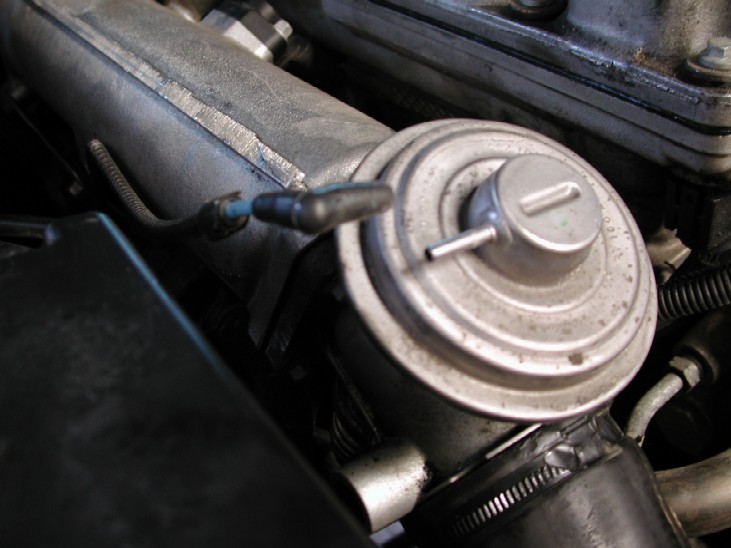
Unplug the vacum line from the EGR valve
Then, you can remove the whole EGR setup
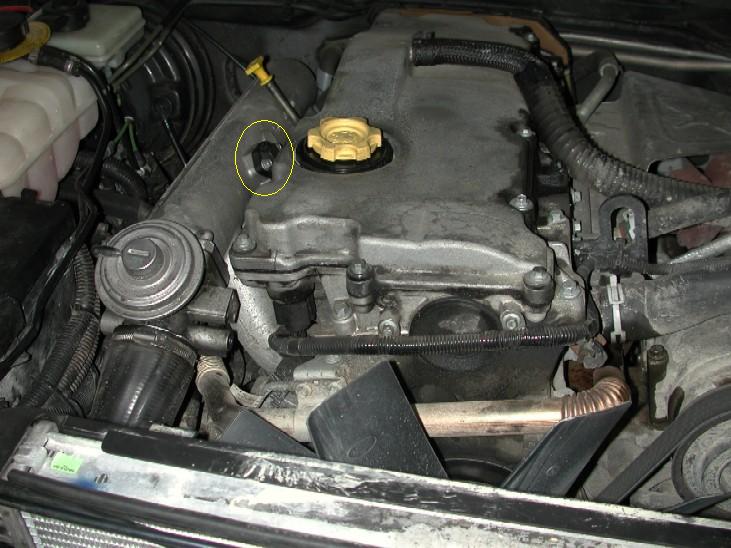
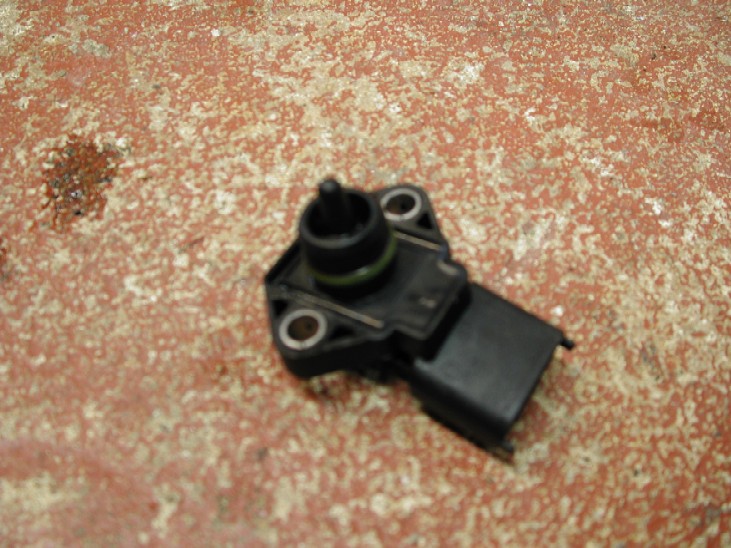
Now its all removed you will most likely see lots of oily mess in the intake manifold, if you don't then great !! go onto the re-fitting, if you do have a messy intake, then clean as best you can and try to avoid at all costs knocking stuff down the inlet tubes into the engine. Its not easy to clean it out and ideally the intake manifold should be removed completely and cleaned out, I will cover this at a later date once I have done it myself. Whilst looking into the intake I noticed that the Inlet temp sensor was very "dirty", so I removed this to give it a clean. It secured by 2 bolts half way down the intake manifold plenum and is sealed with an "o" ring that will be fine to re-use.
I also used some solvent / switch cleaner to clean the plug / loom to the sensor as this to was "oily"
Once its all clean and dry re-fit the sensor to the intake manifold and then connect its electrical plug back up. Now you have to fit the new items in your "kit". First off I did the Blanking plate, I used some new stainless cap help bolts and some spring washers to fit mine on. You can use the "old" bolts, but even the workshop manual states that they should be discarded and renewed each time they are taken out. Its also a good idea to spray the holes in the exhaust manifold with some WD 40 or light oil to assist the bolt re-fitment. The EGR pip has a metal gasket that fits here, I never got a new one, but it would be advisable to do so before doing the install, failing that you could simply use some instant gasket, exhaust assembly paste or as I did some high temp flexible sealant. Fit both bolts loosely before tightening them up. Here is the plate installed below :-
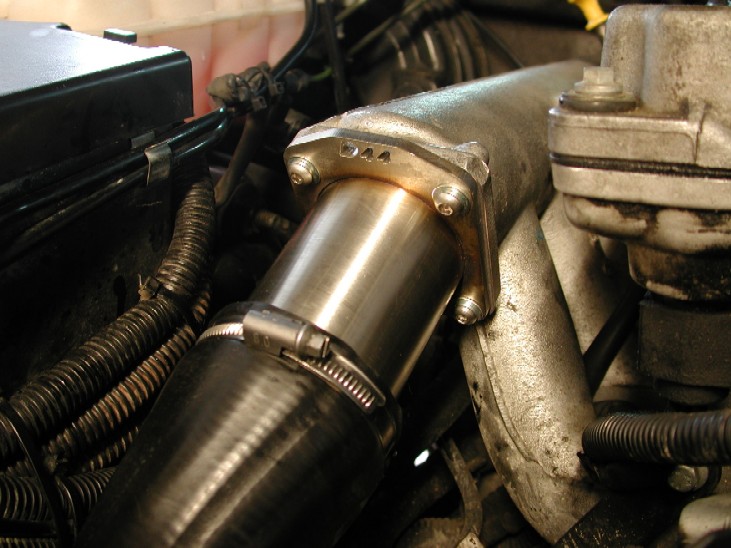
Next is the replacement pipe to go where the EGR valve was. Again I used some new stainless bolts / spring washers, but the original bolts can be re-used here with no problems at all. I did fit a new gasket here, and advise you fit all 4 bolts loosely again before tightening them up.
Once the pipe is in, refit the intercooler hose and jubilee clip. Last but not least, you can now remove the small plastic BLUE vacuum hose that connected to the top of the EGR valve and runs back to the EGR modulator. This is where you install the blank. NOTE if you remove any other plastic vac hoses, this may adversely affect the braking performance.
ABOVE you can see the blank installed where the BLUE pipe to the EGR valve was. After that is done, refit the fan shroud and engine acoustic cover, then hopefully enjoy some better, smoother performance from your TD5 engine. |