![]()
| WORKSHOP :- TD5 Intercooler Removal / Cleaning |
|
|
The Discovery 2 TD5 has an intercooler fitted like most if not all other Turbocharged cars. Its actually in the maintenance schedule to remove the intercooler for cleaning. If you car has had a full service history, then there is a good chance it's been done already. With today's vehicles having to meet stronger emissions laws, and because of the way the crankcase ventilation is routed back through the intake / intercooler on the TD5 engine, the "oily" vapor can accumulate in the intercooler and over time reduce its effectiveness, thus affecting performance. Removing the intercooler is a worth while job to ensure its clean and in the best condition possible for your engine. The official workshop manual tells you to remove the viscous fan to get the intercooler out, how ever I have recently done this job without disturbing the viscous fan. Below I will illustrate and describe as best I can, what I did so you could tackle the task yourself if you suspect it needs doing. **If you have ever removed your front grille on your Disco 2, then that is also required to be removed for the intercooler job. So get yourself to that stage and then follow on from there** **If your vehicle is fitted with Factory Lamp Guards, these also will need to be removed to gain access for removing the Indicator lamps and front grille** So, first of all remove the top acoustic engine cover by removing the 3 x 13mm bolts, 1 on the drivers side and 2 on the passenger side
Next, undo the 4 quick release screw holding the top radiator cover / fan shroud.
Next, remove the 3 trim plug / screws from the top of the front grille
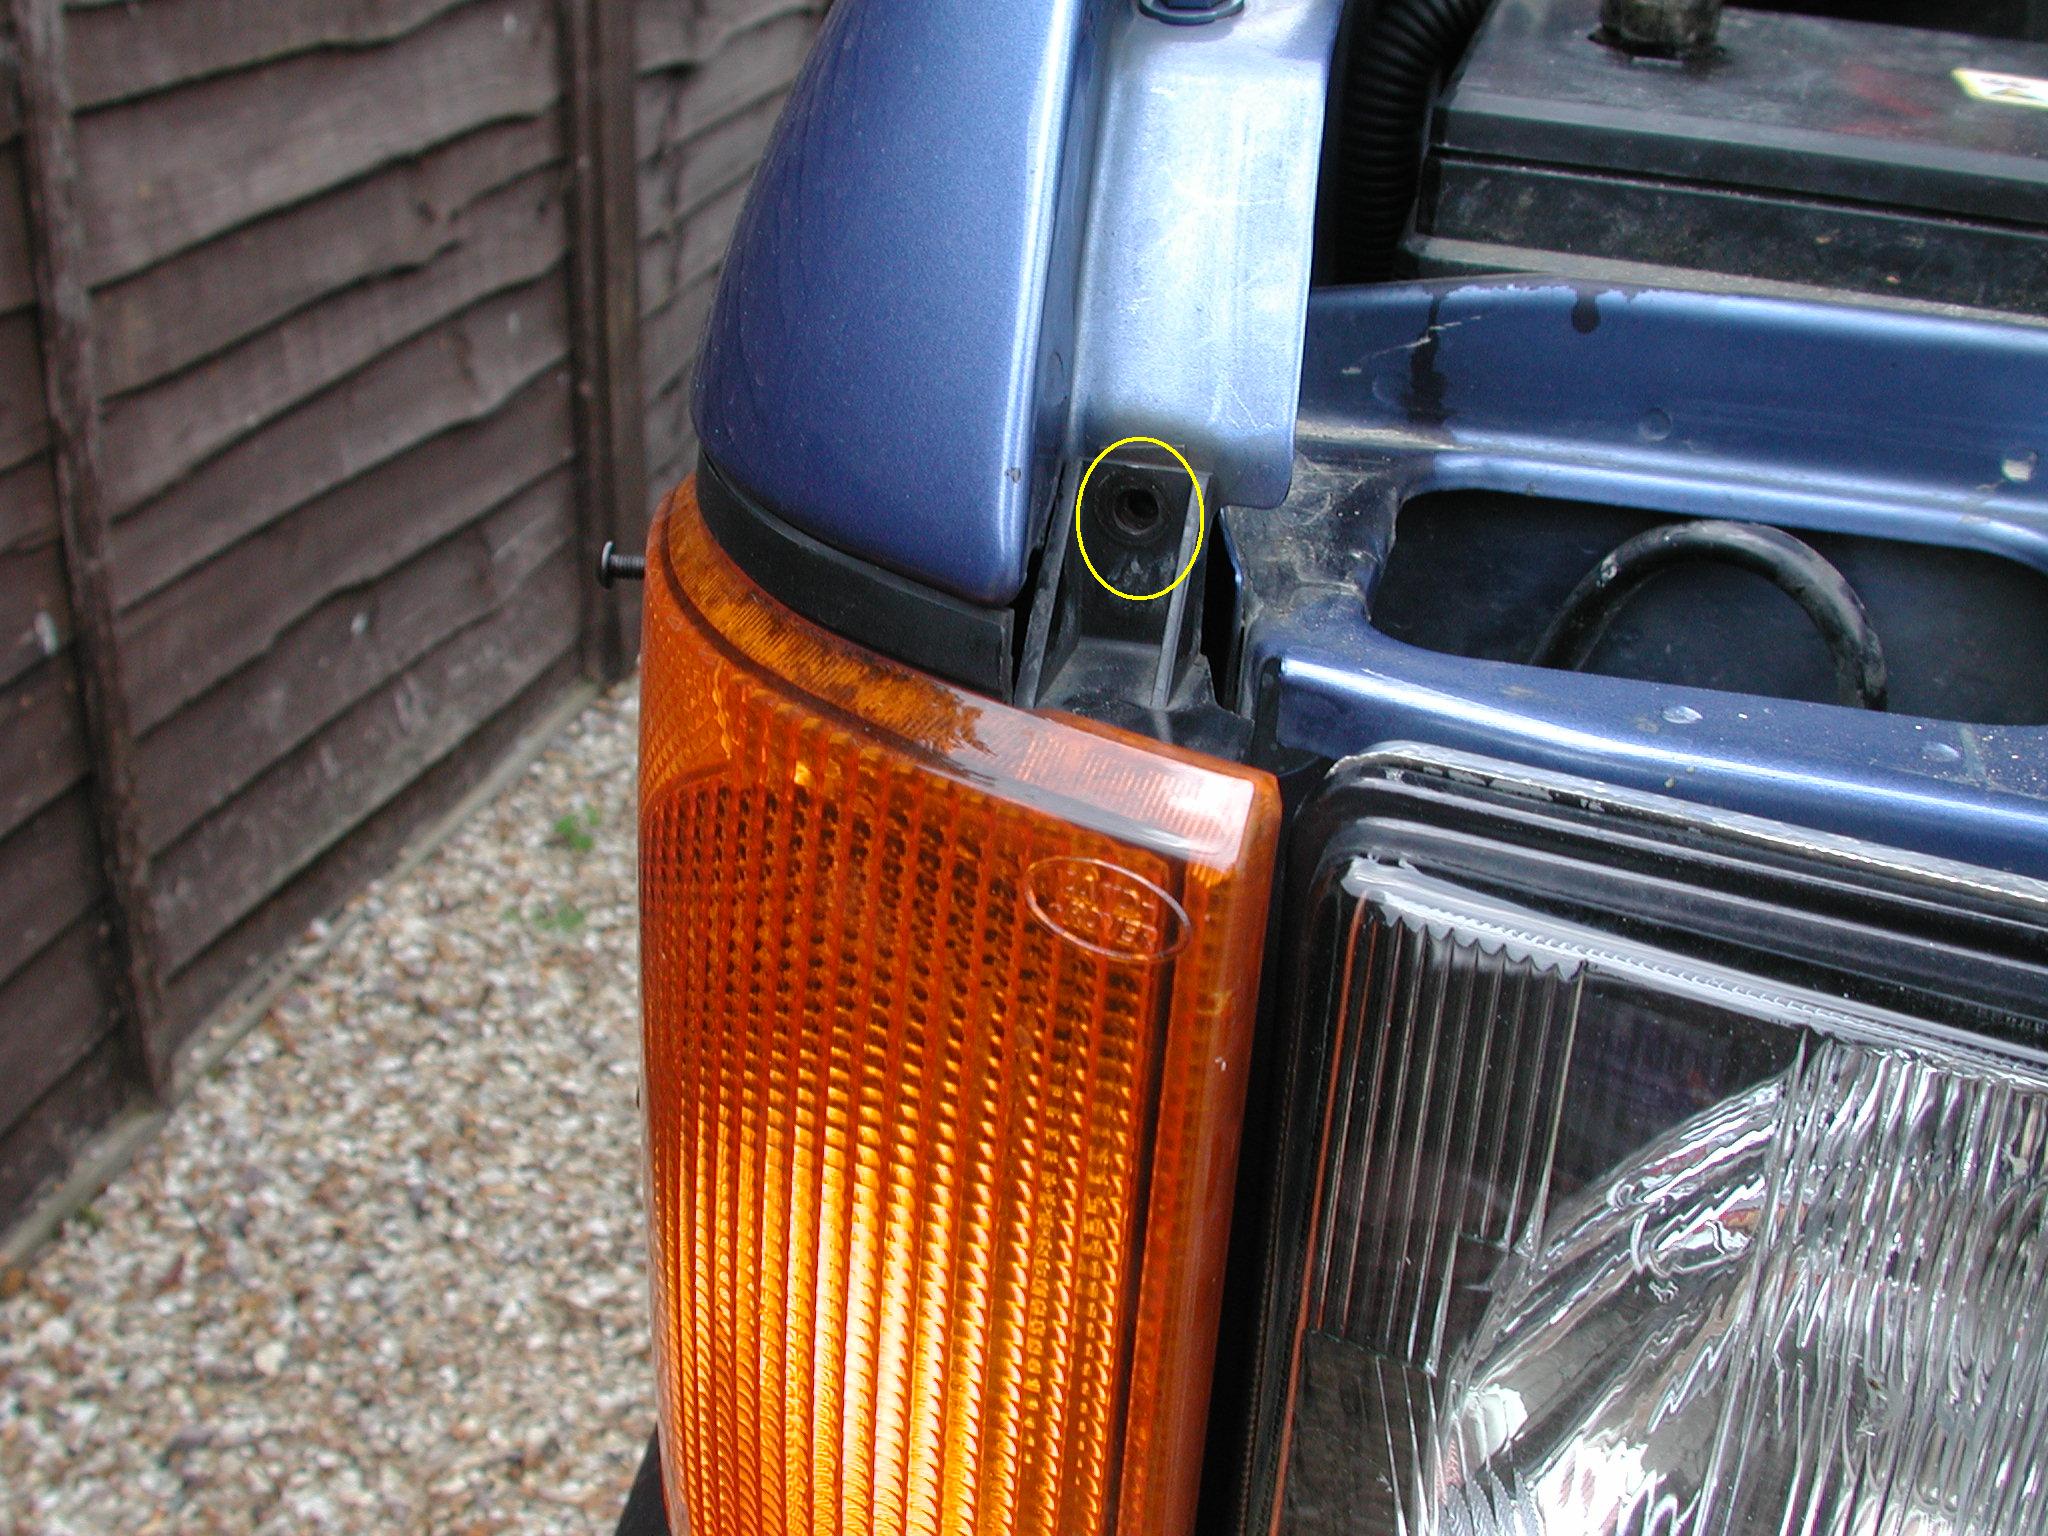
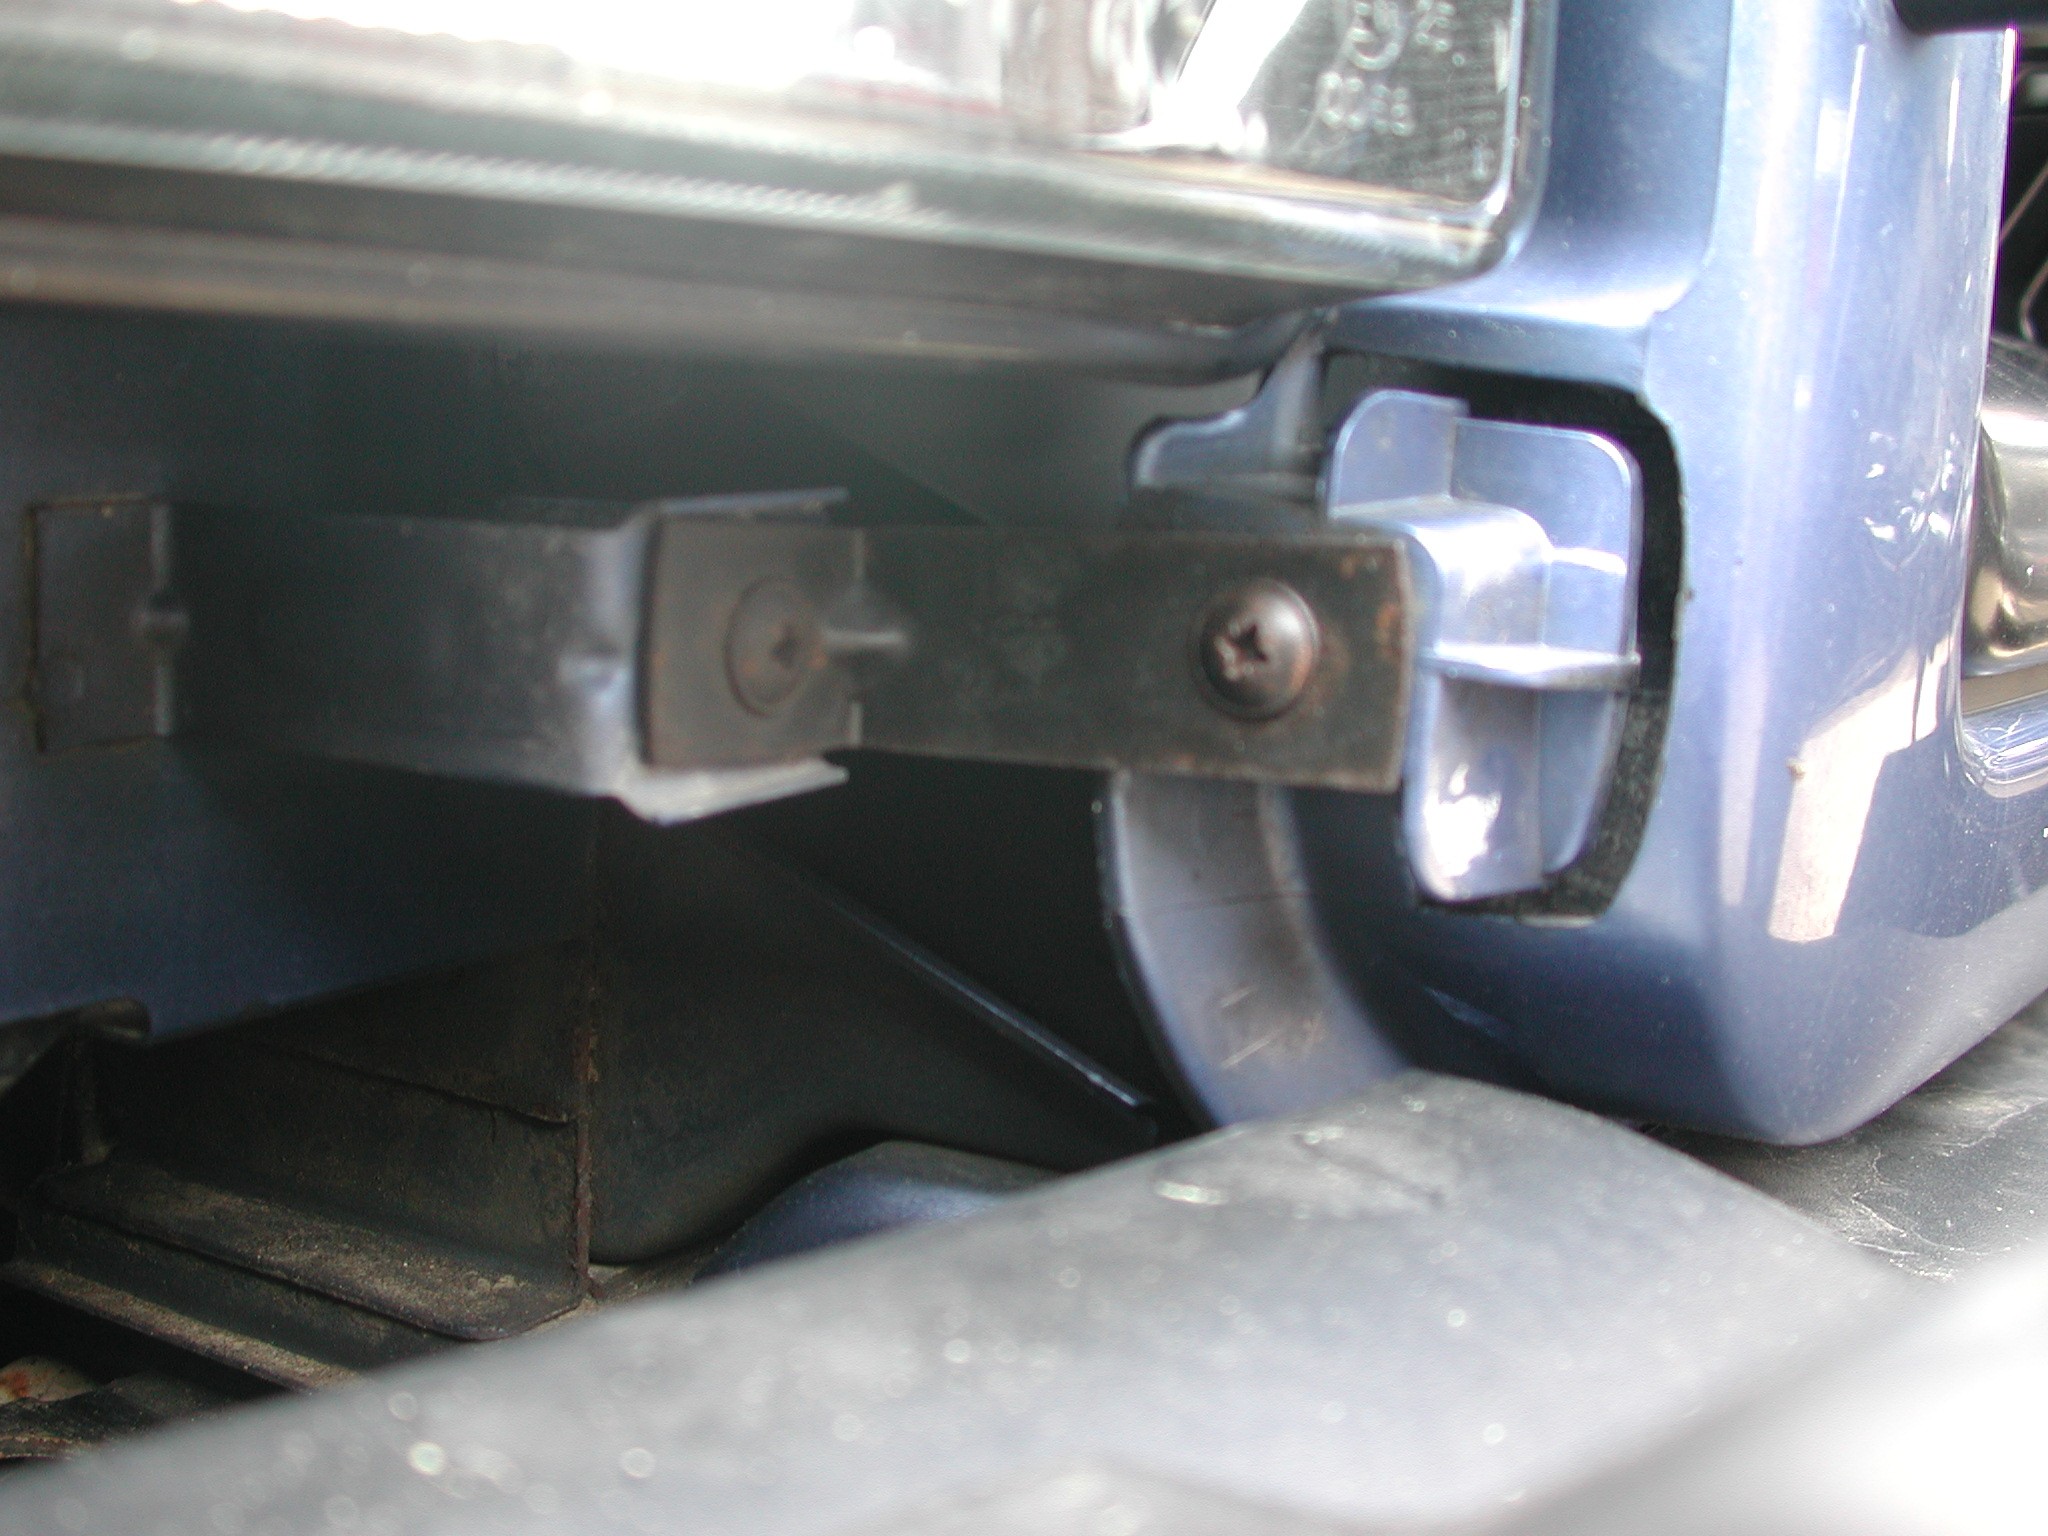
Now remove the self tapping screws from the top lug on both front indicator lamps (circled)
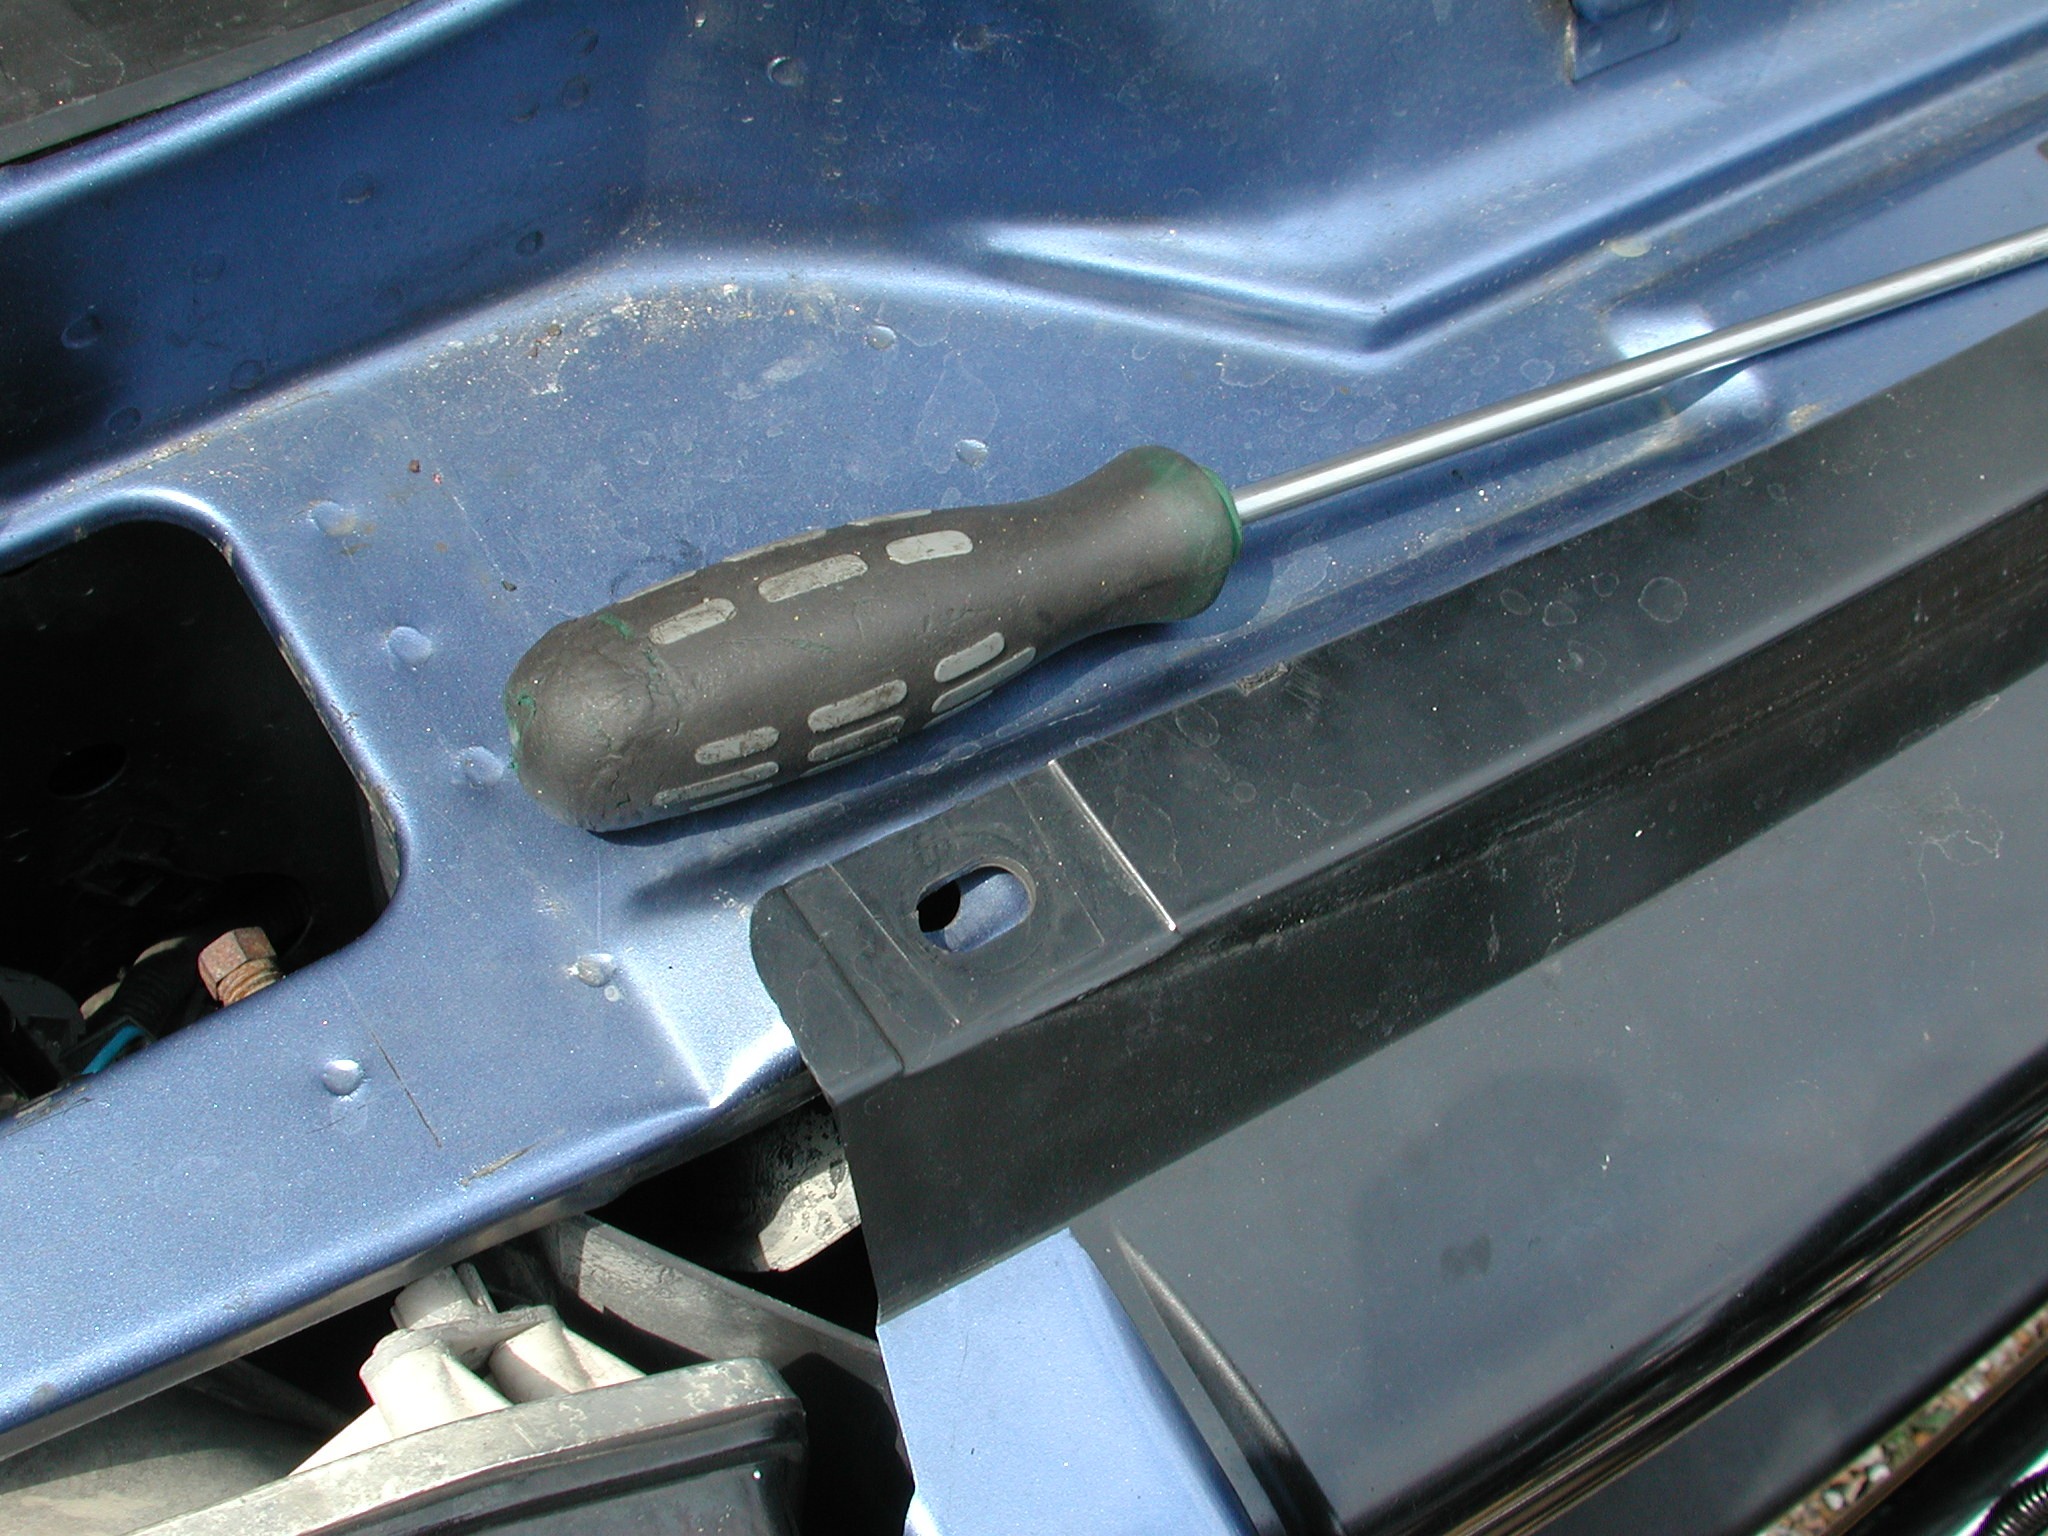
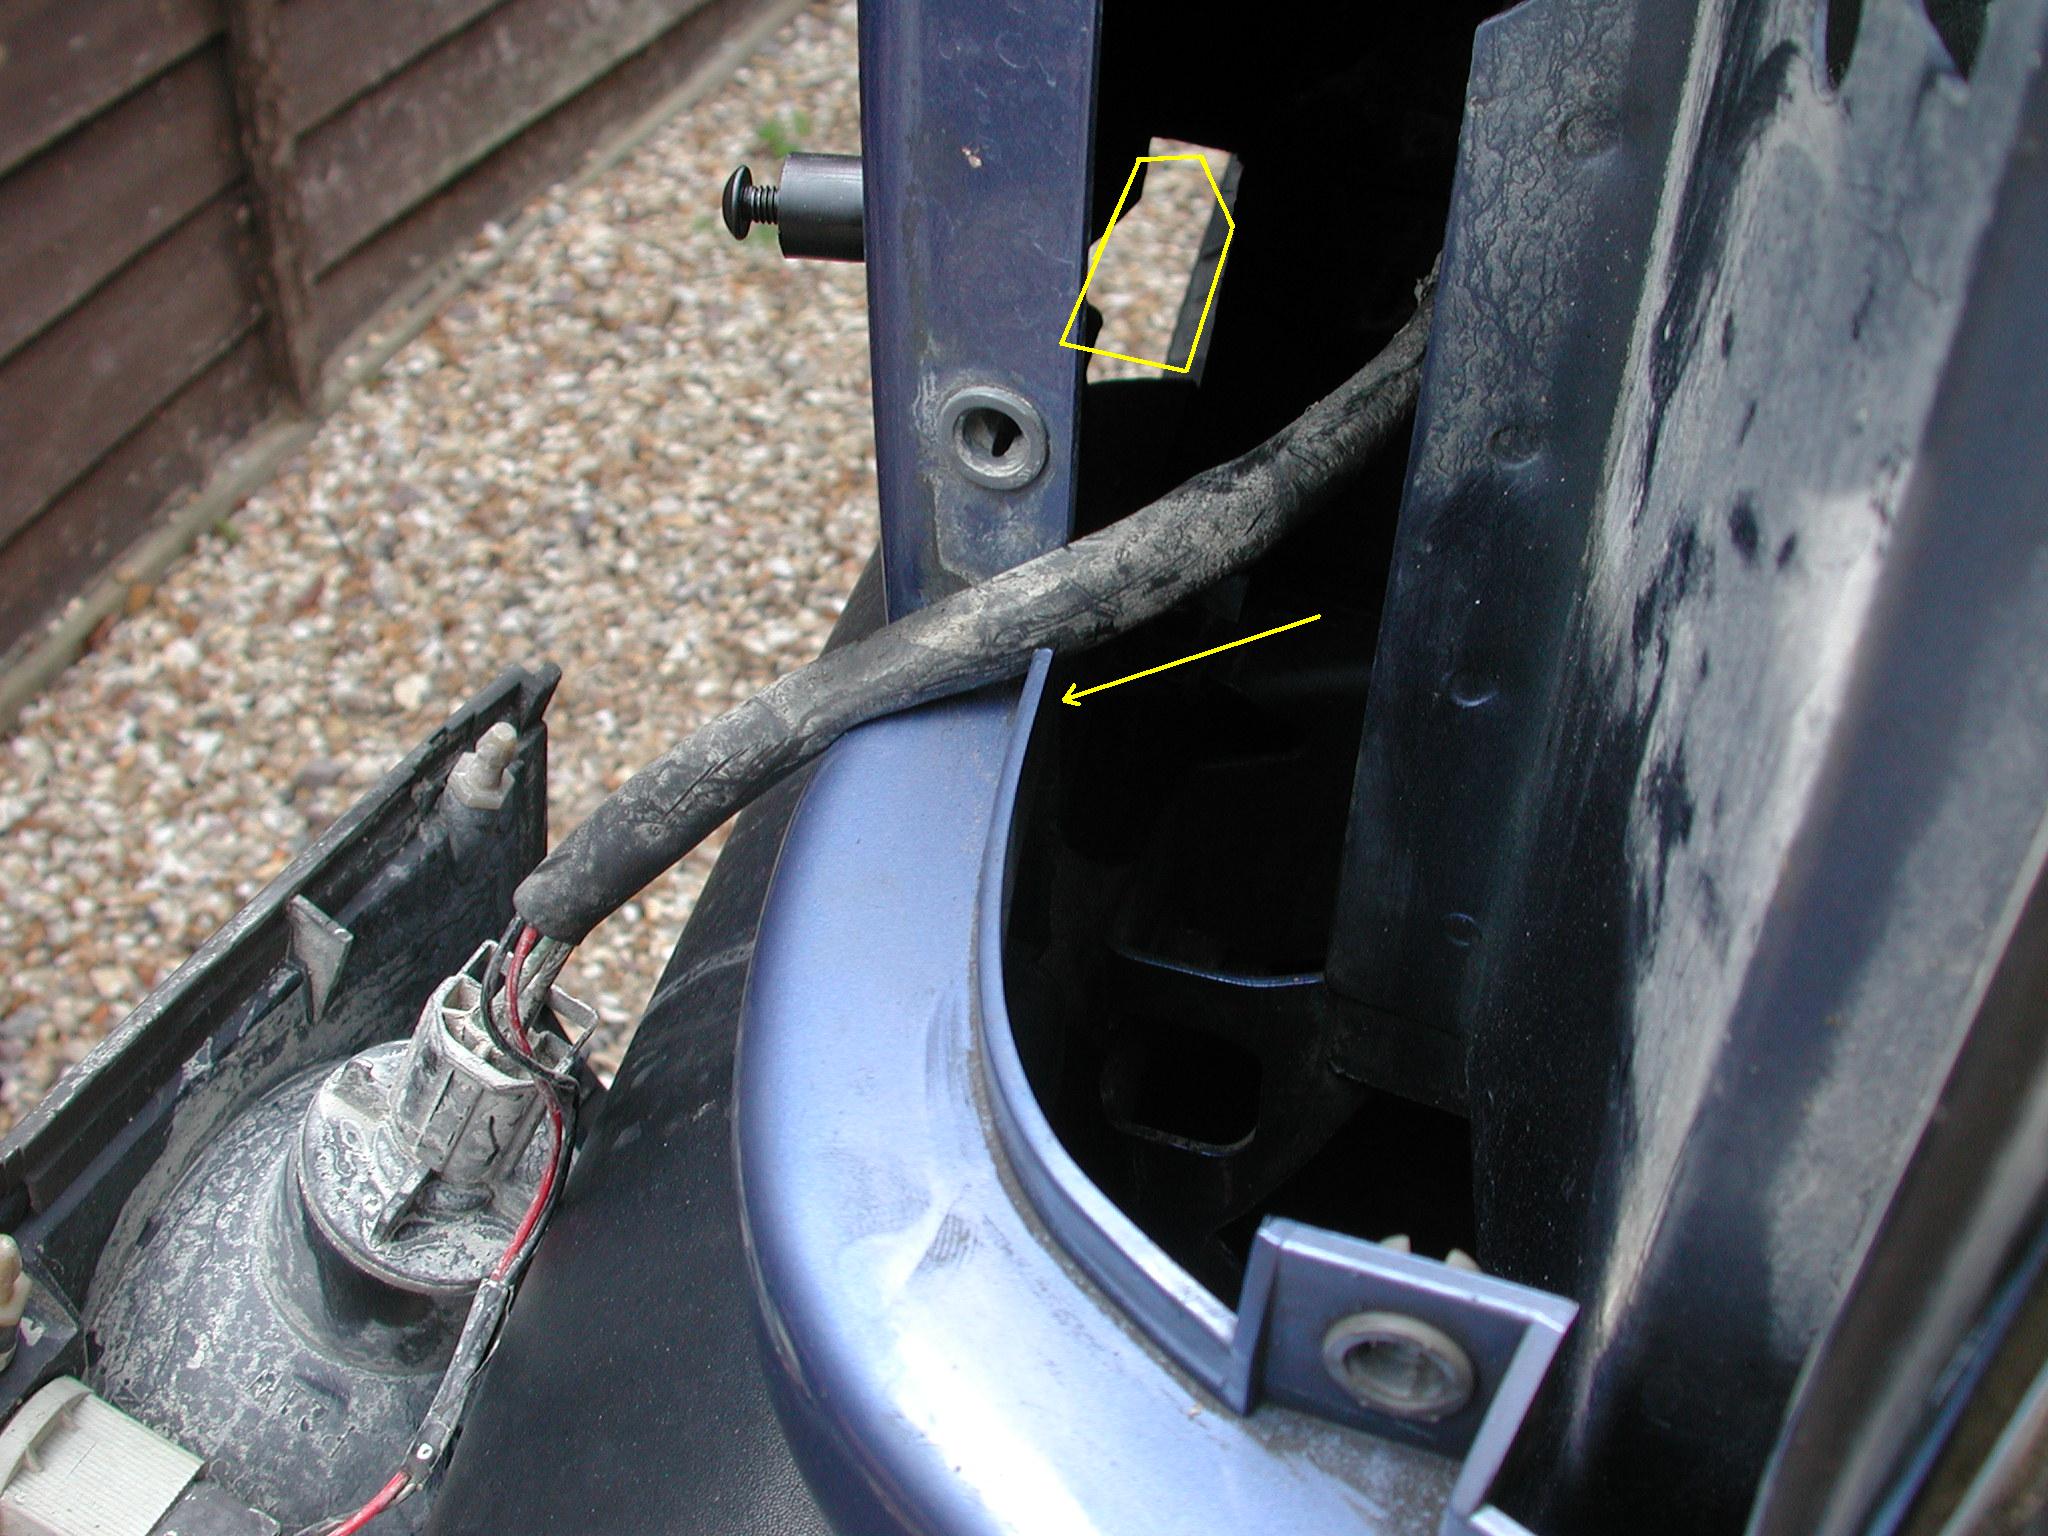
Once the top screw is removed, you need to firmly but carefully "pull" the indicator forward out of its plastic lugs, then just let it hang to the side on the wiring, you can if you wish disconnect the plugs completely to move it out of the way totally. Below you will see with the indicator "hanging" out, Also the arrow pointing to the next bit which is removing the lower headlight trims. They are screwed in from under the wheel arch, but you can see the area I marked in yellow, you can access the screw with a long Phillips screwdriver from under the wheel arch through the gap shown
Once those screws are out ( 1 each side), you can then lift the indicator end of the headlight trim up over the bumper lip and slide it out and away from the front grille.
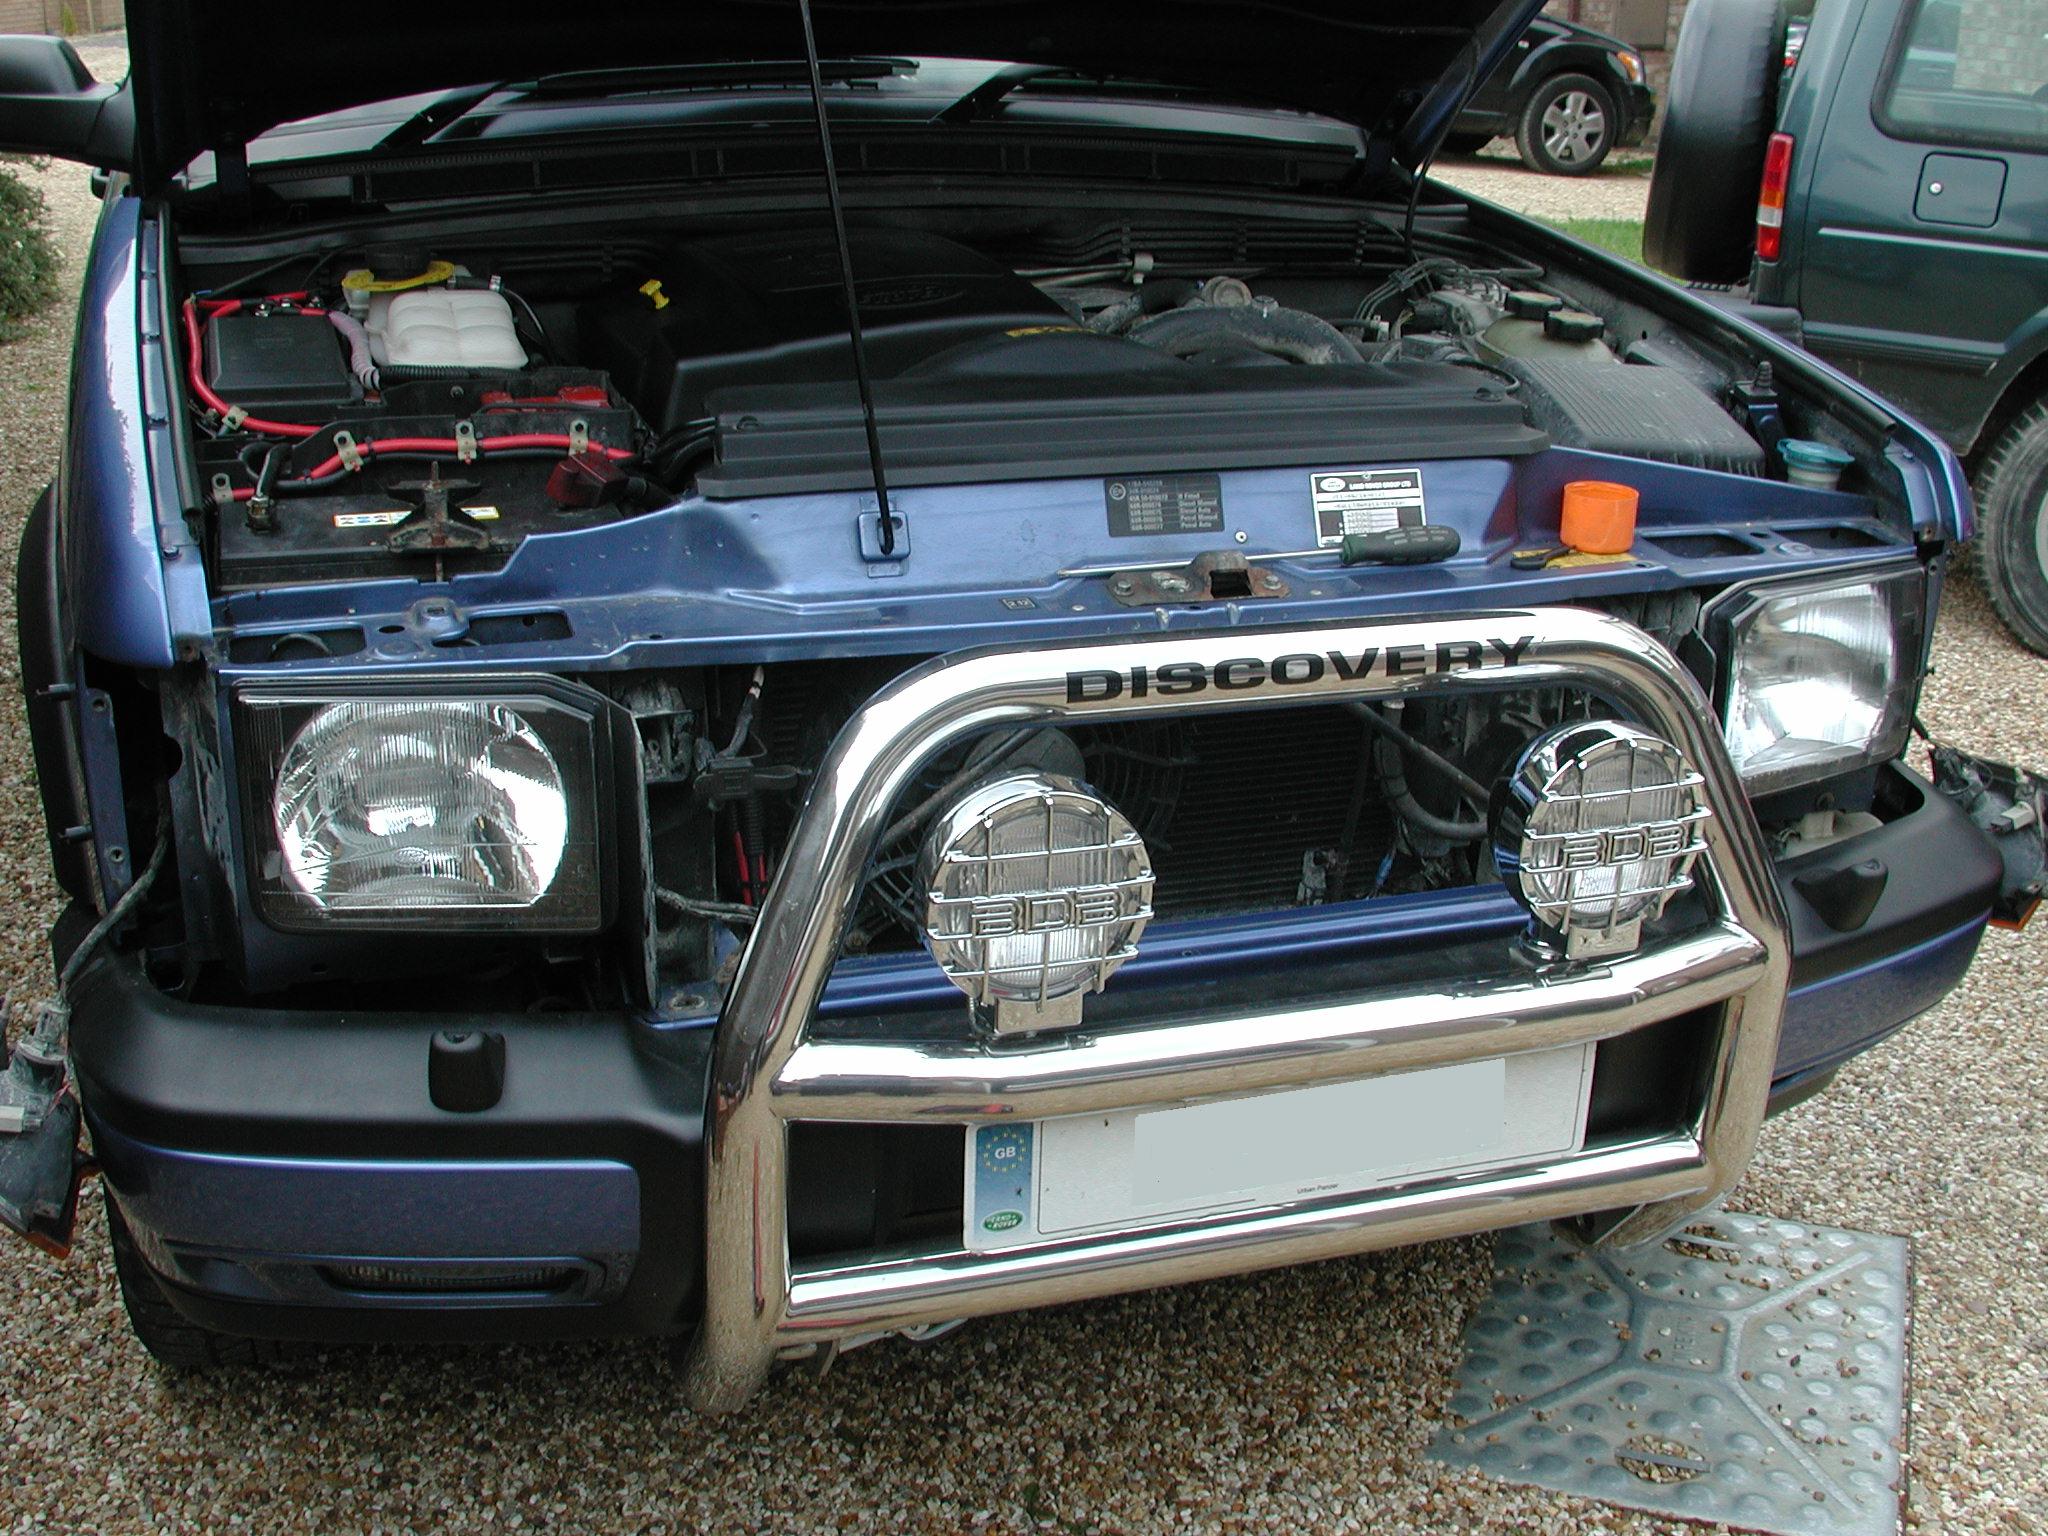
This then reveals the 2 lower fixing screws for the front grille. Remove those from the grille end of the angle bracket. Once those 2 screws (1 each side) are removed, then you can simply tip the top of the grille away from the front of the car, and carefully lift its 2 bottom feet out and away it comes. My car is fitted with a factory "A" bar, so its a little more fiddly, but there is still enough room to maneuver it away.
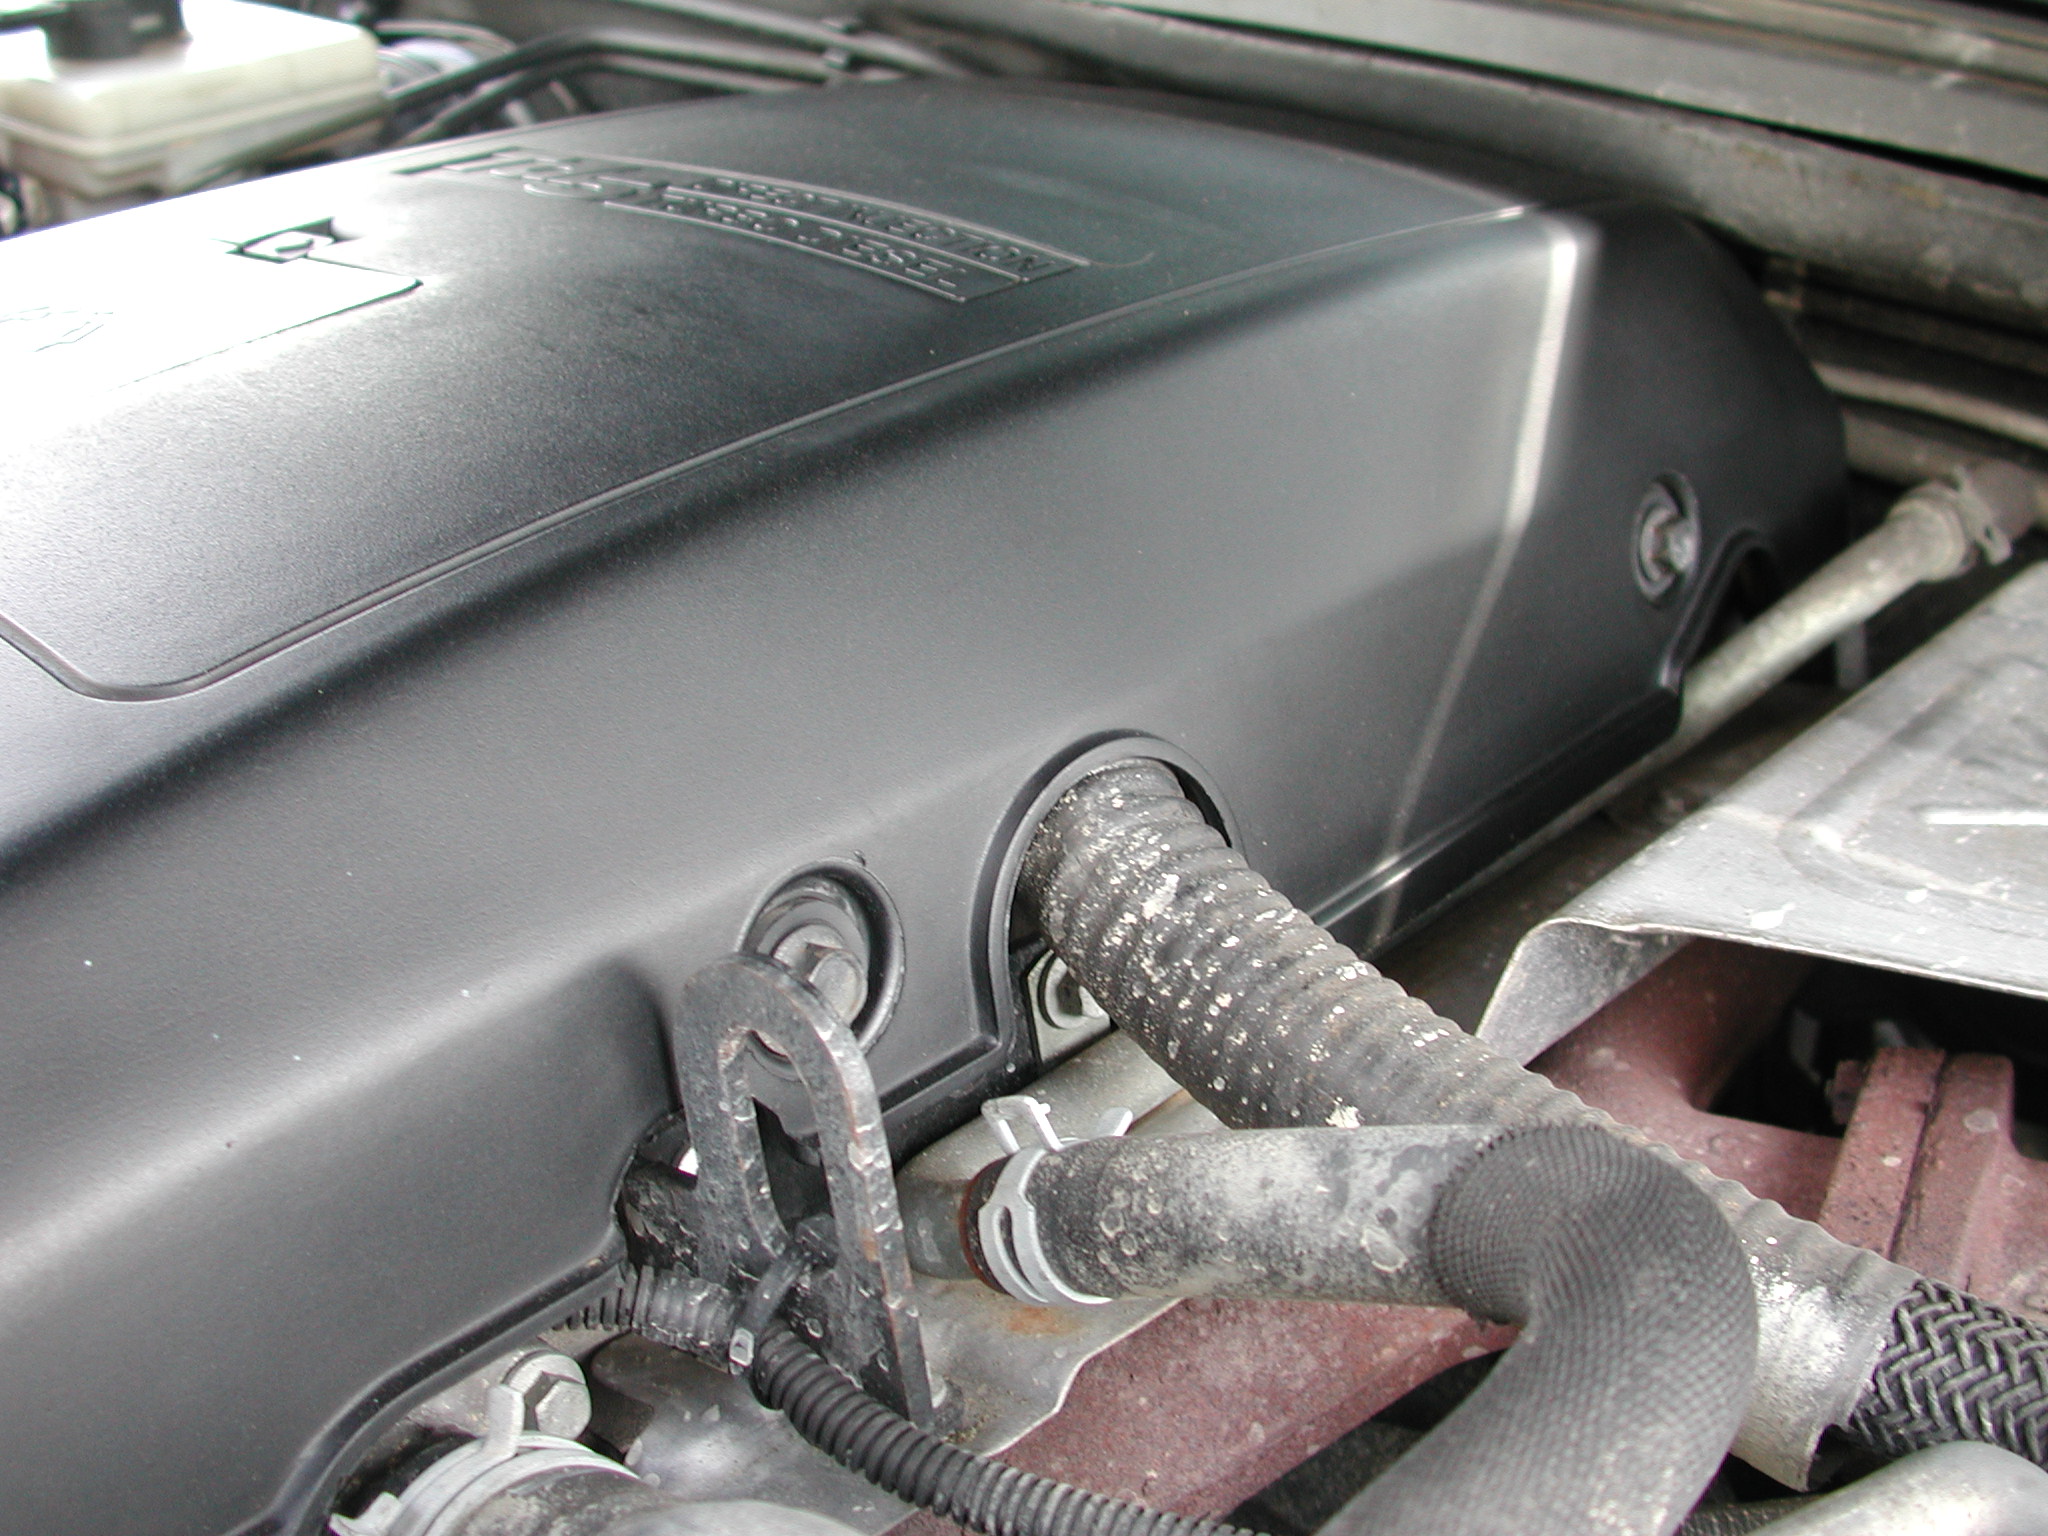
In the picture above is what you should have now, Grille, lower headlight trims and indicators out. You may notice that my fan shroud etc is still fitted, that is just because I took the photo's in a different order, Also the top headlight "clip in" covers and battery cover are also removed. Now you have gained access, its time to start getting at the intercooler. It has 2 hoses connected to it, the top one goes to the EGR valve on the driver side, the other on the passenger side comes from the turbo. Each hose has 2 large jubilee clips pictured below
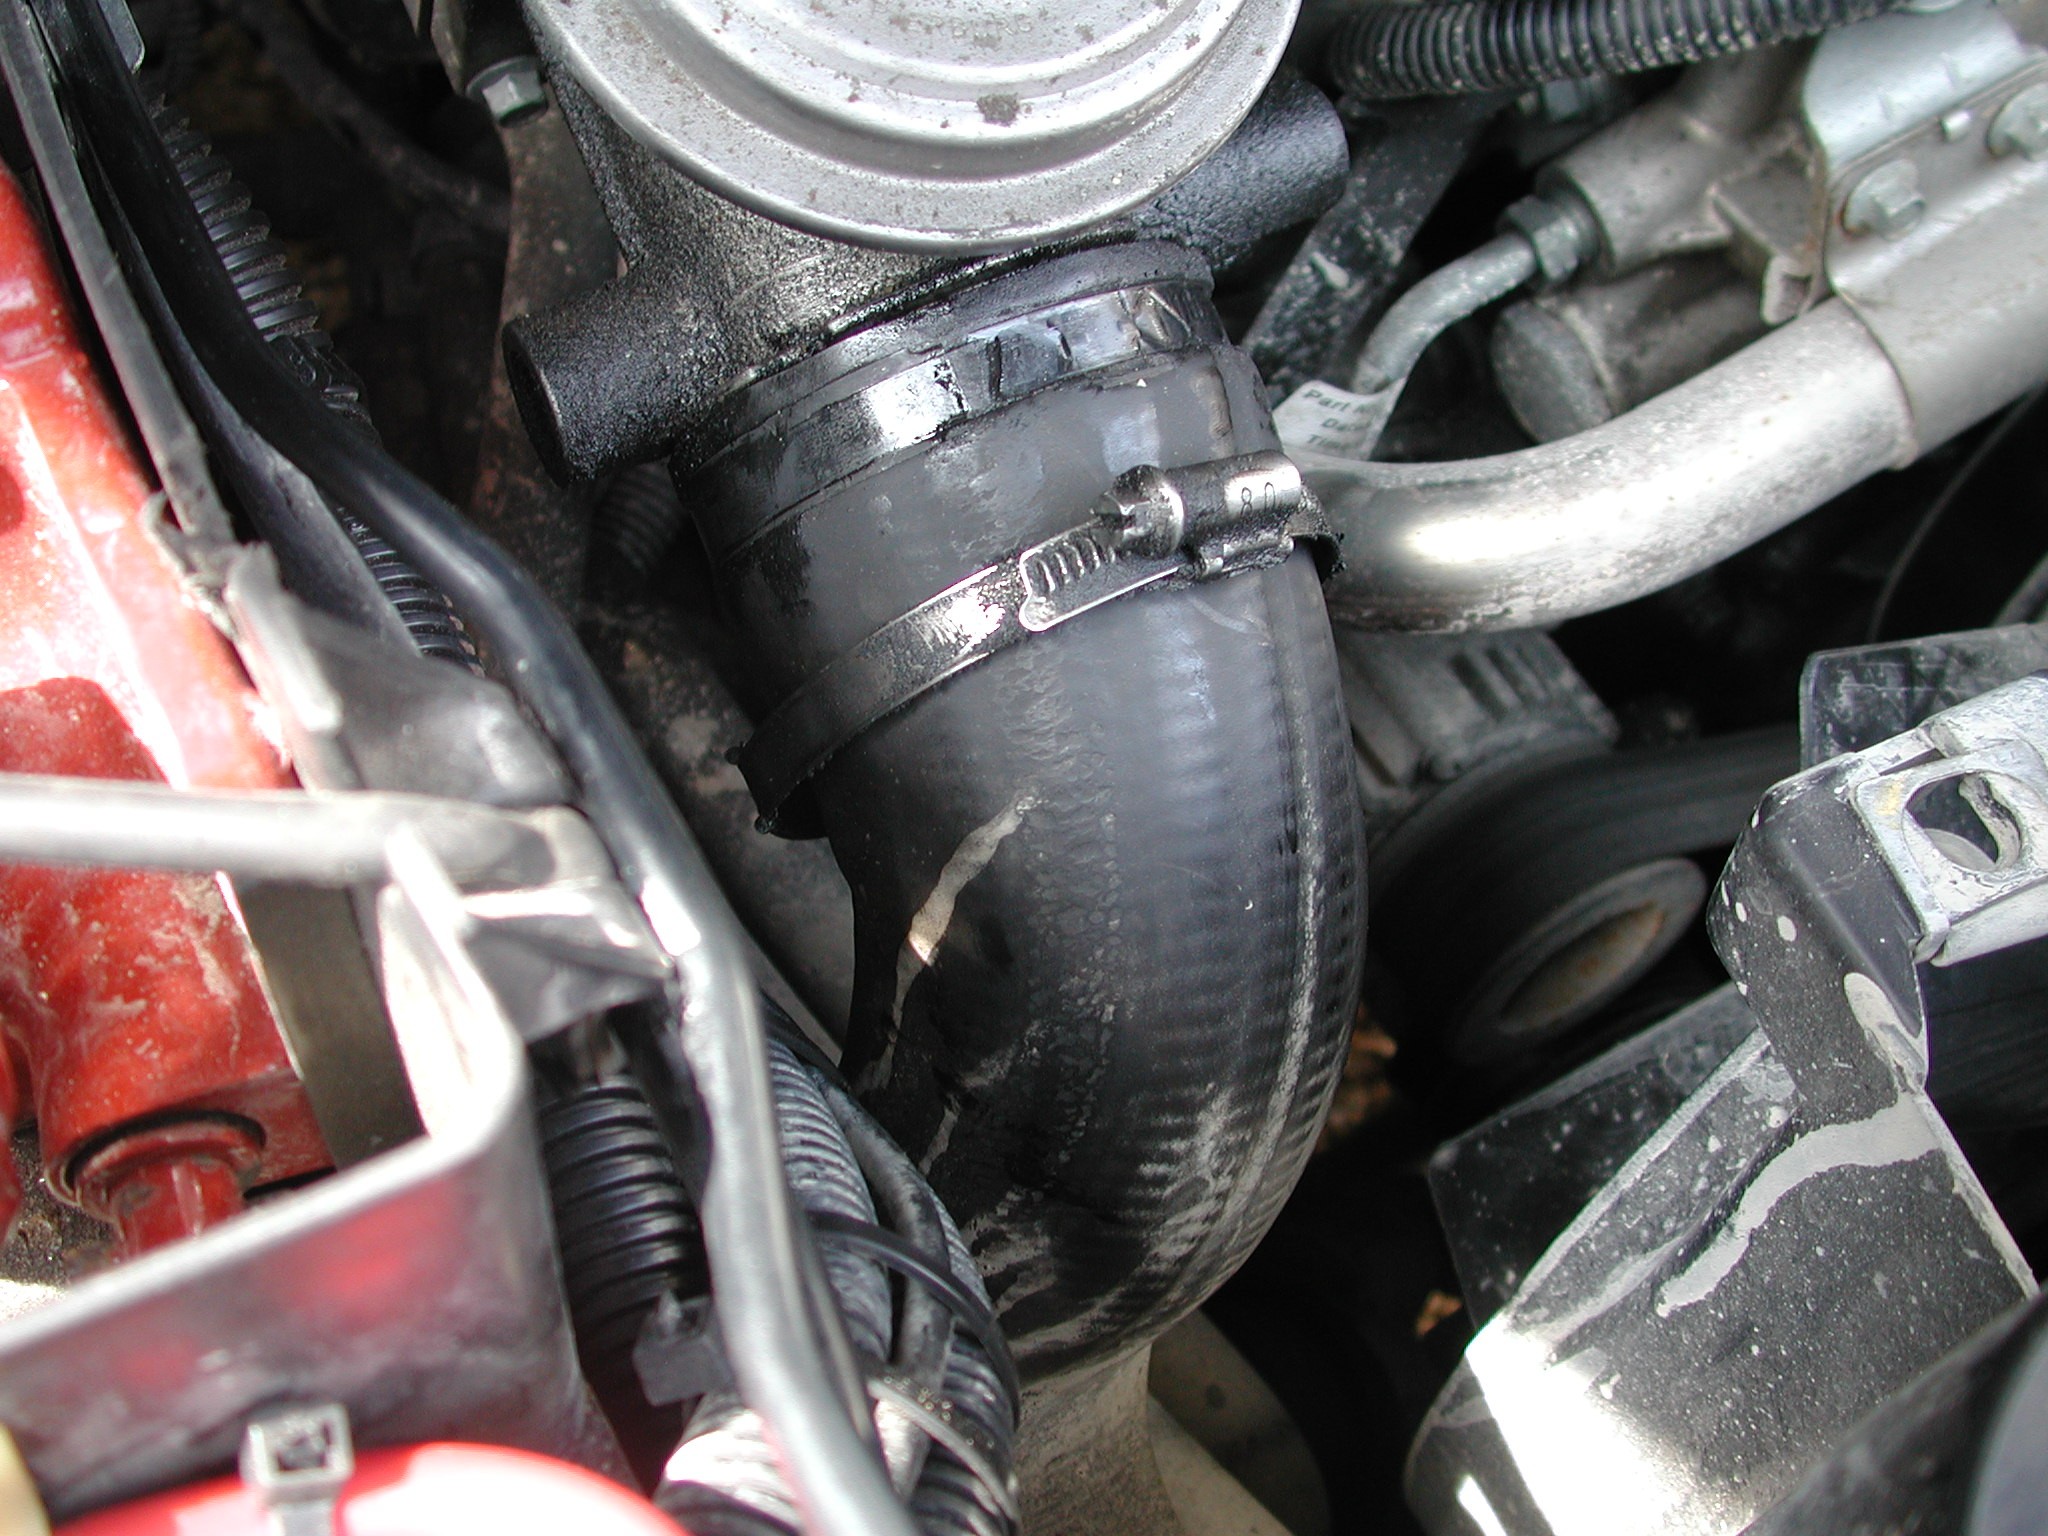
Top hose clip on the EGR hose. (drivers side UK car)
Bottom Clip on EGR hose at the intercooler end.
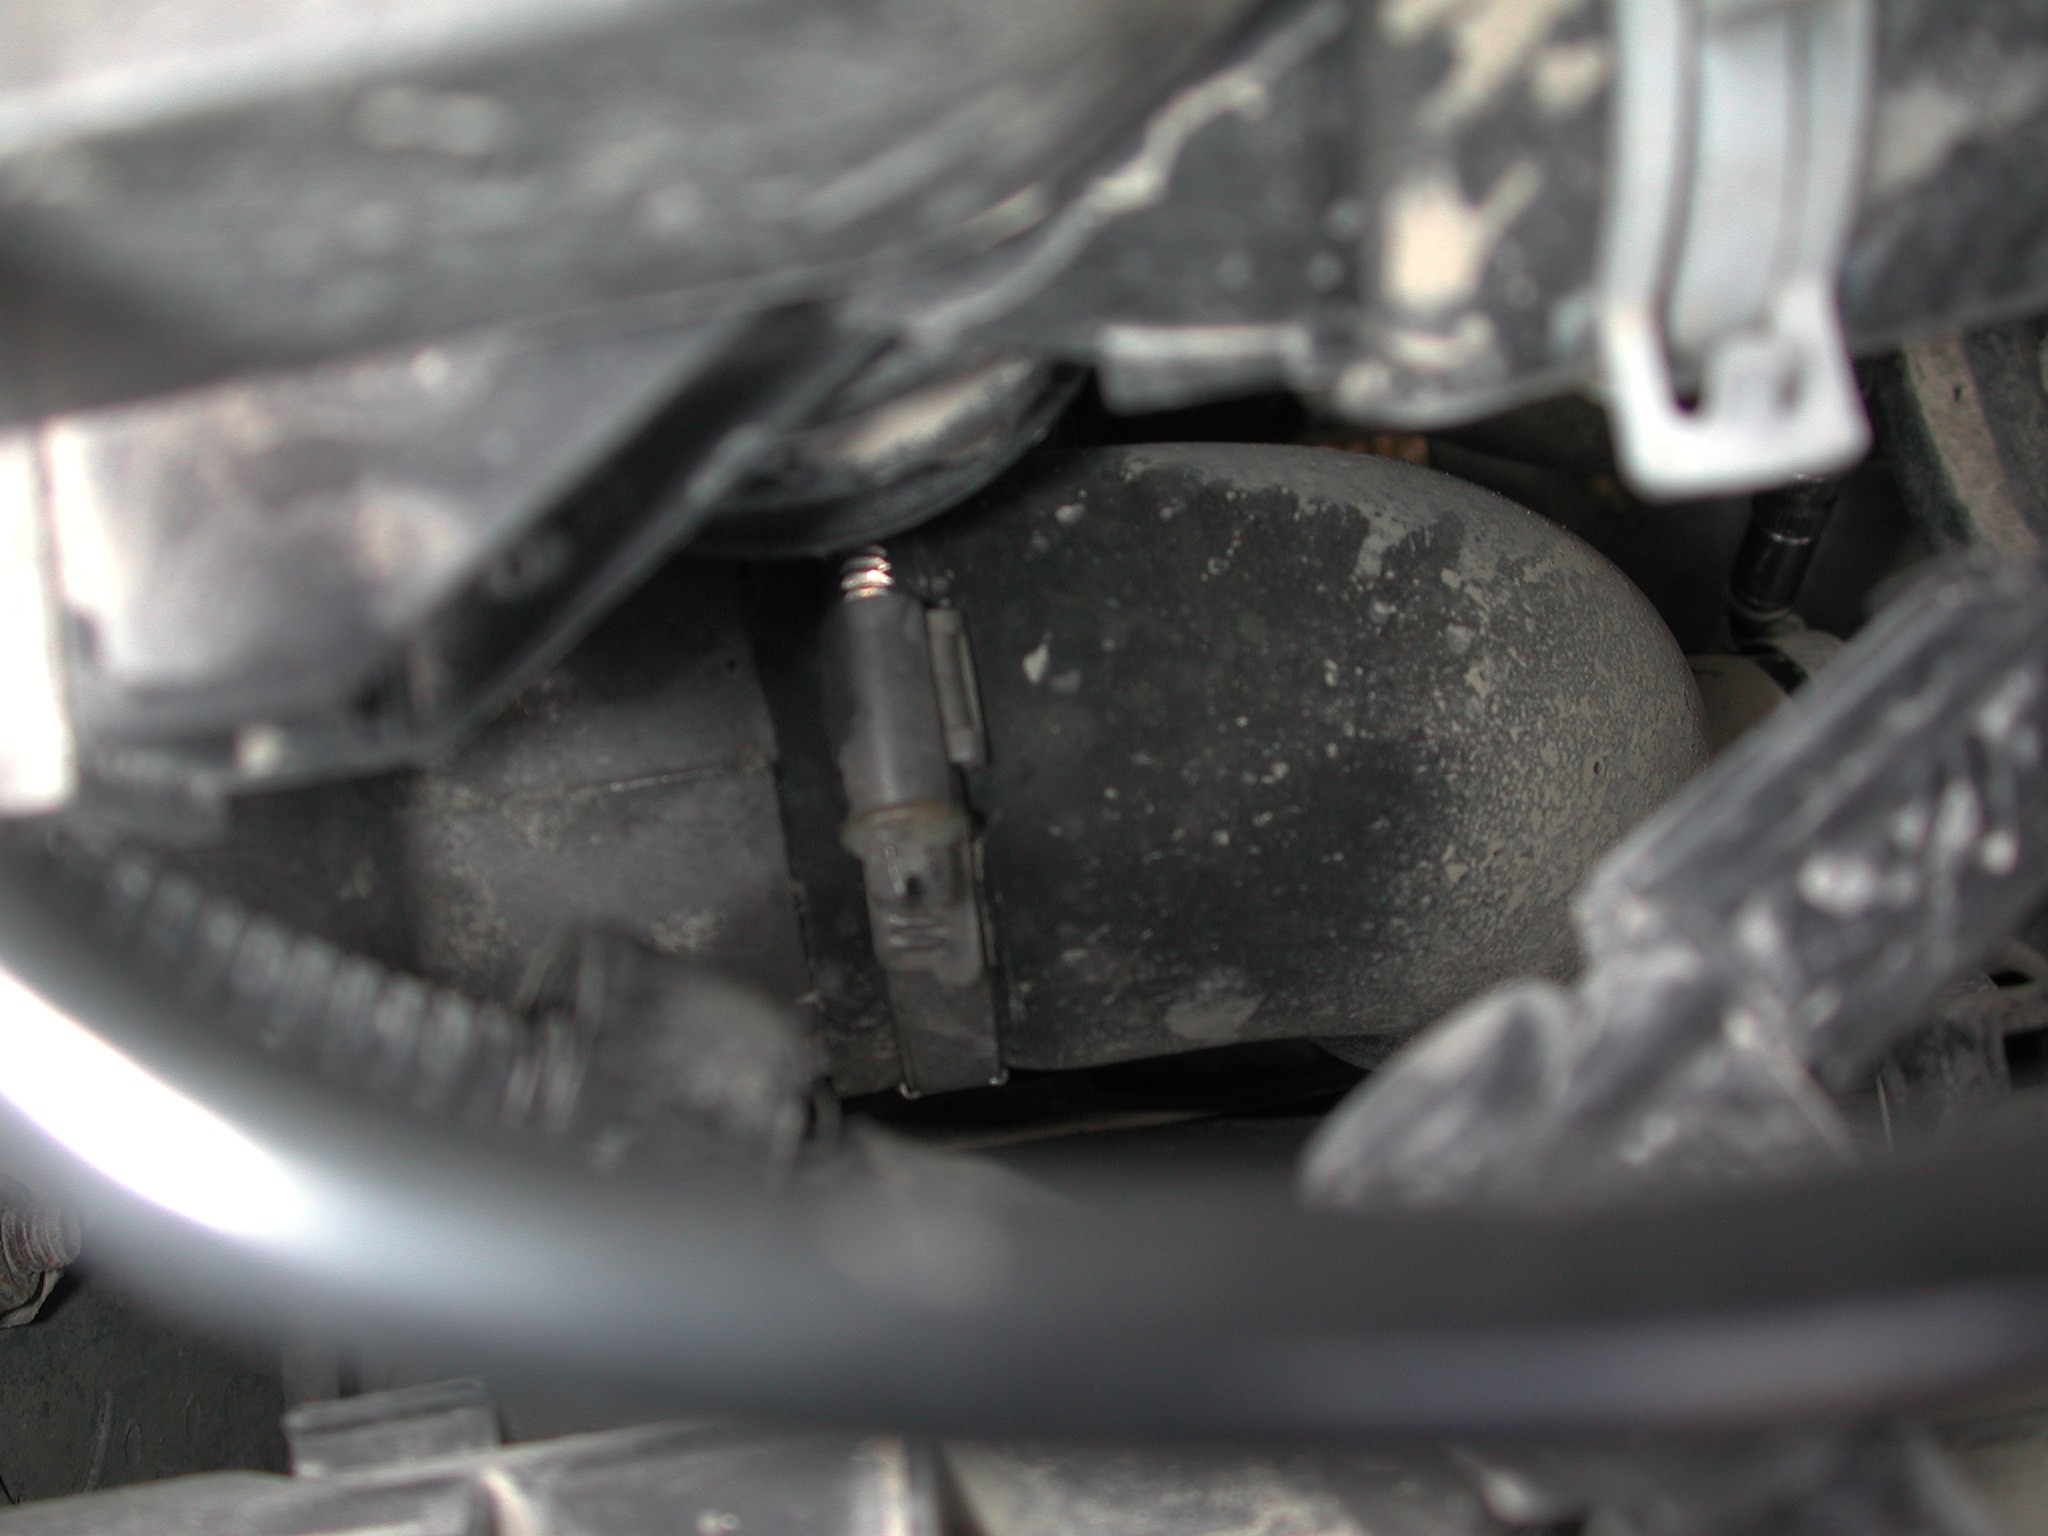
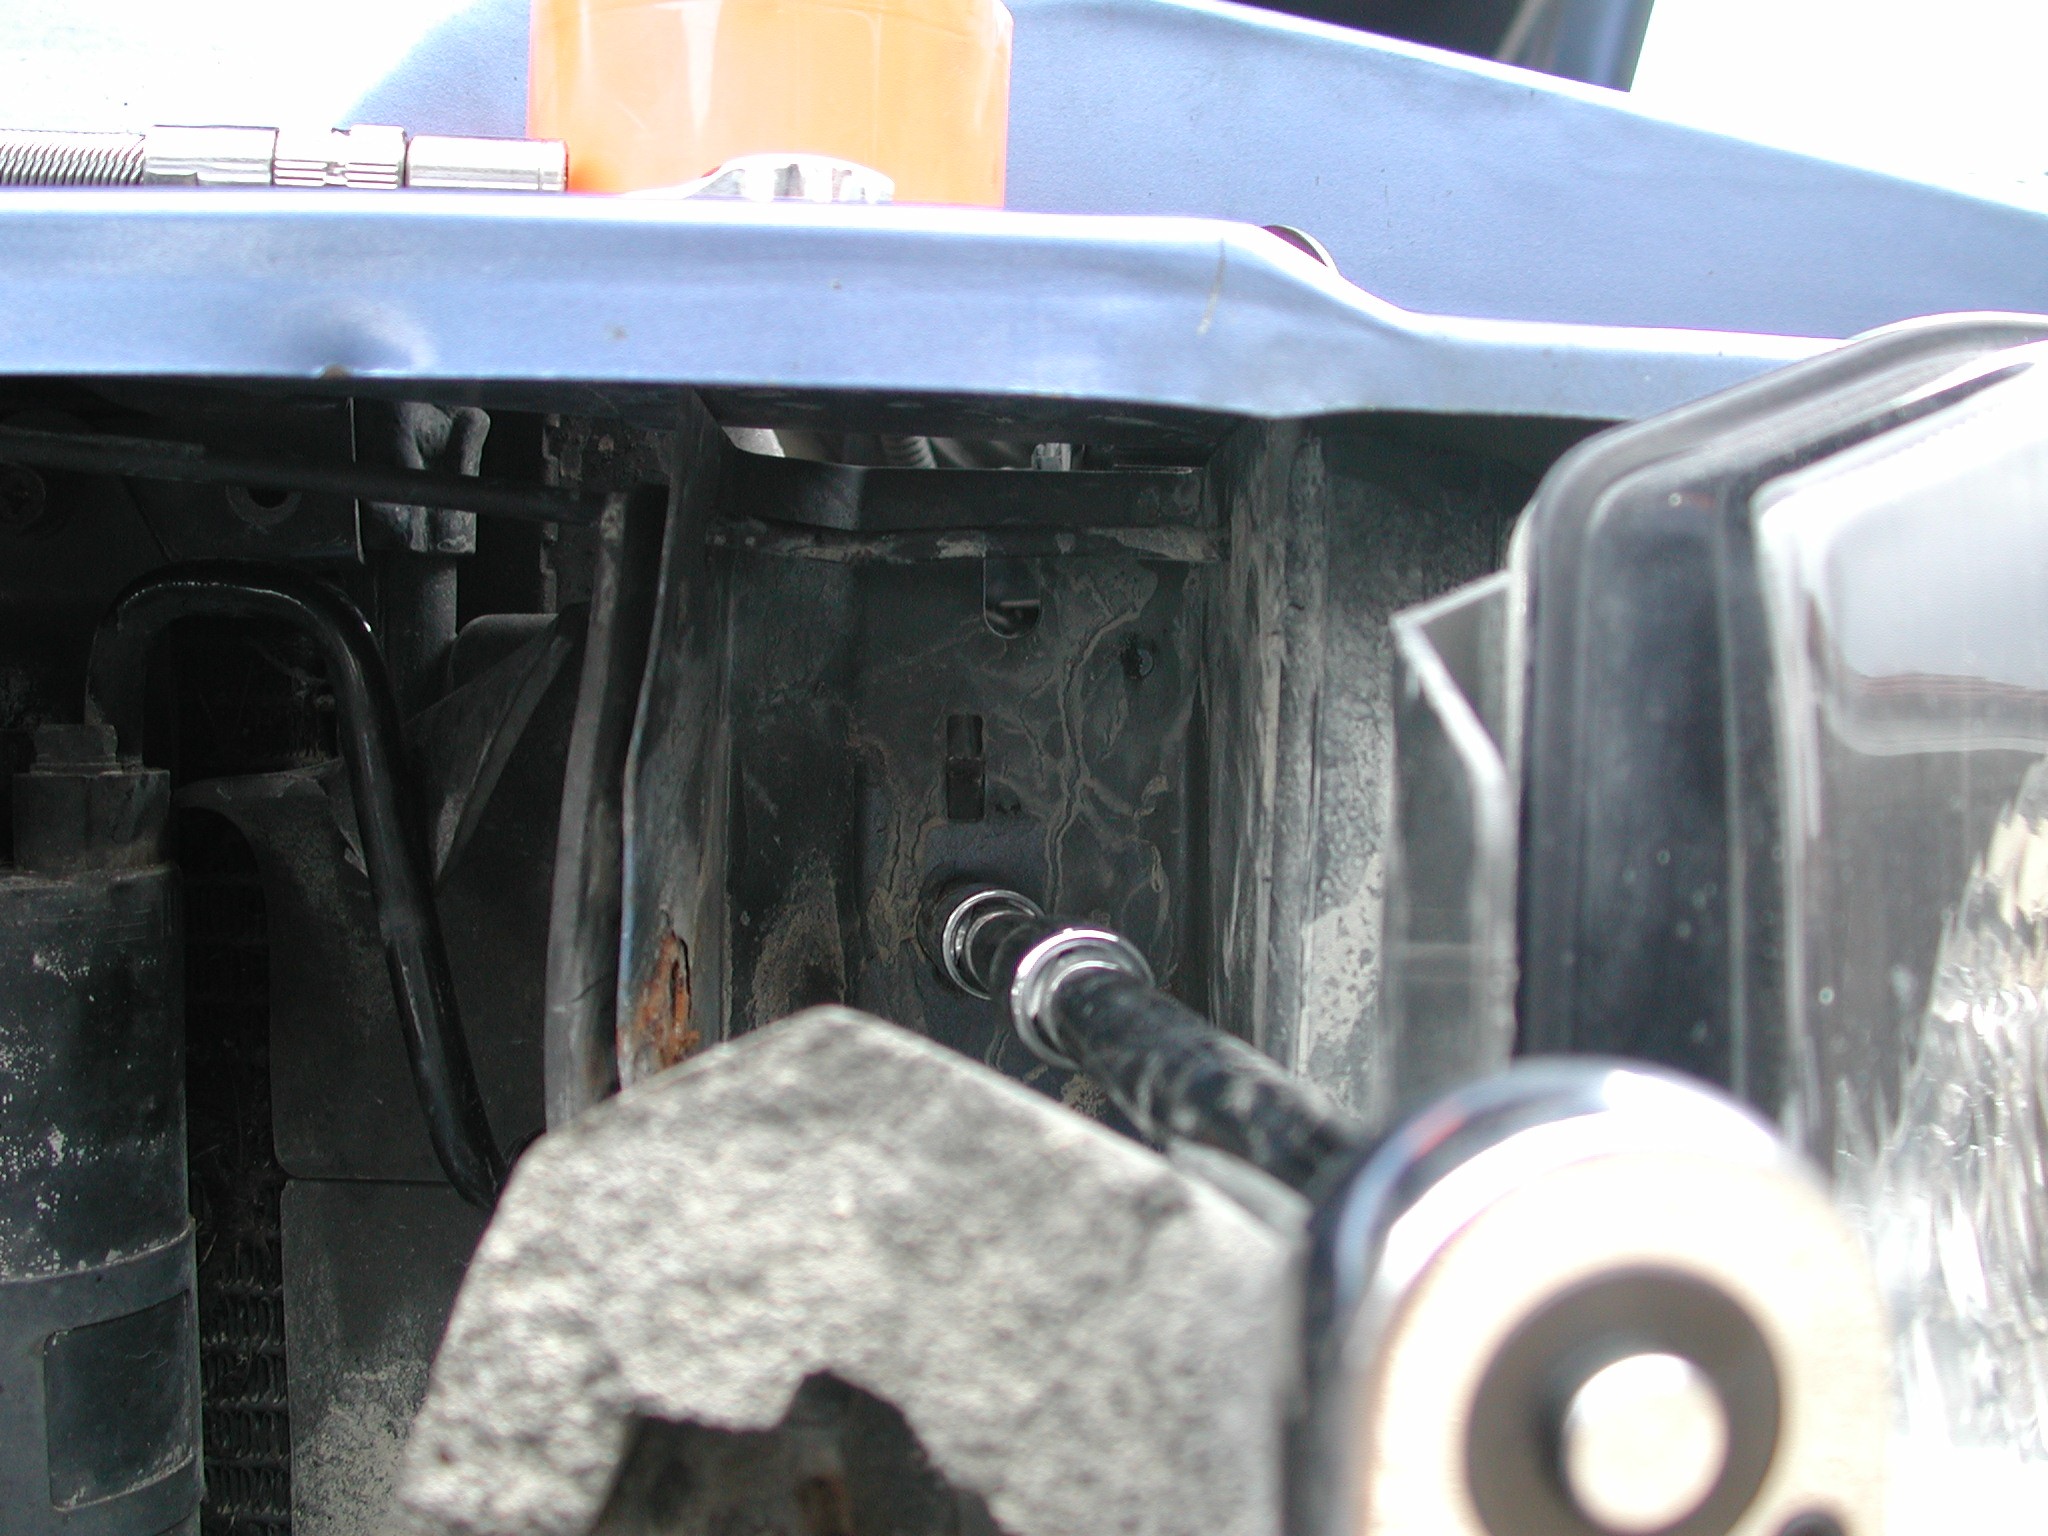
Bottom Hose clip on the Turbo side
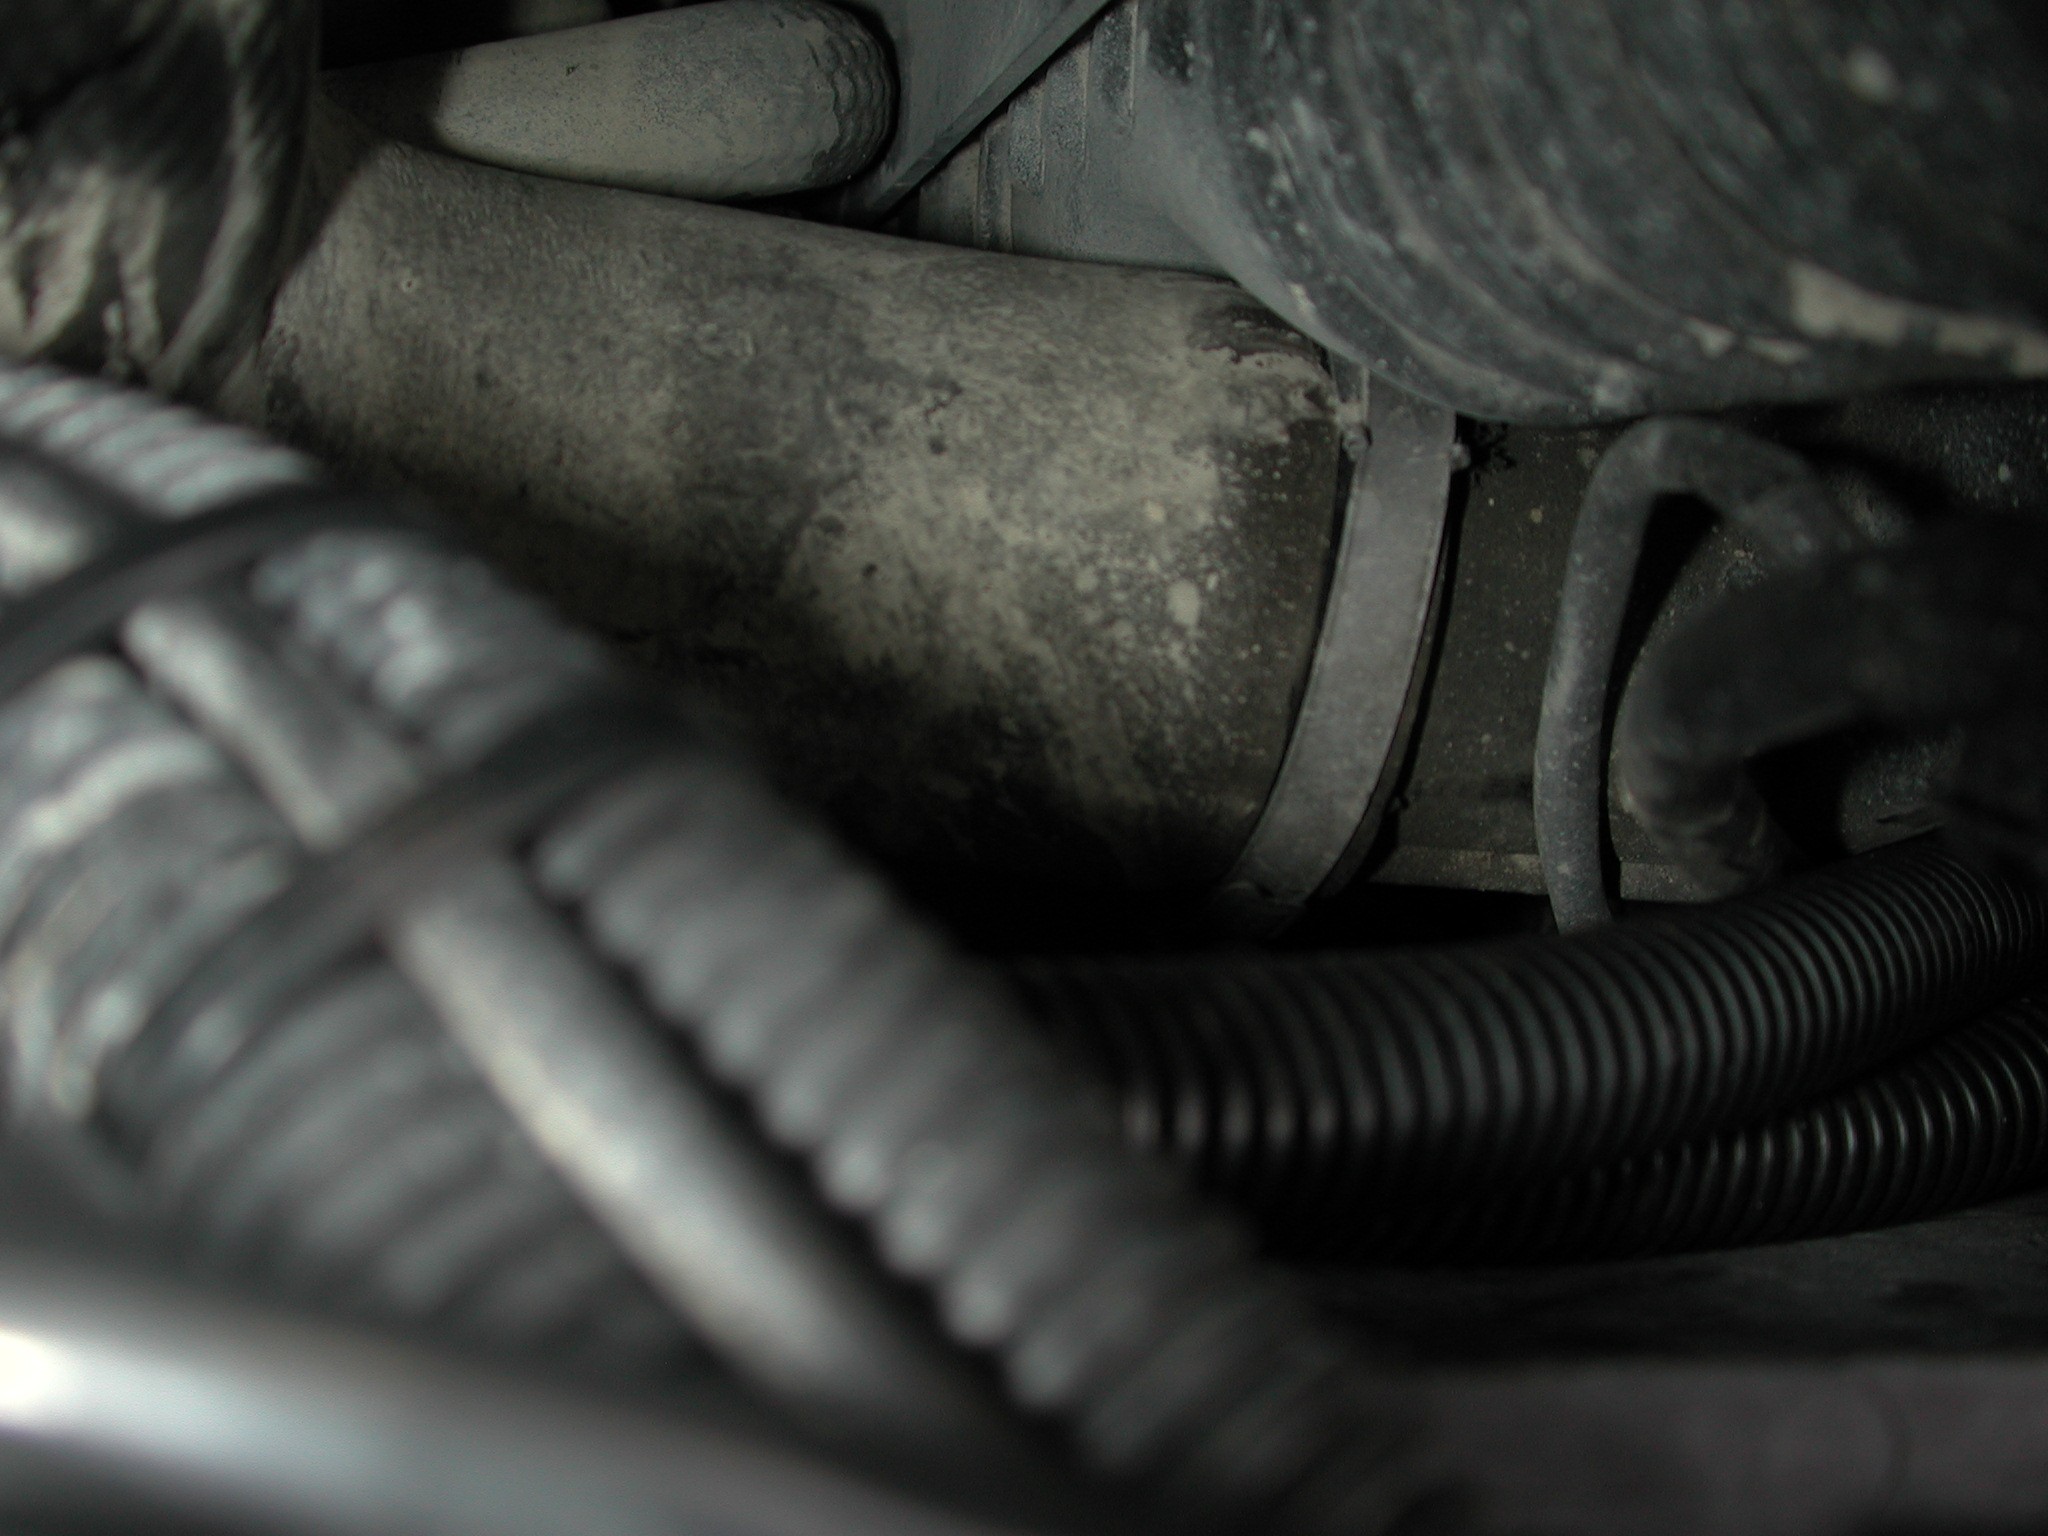
Top hose clip on the turbo side. ***Note I loosened all 4 hose clips in anticipation for removing both hoses completely, but after looking at the hose on the Turbo side, the bottom clip does not "need" to be loosened unless you fully intend to remove the pipe completely as it does not affect the intercooler coming out and my turbo hose was clean, so it was not removed. The hose on the EGR side can now be completely removed and that will "probably" need a clean / wipe out of it's "oily" mess. You will most likely see an oily mess in the EGR valve as well. You can if you want to remove that to (not covered here yet!!) or simply clean it as best you can where it is. The Turbo side intercooler hose needs only to be disconnected for now from the intercooler itself. Next, remove the 2x 10mm bolts that bolt the top of the intercooler to the radiator. On the drivers side there is a small bracket that has an electrical connector on it as well.
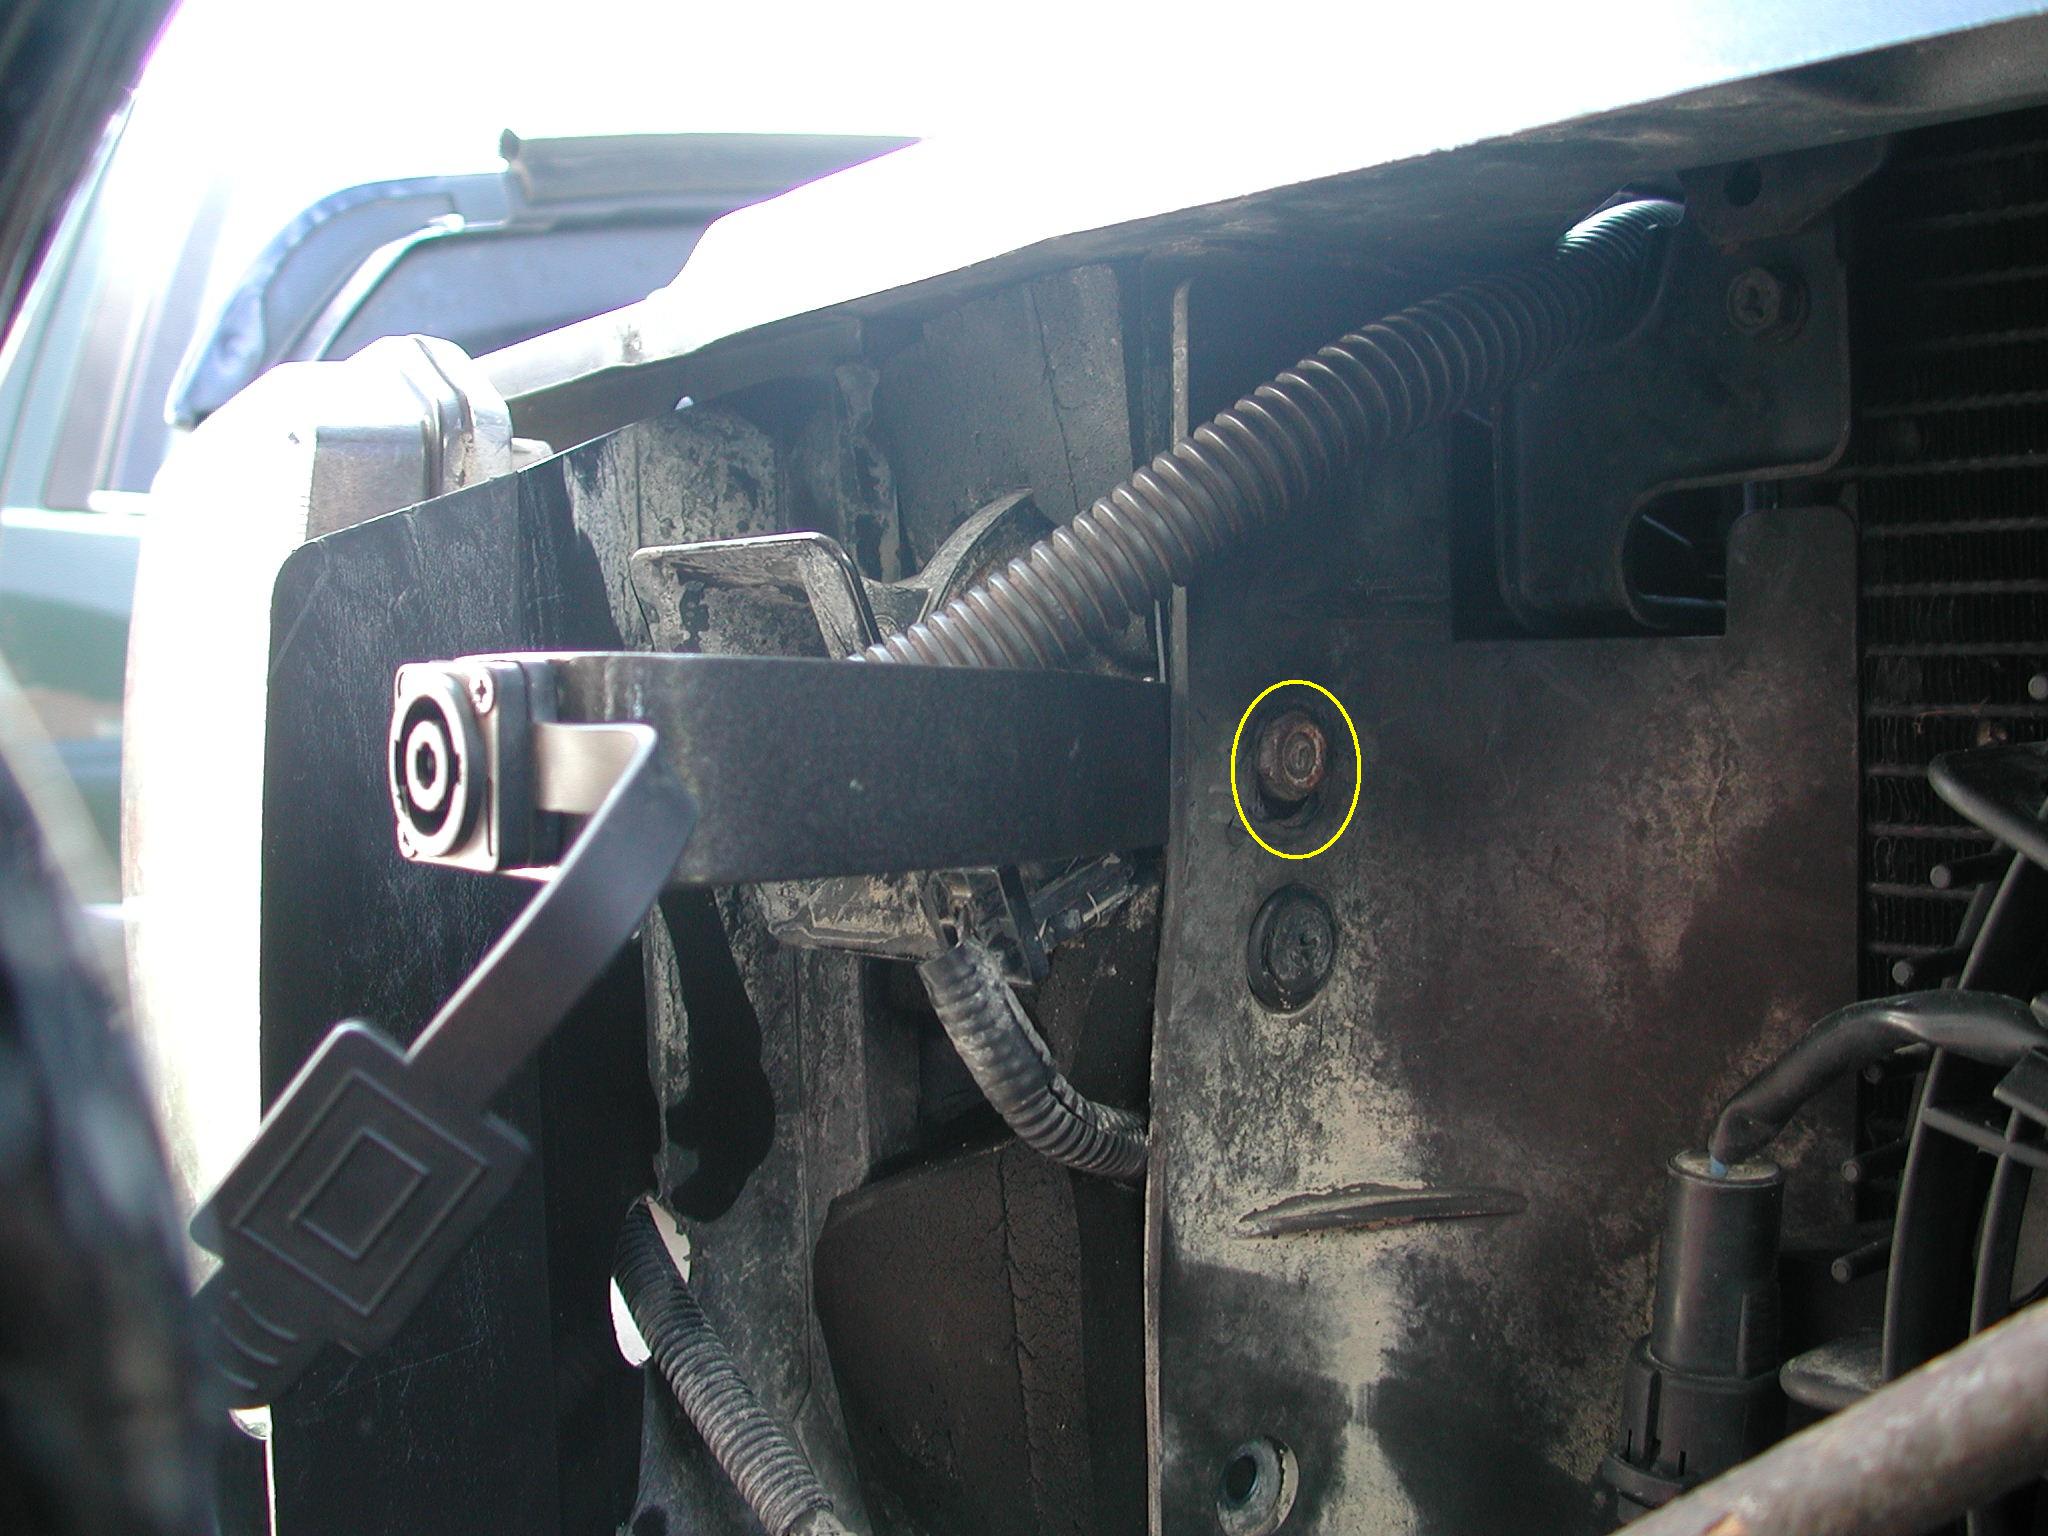
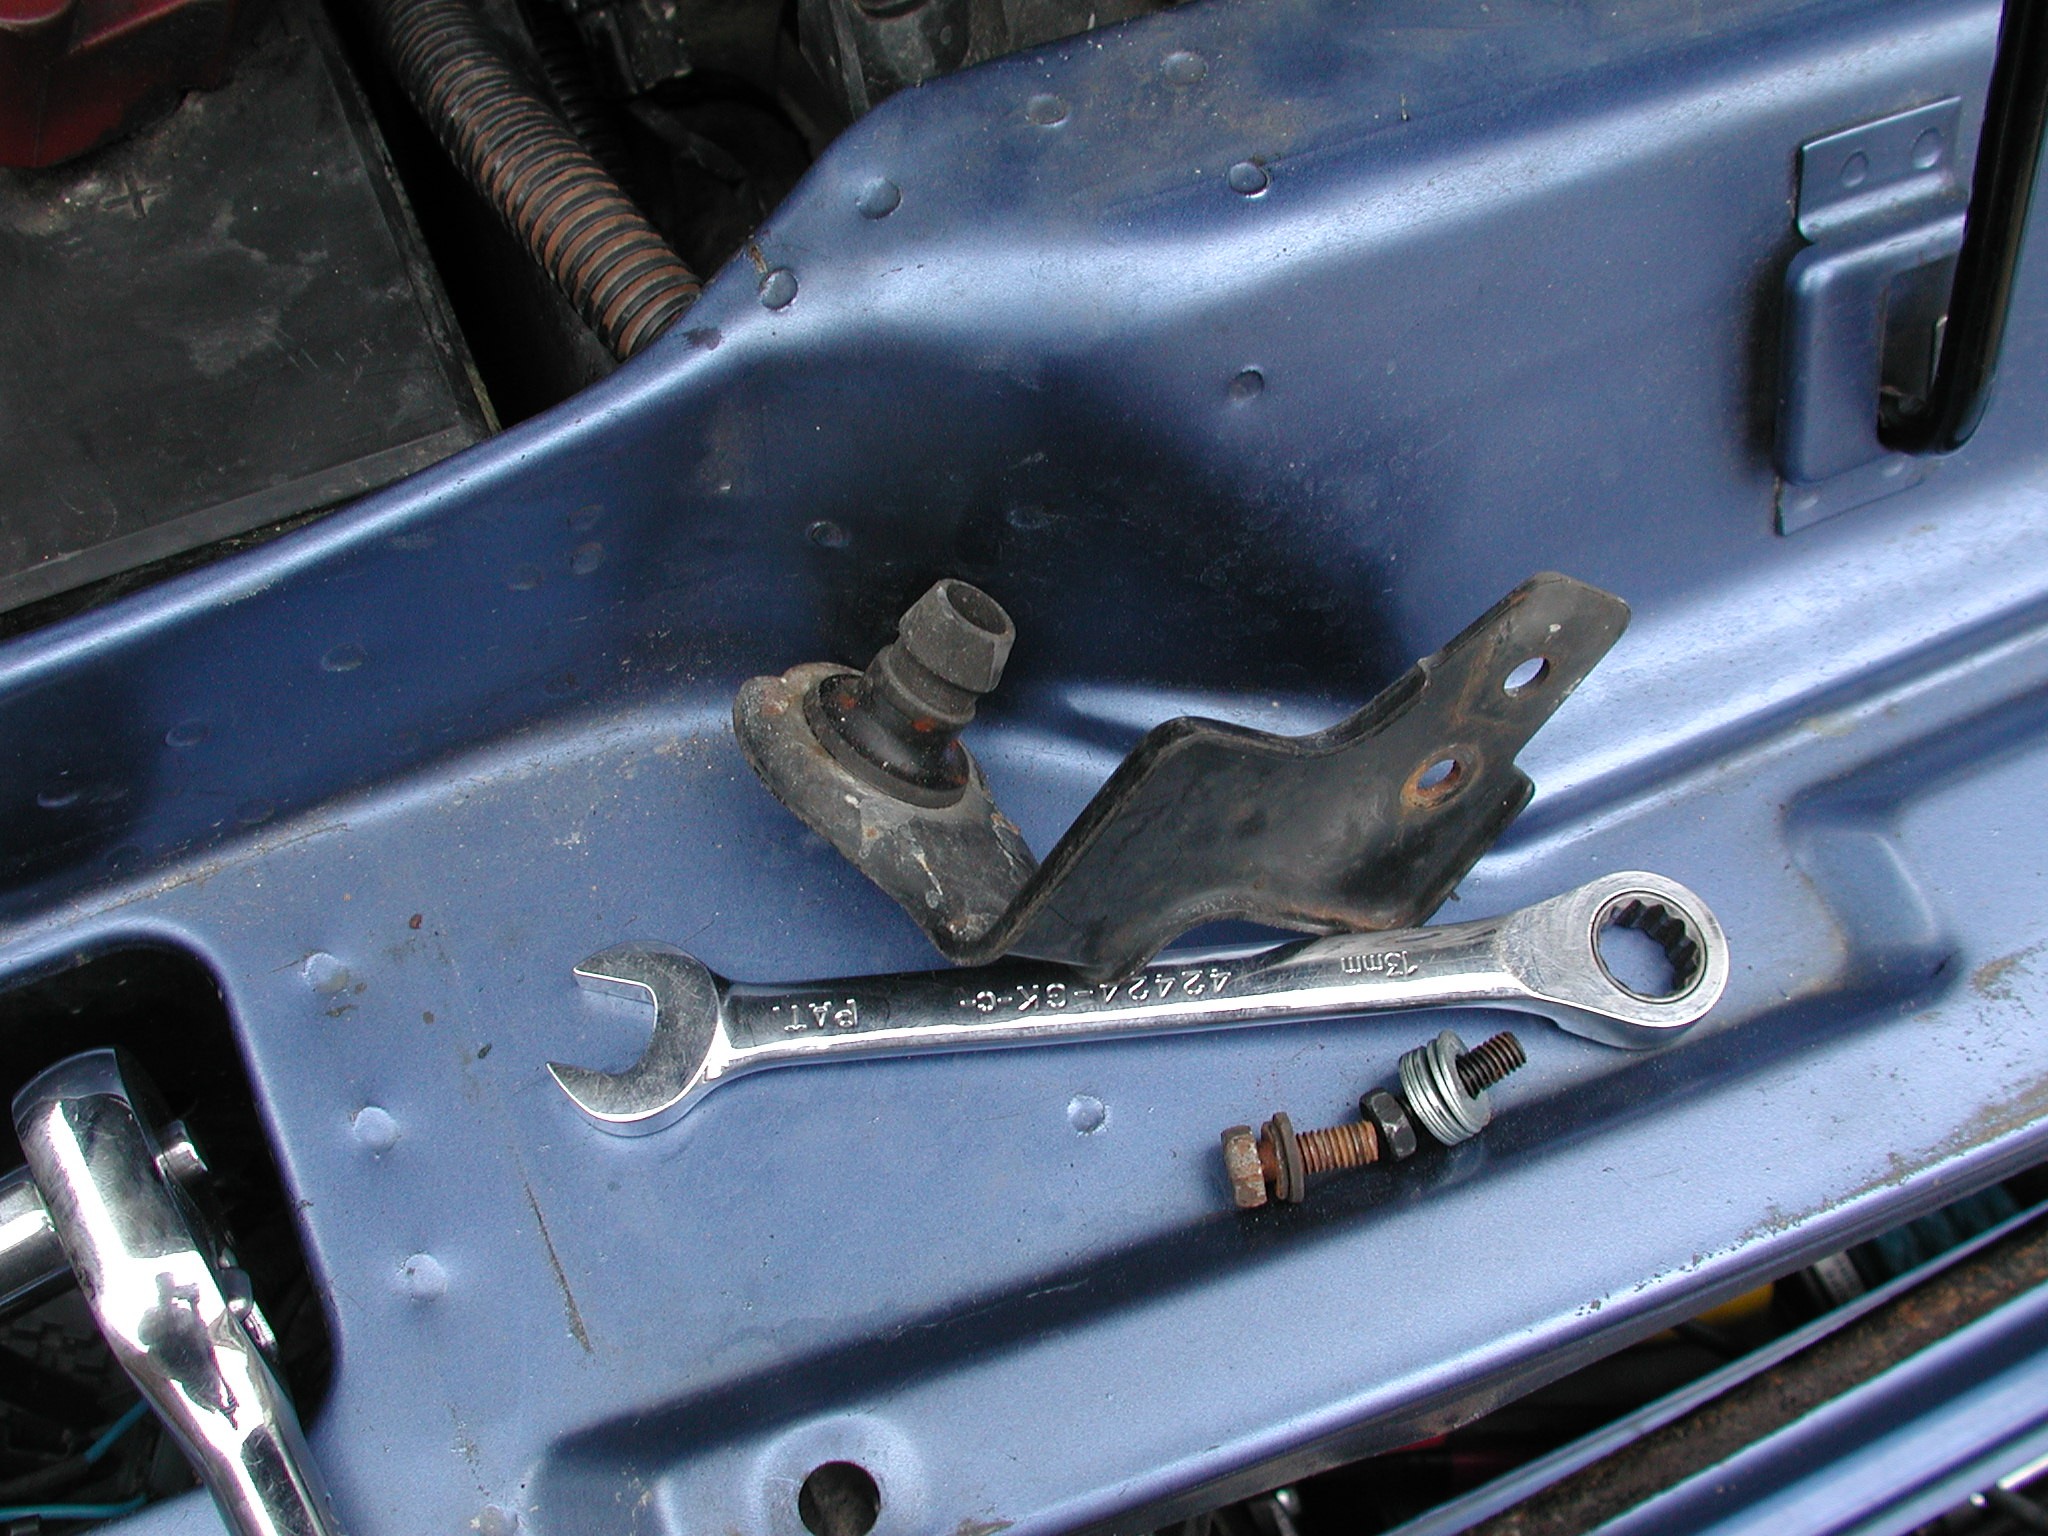
Now you have to remove the 2 horns (1 each side) to get access to the mounting brackets. The Intercooler , radiator and air con heat exchanger are all attached to the same brackets. To remove the horns, it is 1 x 13mm nut on each horn, then you have to "lever" the horn out of its location.
Above is the nut (circled), 1 each side on each horn, you need to remove both of them Once the Horn is out, which again you can leave "hanging" on its wiring, you then need to pull out the foam "filler" that is behind it, Mine was already in 2 bits probably from previous intercooler cleaning jobs.
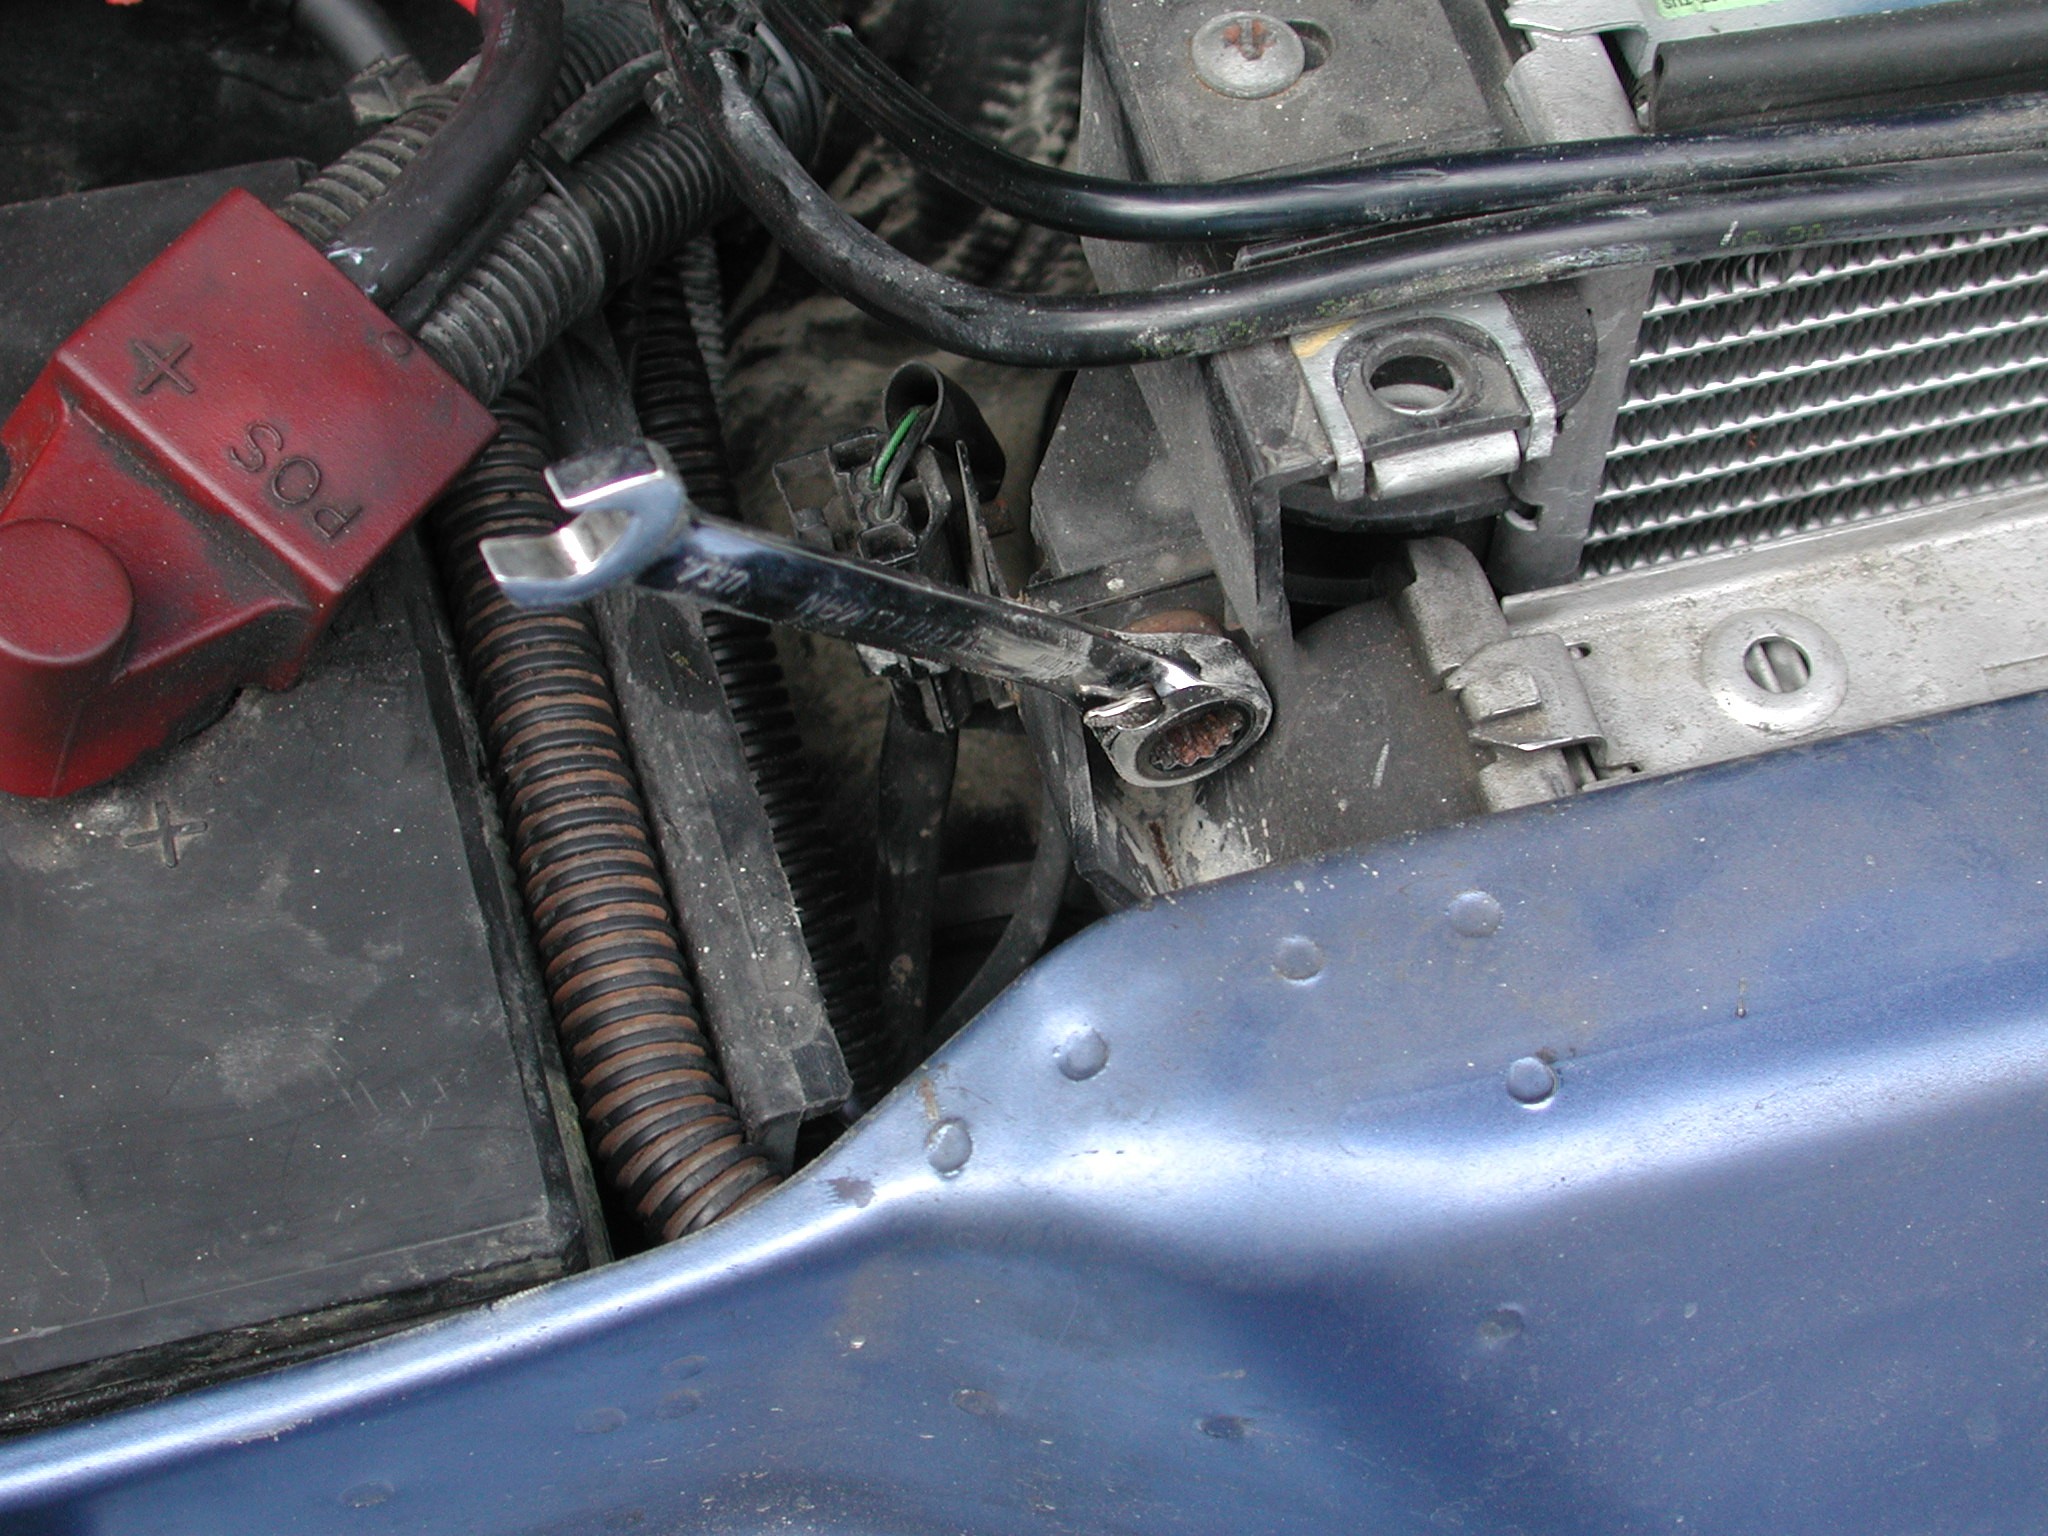
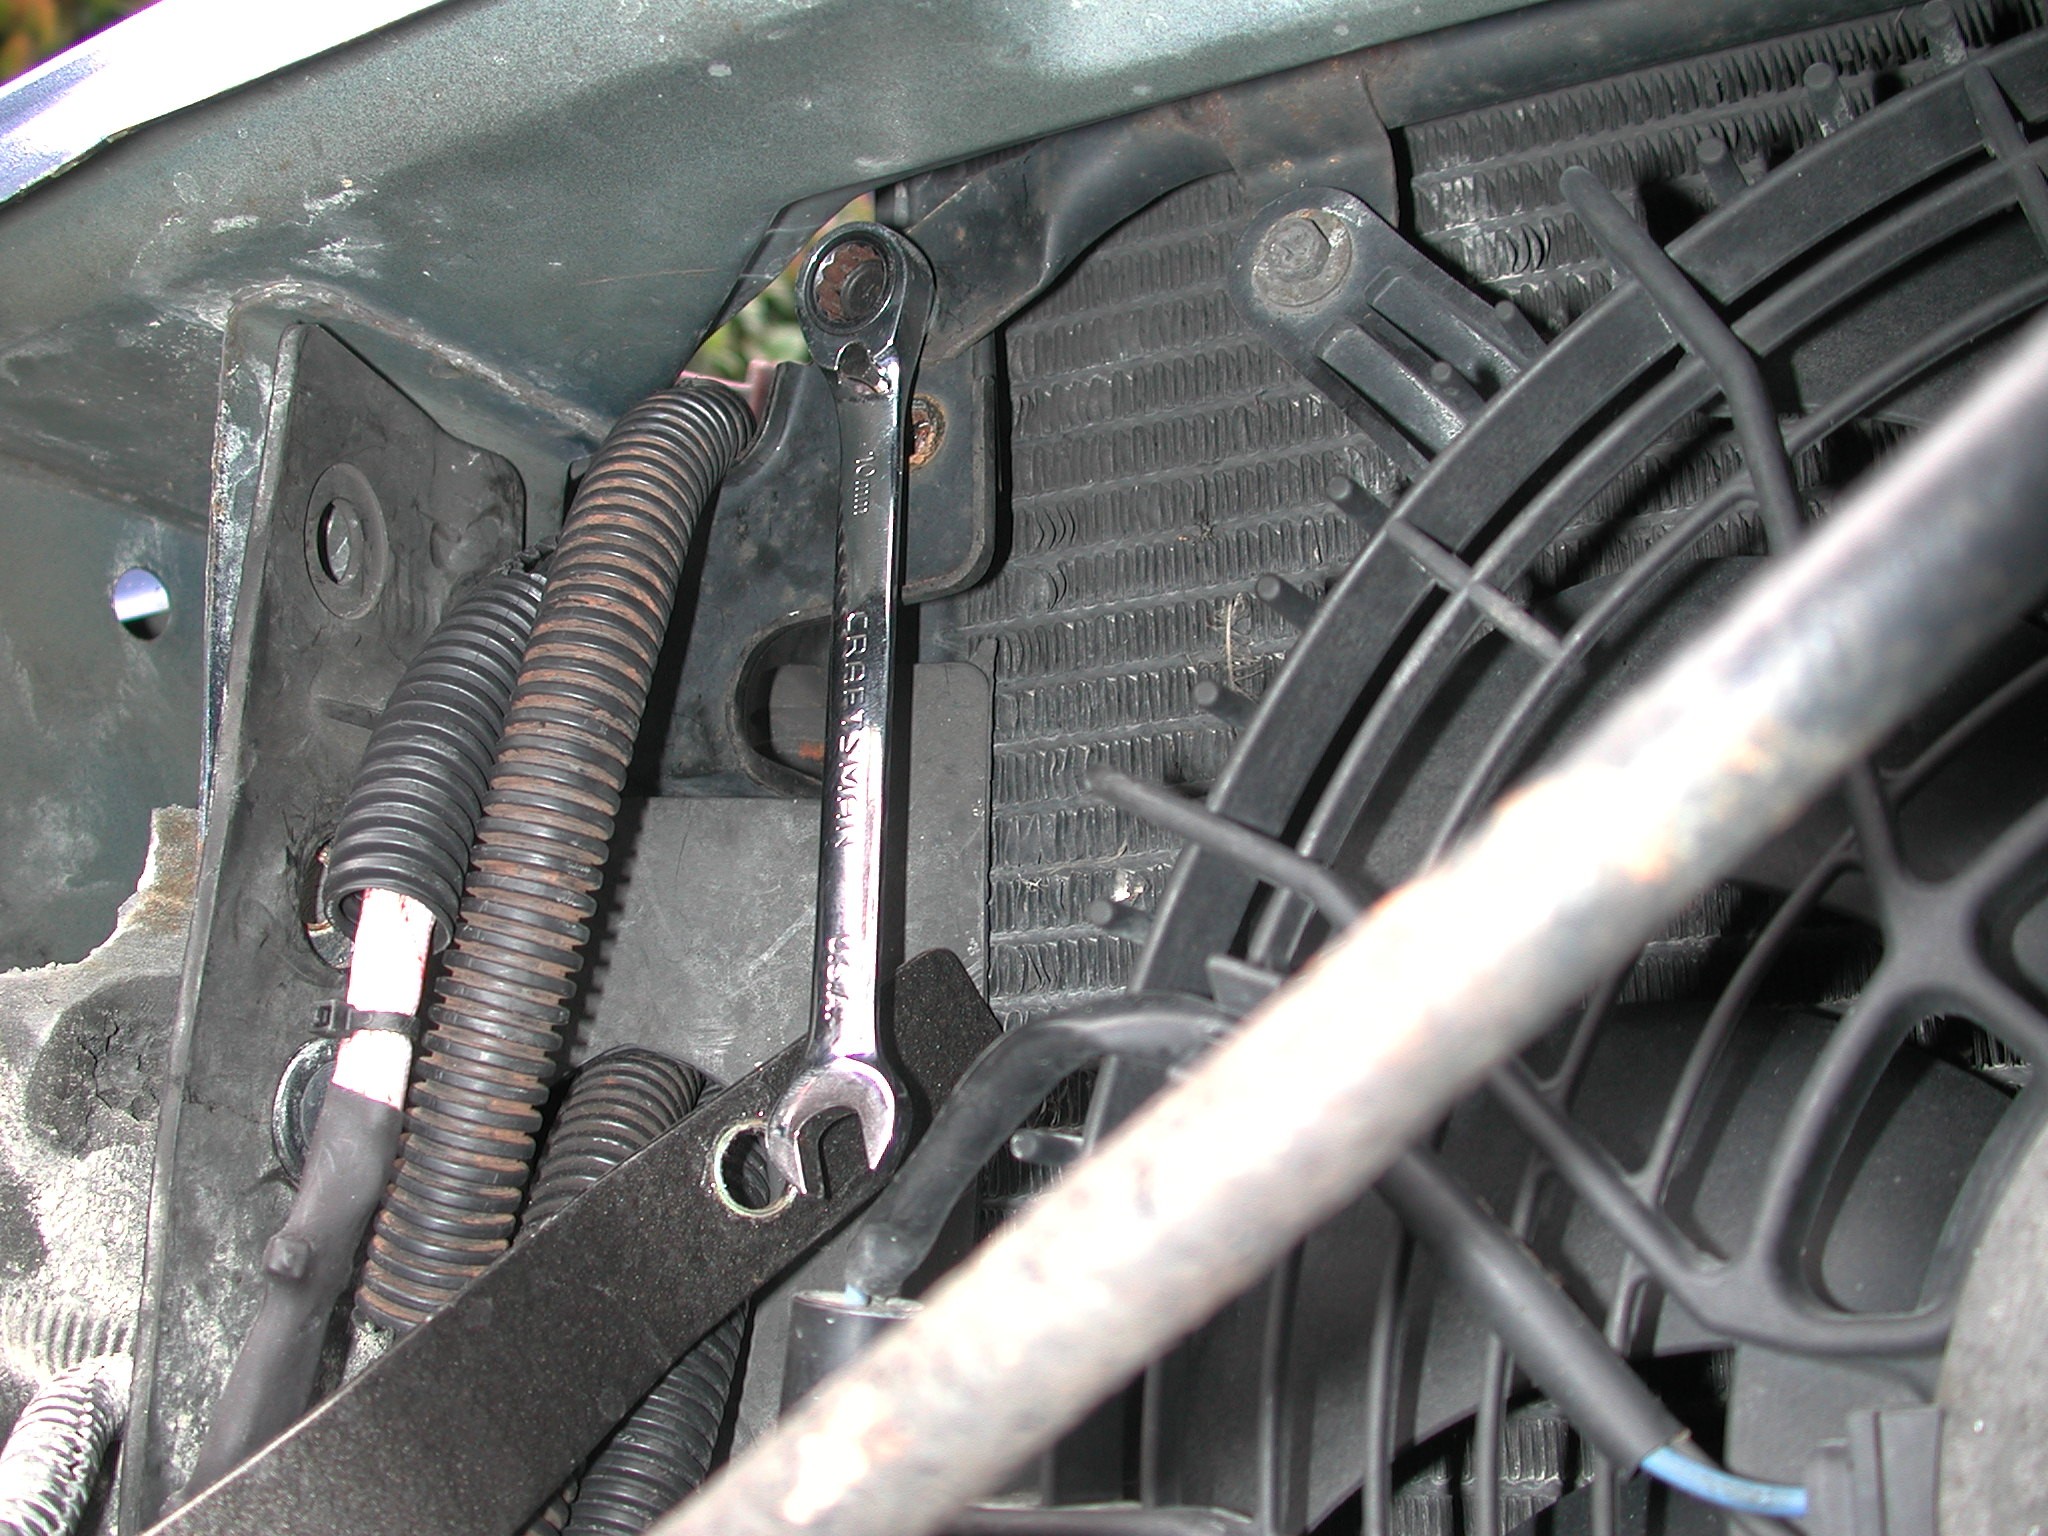
In there you will see another 10mm bolt that holds the bracket on the engine side of the front bulkhead. Its the same for both sides of the car, and can easily be access by a ratchet and an 8 or 10 inch extension.
Now you need to remove the 4 bolts (2 each) side that hold the aircon rad to the brackets.
The bottom on on each side can be easily got on with a ratchet and socket, but the top one is a little more fiddly and a ratcheting spanner really helps here.
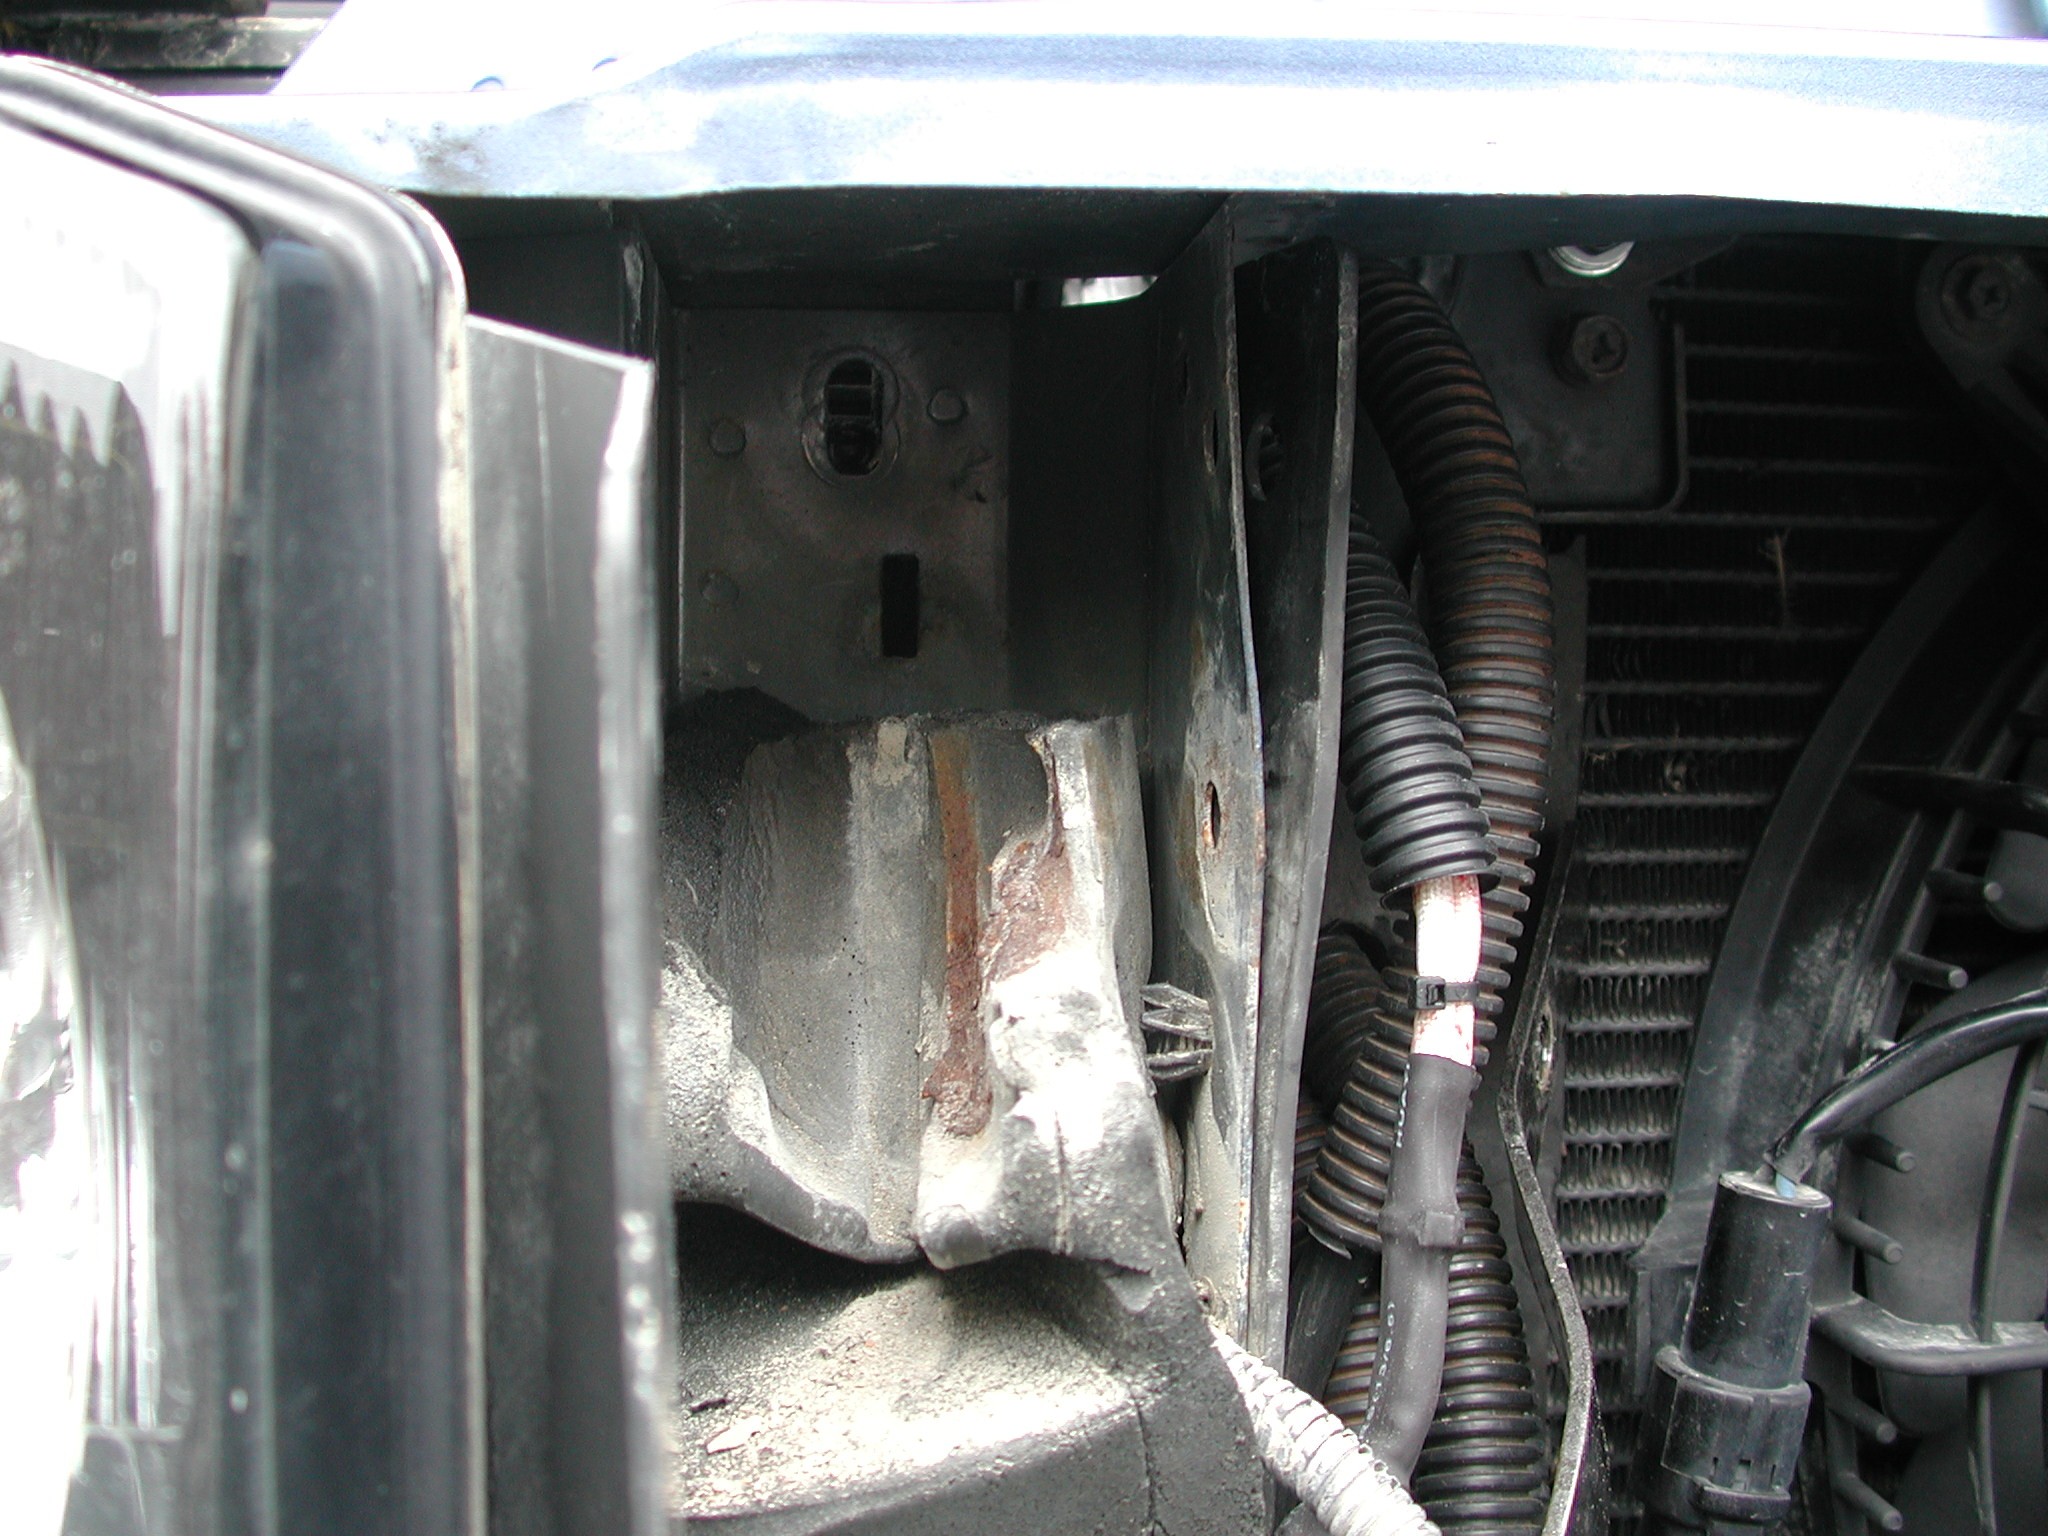
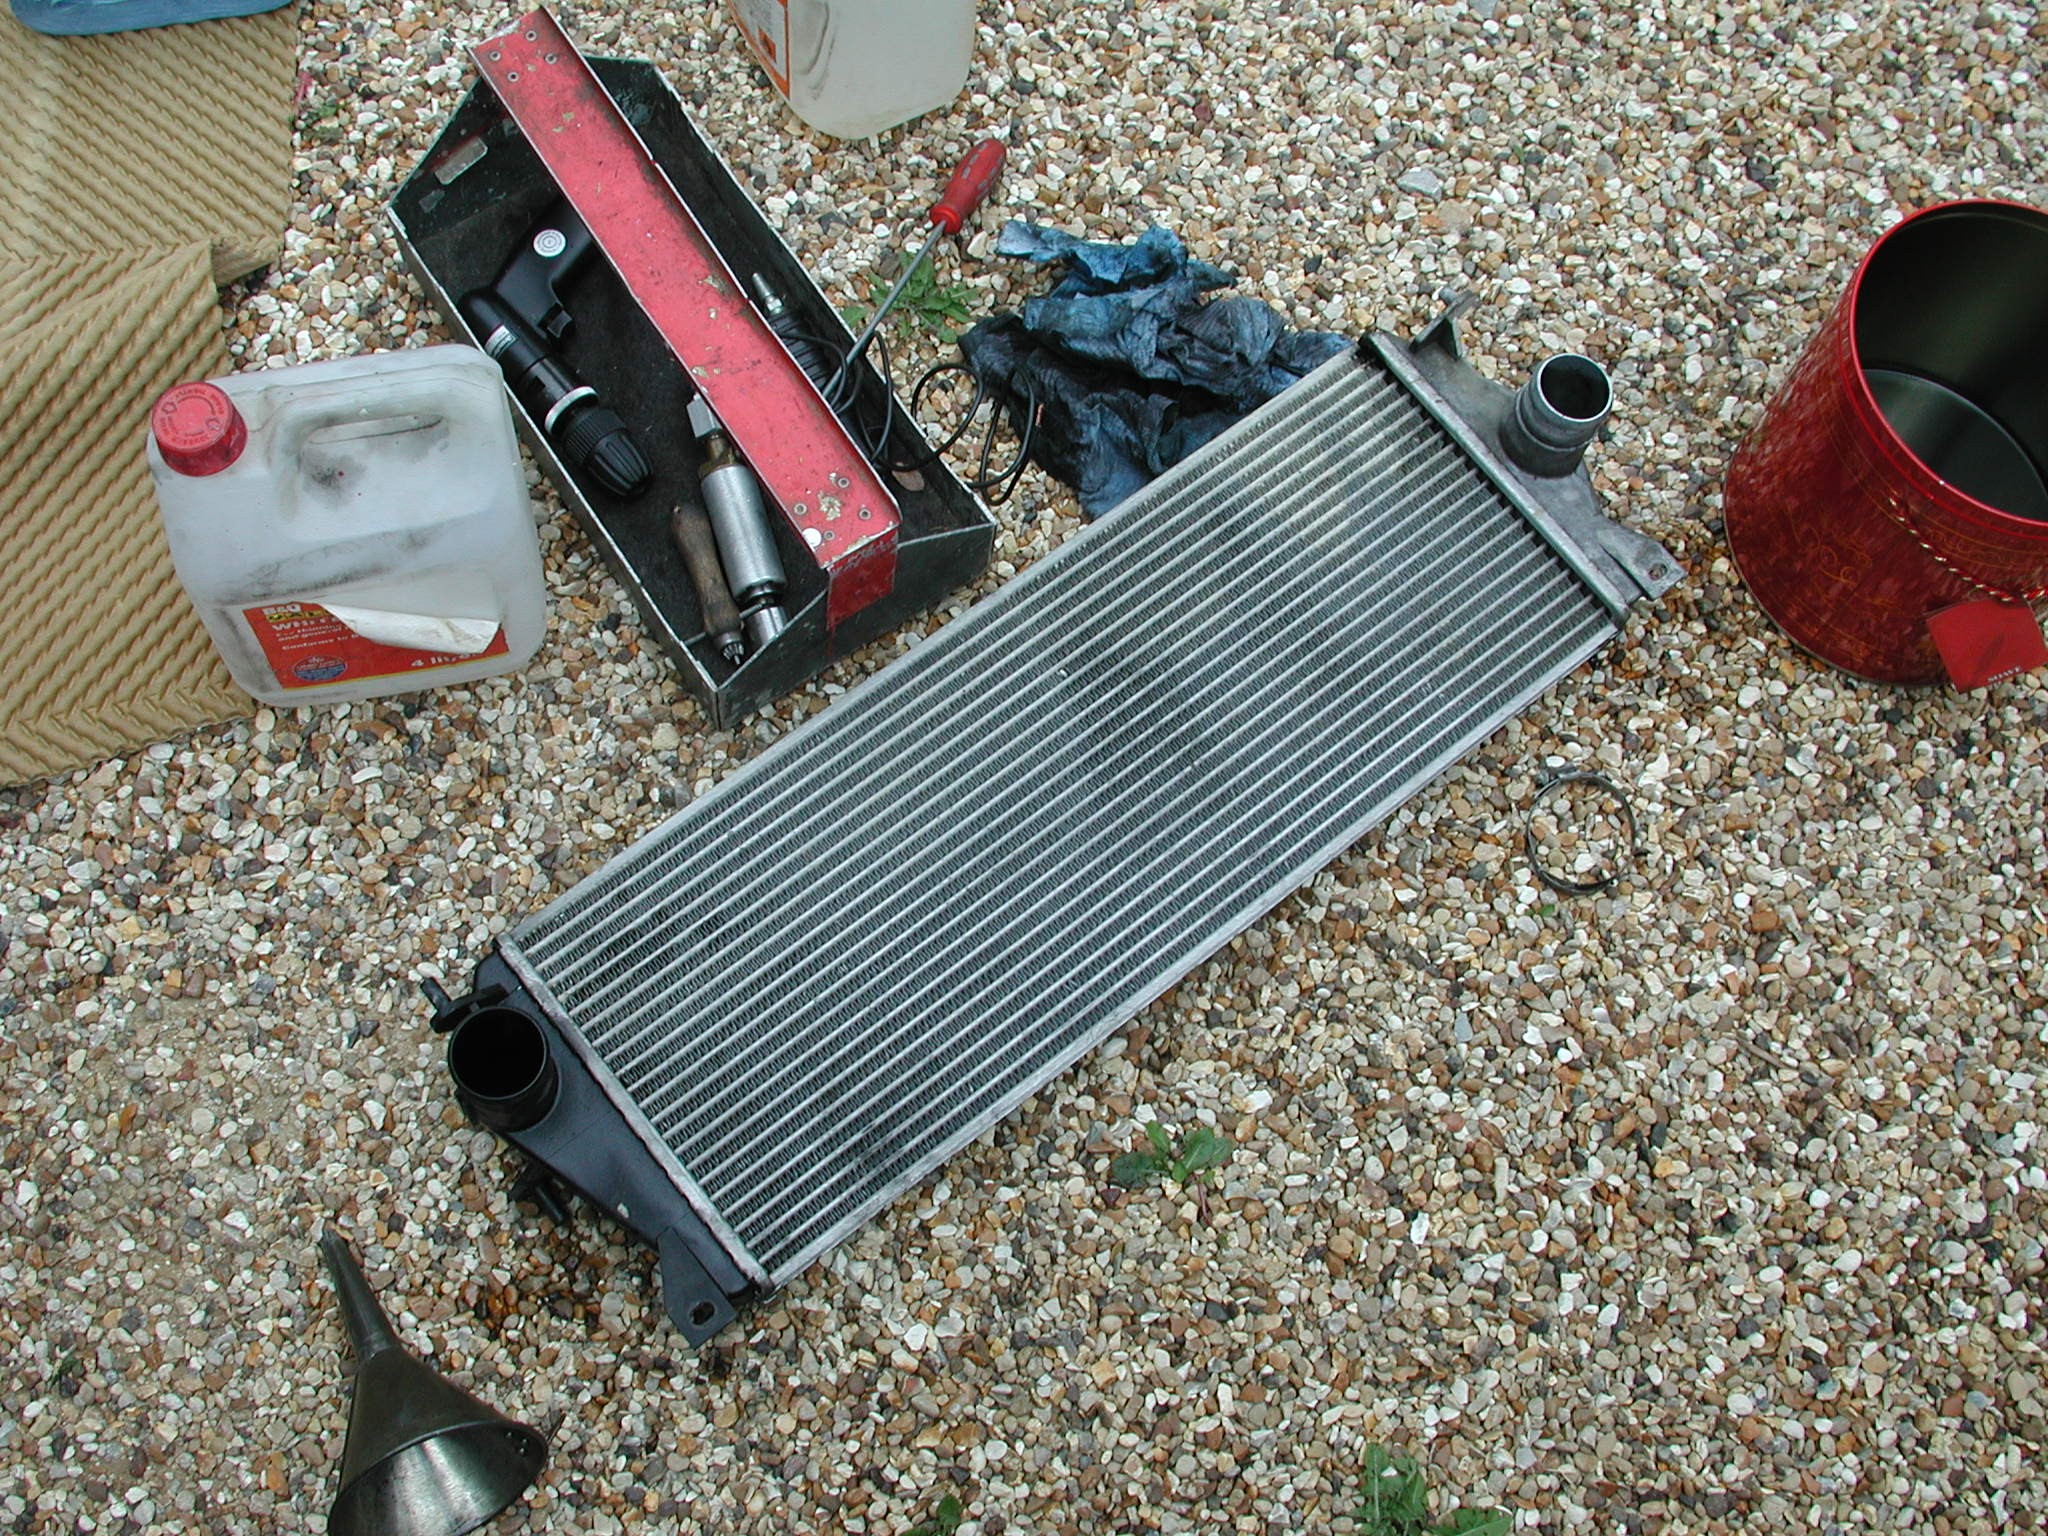
Above is what they look like, once the bolts are out you can get the brackets off the radiator mountings and out the way. There is 1 bracket on the passenger side, and 2 on the drivers side. That is all I needed to remove, now you have to be very careful and maneuver bit by bit the intercooler up and out of the car. You will find it much easier if you lift the radiator out of its bottom feet, this gives you a bit more "play". When your lifting out the intercooler, you need to push the radiator back towards the engine. You can only push it as far back as the viscous fan, but be careful not to damage the fins on the radiator. Its a tight, fiddly squeeze, but take your time and the intercooler will come out.
Once its out, its a case of filling it up with some type of solvent to clean it. What you use is up to you. White spirit, Gunk, or even diesel fuel would be ok. You must make sure what ever you use its fully out / dry BEFORE you re-fit the intercooler. You could leave it over night to soak, or give it a good shake rattle and roll etc, it will all depend on how dirty it is. Mine was not "that" dirty, so I only soaked it for a few hours. I used compressed air and a blow gun to blow an airflow through it, to help remove any solvent fumes etc for about 20 mins or so, which by that time I felt the fumes were negligible. I If you have an Air compressor and AIR powered vacuum cleaner / bag, then connect it to one end, and leaving it running for 10 -15 mins really helped to clear the remaining fumes etc as it drew a LOT of air though it. Re-fitting is a reverse of removal, but a few points tips to note. When sliding in the intercooler, put the passenger side in first, you can use a little force to move the airbox on its rubber mountings to aid clearance. Another pair of hands if available is a good idea. Once its nearly in its location, ensure its locating lugs / feet sit back in the locating holes on the radiator. Again its fiddly and tight, but TAKE YOUR TIME and it will go. also DON'T forget to sit the radiator back into its locating feet as well. While mine was out and soaking, I took the opportunity to hose down the oil cooler and radiator etc of dirt and muck that you cannot normally get to !!
|