![]()
| Mantec Raised Air Intake (snorkel) |
|
|
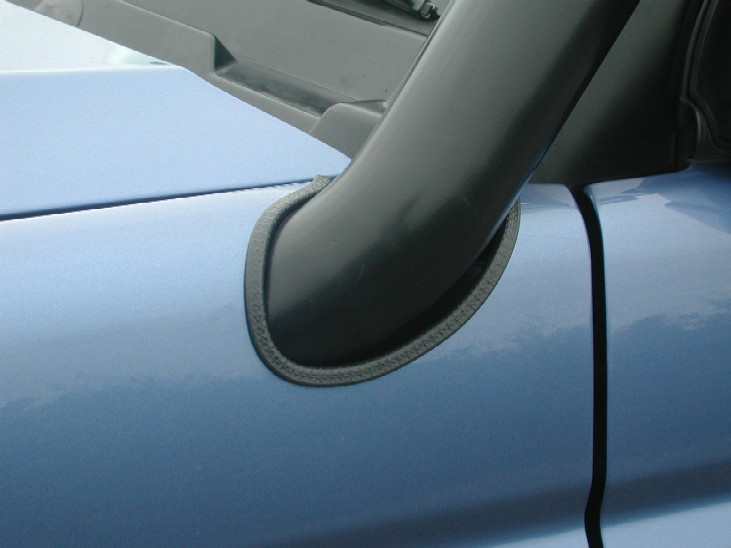
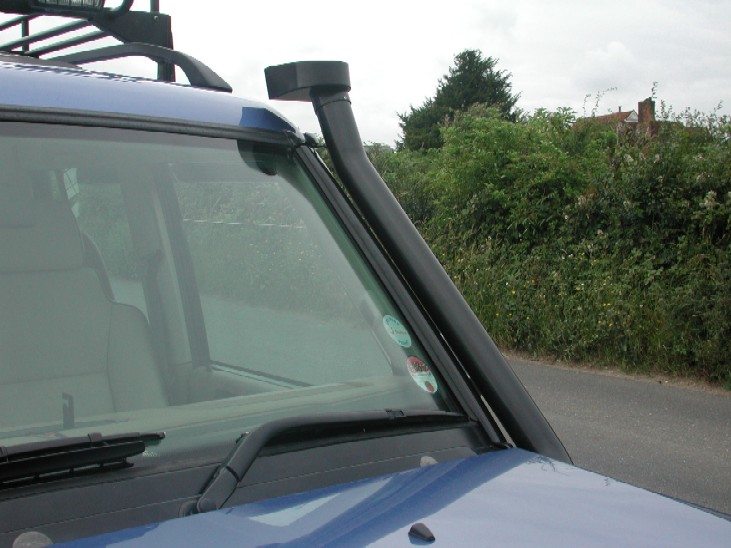
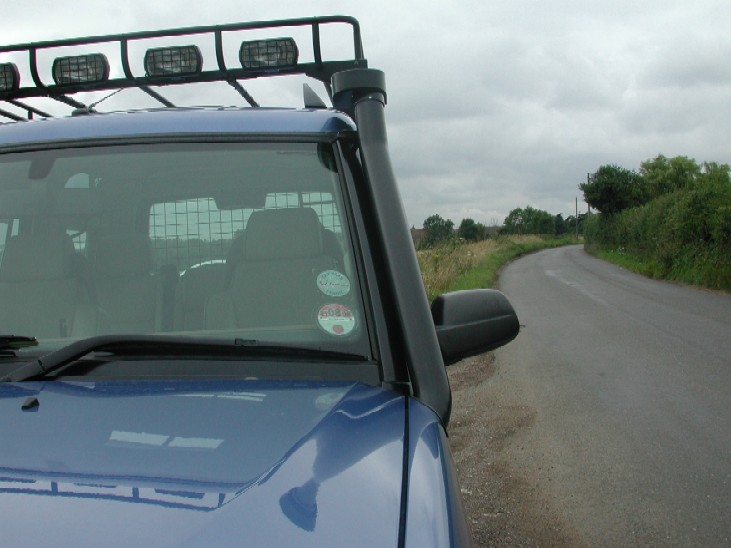
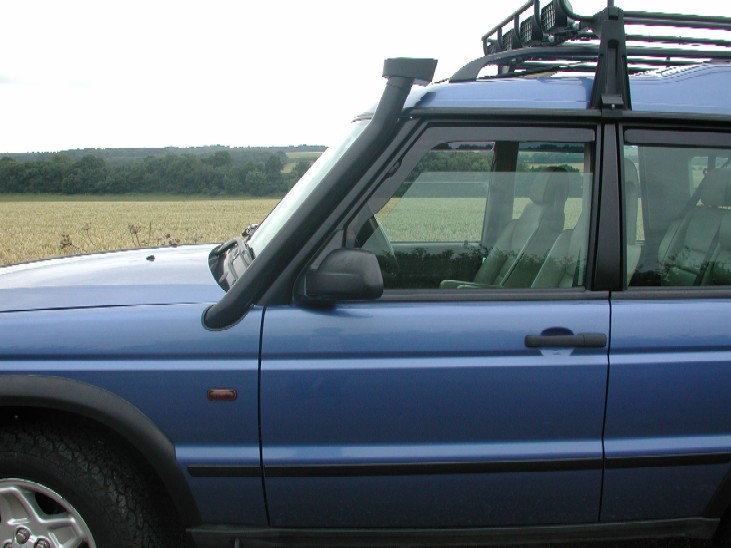
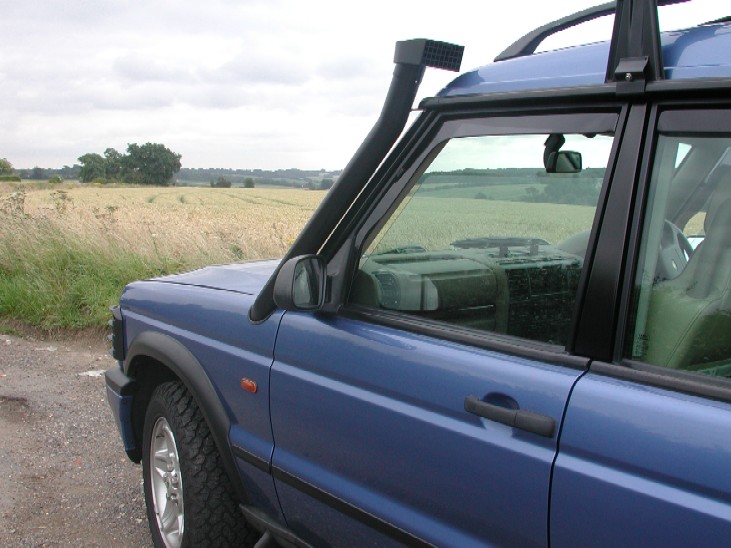
This is one of the "big" mods to your Land Rover and the thought of cutting a big hole in your wing can put a lot of people off, it certainly did me for a long time, but then I thought what the heck, lets add a snorkel to. Again as with other Land Rover addons , there's a choice of which to get. As far as I know the is 3 makes of snorkel for the Disco 2, Mantec (G4 vehicles), Safari, and Southdown . Each snorkel has positives and negatives about their design and look. You will have to decide which one you like the "look" of as they all pretty much do the same job. In the end, because my car is a "light" colour, I decided against the Safari one as it would look "to much" on the external surface of the wing, however on darker colour cars, I feel they look really good. I really like the look of the stainless pipe on the Southdown snorkel, however I did not like how far forward it sits away from the "A" pillar. This left me with one choice, the Mantec, it looks very neat where it goes through the wing, and is colored black so blends well with the look of the car at the "A" pillar, as with all the others the mantec does have a negative side for me, and that's the fact the top cannot be rotated to get "ram air" when on road. Apart from that it fits very well, is made of tough metal construction and looks cool when fitted. Here below is a mantec snorkel fitted to a Disco 2 G4 vehicle. All G4 D'2's had these fitted, as did the Camel trophy Discovery's, and if they good enough for the G4 challenge then they are good enough for me !!
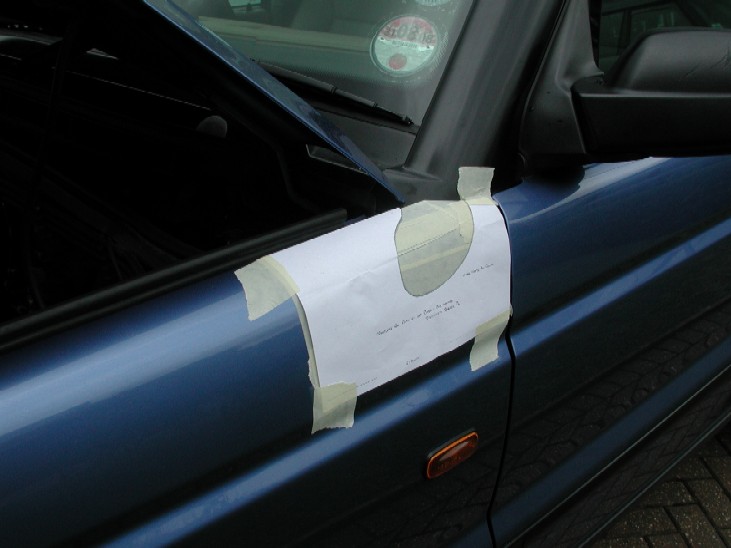
As you can see by these pictures it really is quite discrete. The kit comes with the metal intake "horn" tube, a flexi hose, and the upright external tube that you see above the wing + all the fixtures and fittings and instructions. The snorkel basically is installed between the inner and out wing, so to do the job the front wing has to come off. But first of you have to mark out the dreaded hole your going to cut!!. The kit comes with a template of "sorts", so cut out the template and then lay it on first so you can get an idea of where it goes.
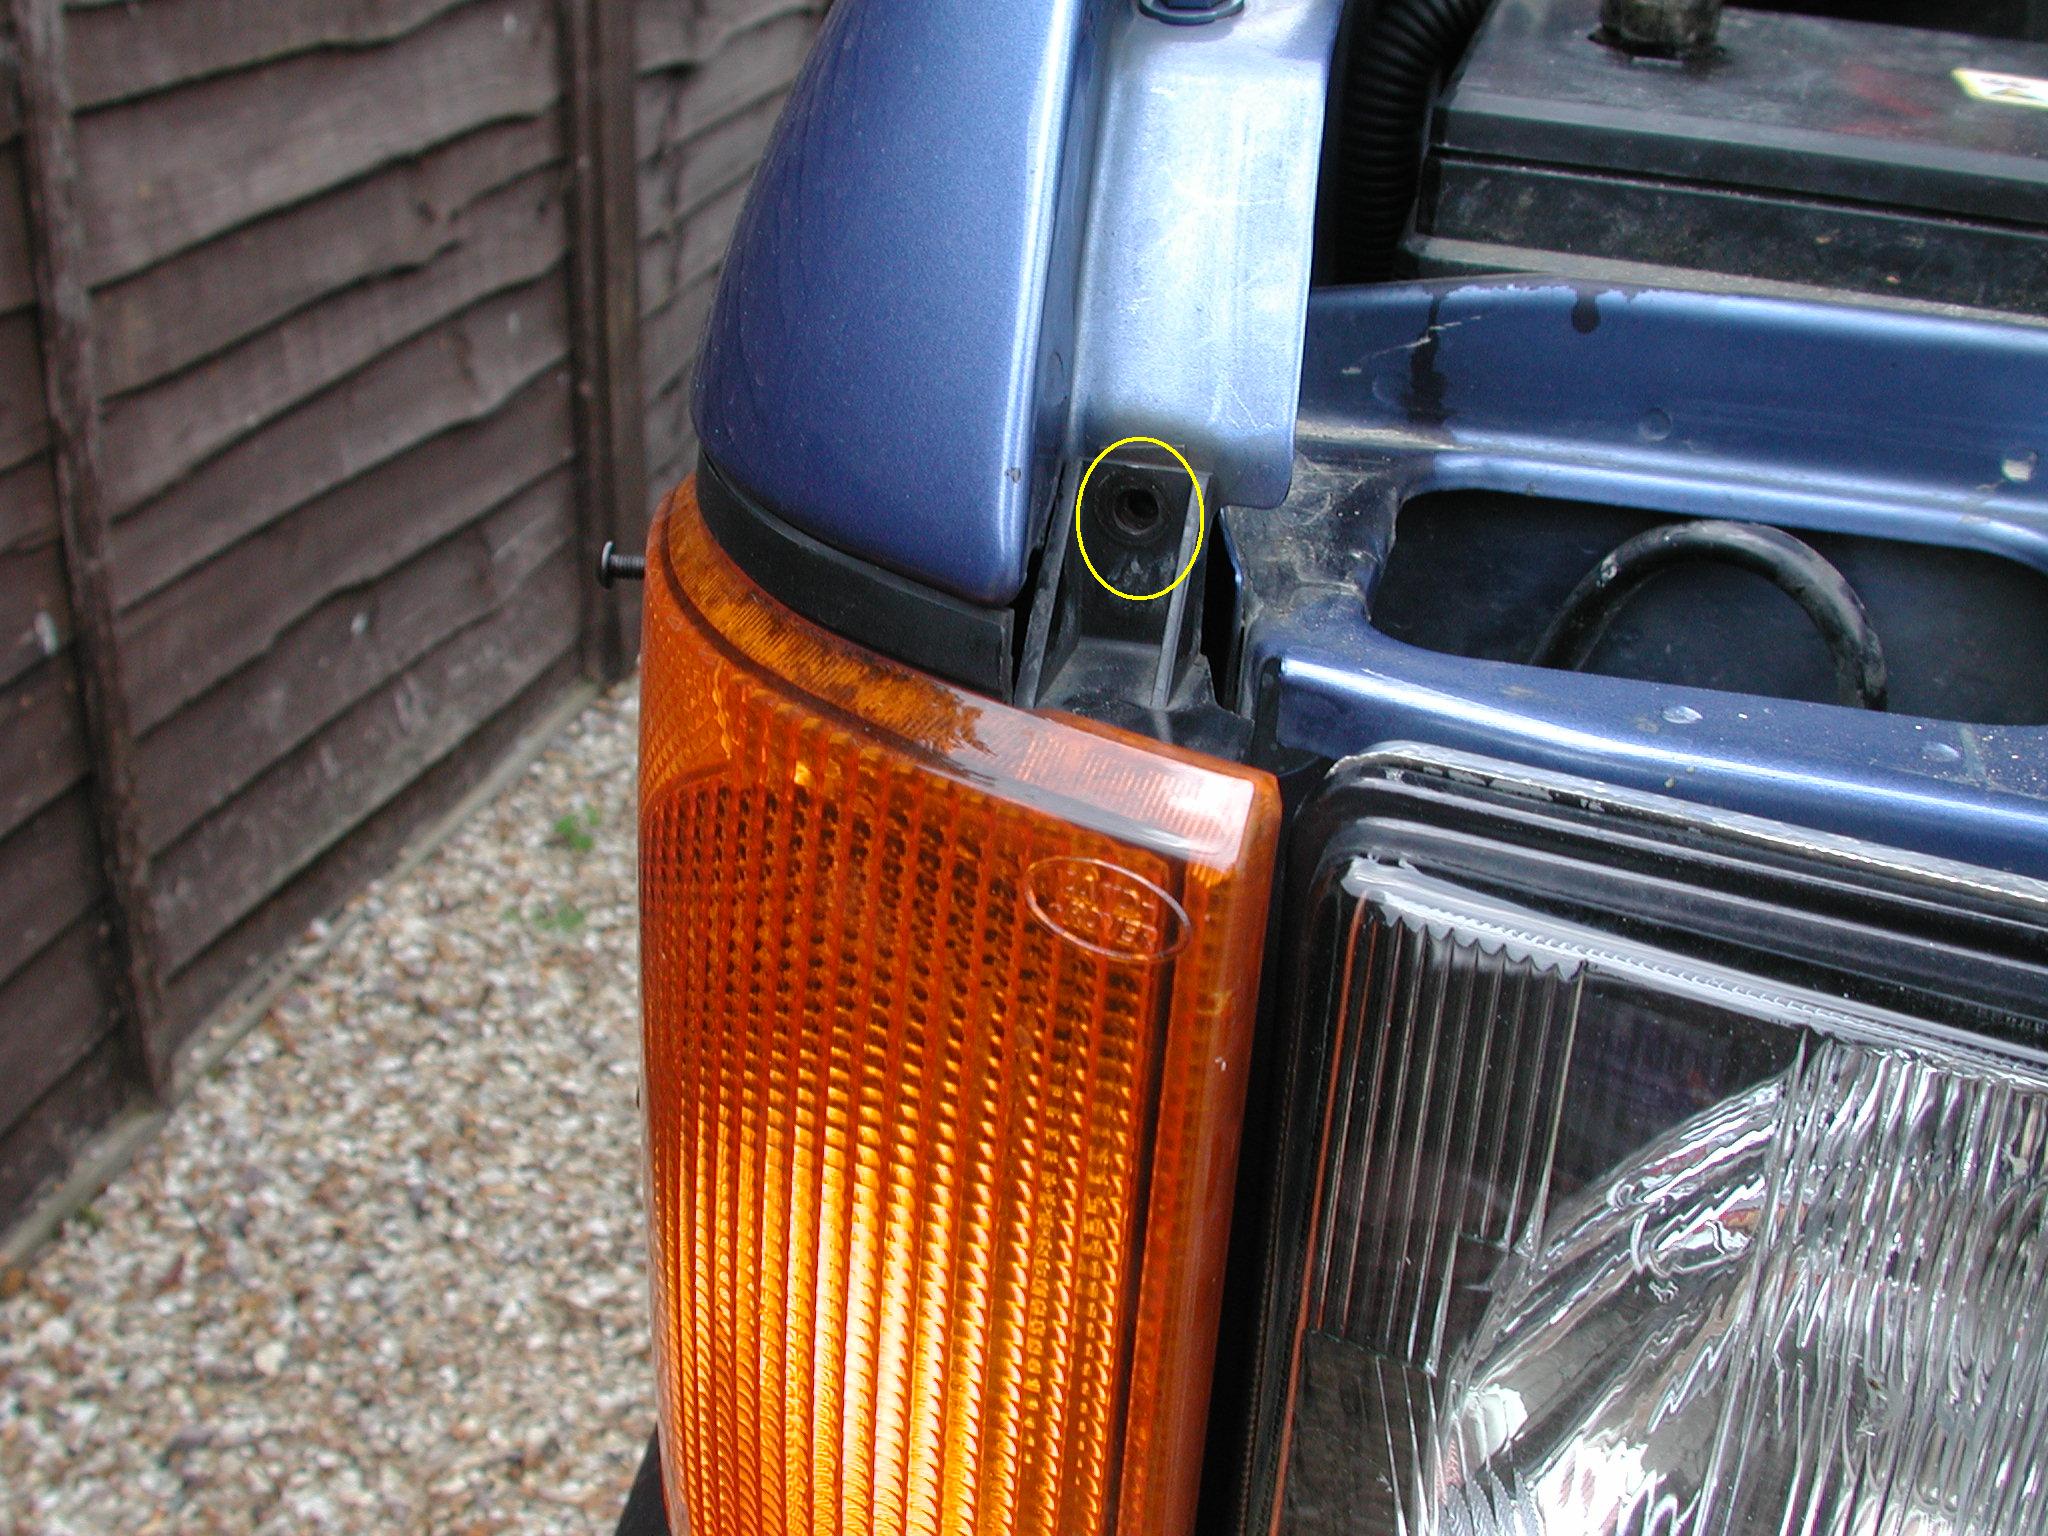
Then remove the template, mask up the wing so you can then put the template back into position and draw onto the tape to mark the hole out. Next you have to now remove the front wing. To do that you need to remove the indicator assembly first, this is held by 1 phillip's screw at the top, and then it requires a firm "tug" forwards to pop it out of its plastic spring clips NOTE :- Right side in picture, but you have to remove the passenger side one (UK car) Also the lower left headlight trim needs to be removed as well This is held by a screw that can be accessed from under the wheel arch, yellow square below, and arrow pointing to screw location, it is simply "slid" into the front grille. NOTE :- right side shown !!! The Wing is held on by a total of 10 bolts and 3 Torx screws under the wheel arch edge. There is 5 along the top edge to come out,
3 bolts down inside the door shut, 2 of them hold on the cover plate that is used for extra cabin air on "gulf spec" vehicles.
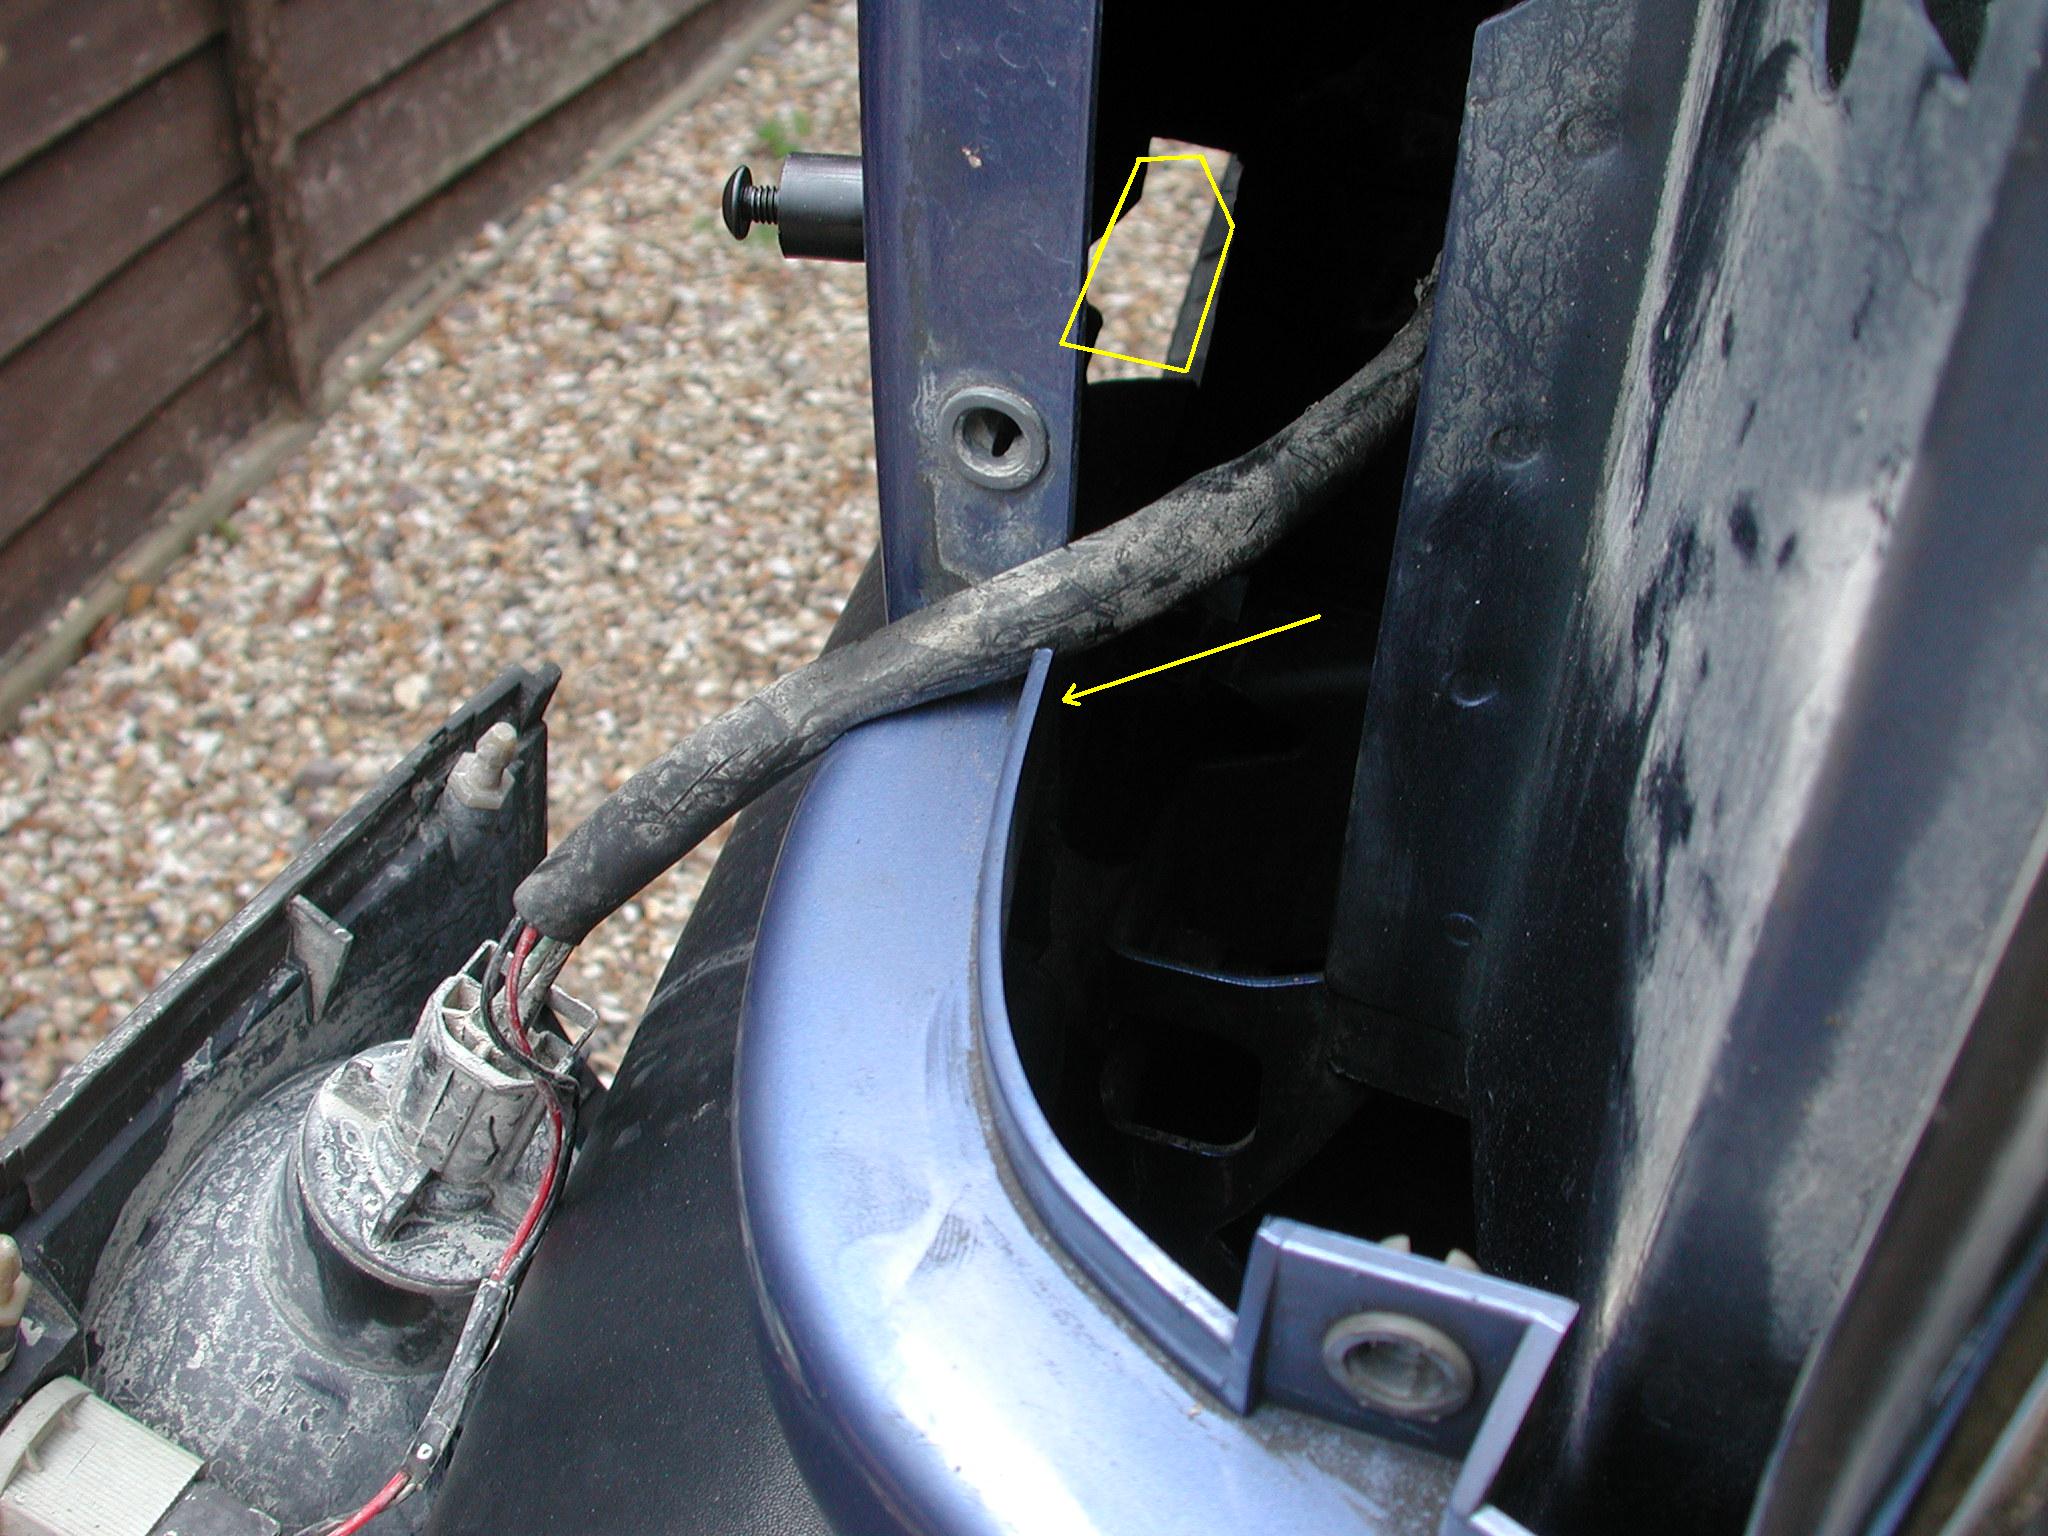
1 bolt is at the lower front, but can be accessed from between the bumper and wing
Next remove the 3 torx screws from under the wheel arch lip, take note the middle one has an additional plastic washer on it.
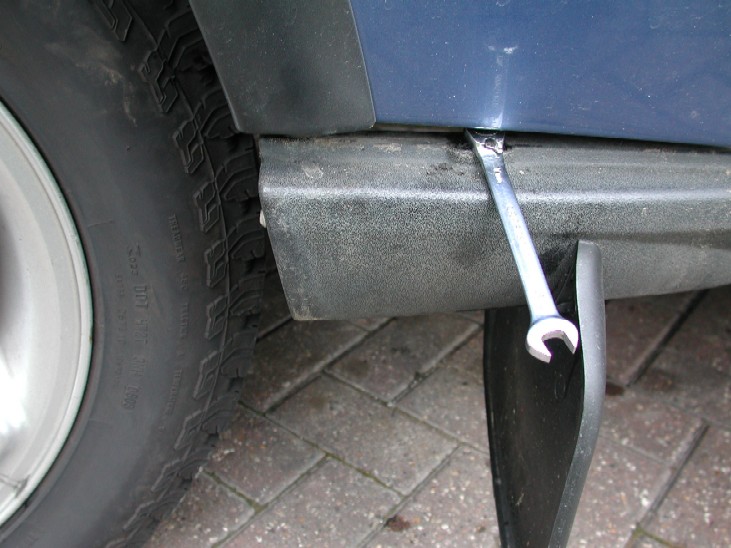
Now last but not least the more difficult one, this is located at the lower rear edge, you need to either lay underneath to see it, or have a mirror to see it, once you locate it, it's easy enough to remove. Its actually 2 nuts on one stud, the first loosens of the plastic sill trim, the second one holds the wing on. Its difficult to photograph it, but here's an idea
The picture above shows the first nut which holds the sill trim already removed, the second is visible above the trim, you can also see the small bracket that needs to bent up to allow the wing to be "unhooked" at the bottom. The second nut can be accessed from outside by moving the sill trim out the way
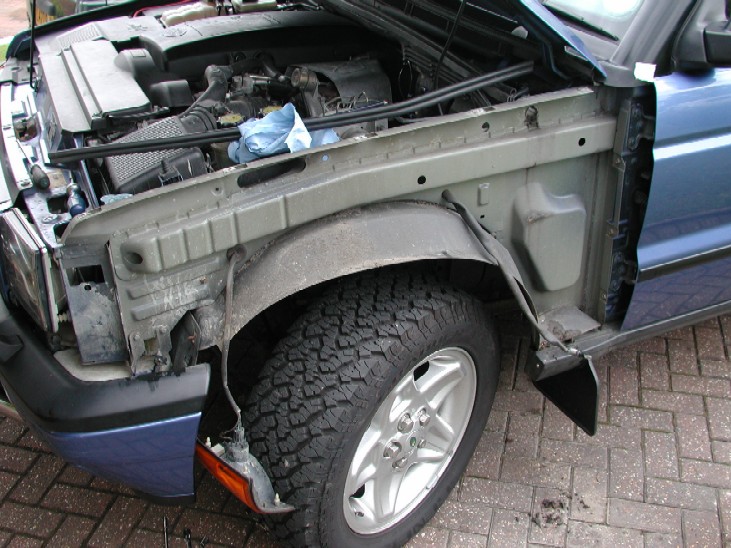
Once all the bolts etc are out, you can carefully!! remove the wing, remember to remove the side indicator loom / bulb.
In here was a lot of dirt etc that I hosed out before I carried on. You can also see the original air intake slot at the top. So, now we have access, you need to remove the air intake horn, its held on by 2 plastic nuts on welded studs. Once the horn is out you need to break of the studs as this is where the new intake piece bolts on.
When they are removed, you may need to drill out the holes a bit.
Now give the inner surface a clean an protect the new holes with paint to stop any corrosion.
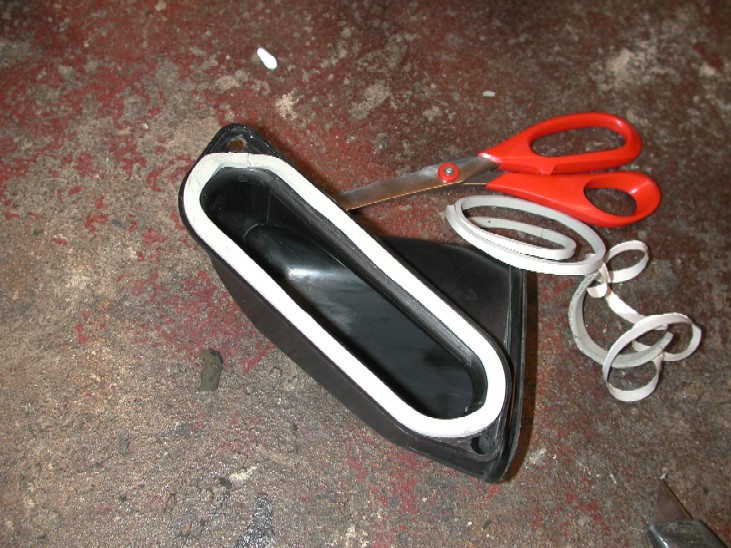
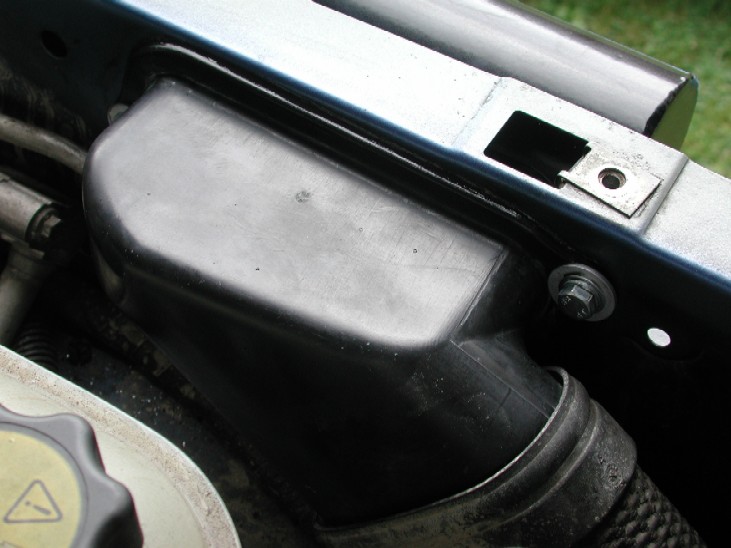
Above is the factory intake horn, it is supposed to have some foam to help form a seal between itself and the inner wing, however mine had perished to almost dust and could be rubbed away of with your finger. So I added some new self adhesive foam seal to the intake horn. Now you can fit the first part of the snorkel, the intake plenum end. It has 2 rivnuts on it to line up wit the new holes you have created. The kit comes with silicone sealant to add here to make a good water tight seal between the 2 pieces and the inner wing. Be generous with it and then bolt the 2 together. I even added a small bead of silicone to the original horn as well.
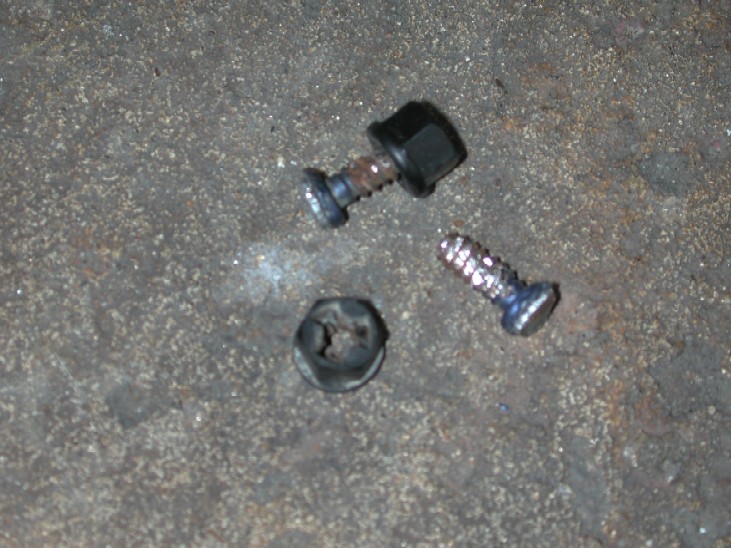
Above is the first piece bolted into place. It fits very well and is shaped to run inline with the inner wing shape. The original horn is held by those plastic nuts that I removed earlier, new bolts, nuts and washers again are supplied in the new kit, how ever they are only standard washers and when you tighten the bolts down they tend to "cut" into the plastic horn a little, so I chose to fit larger penny washers to help spread the load which allows you to tighten them more to give a really good seal.
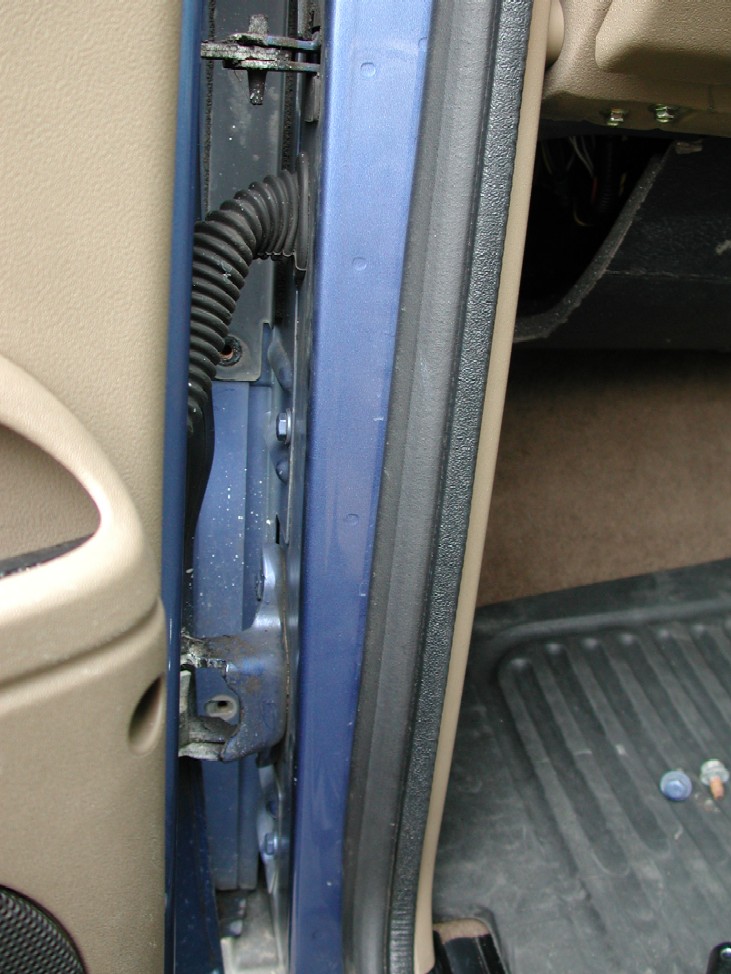
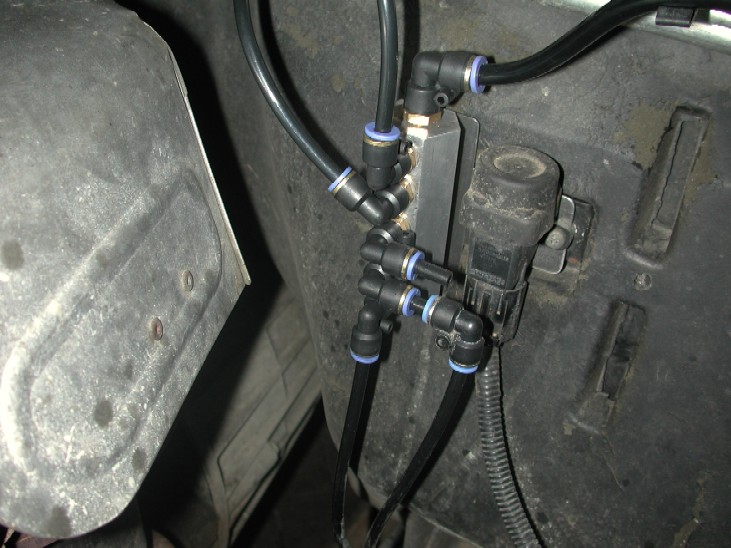
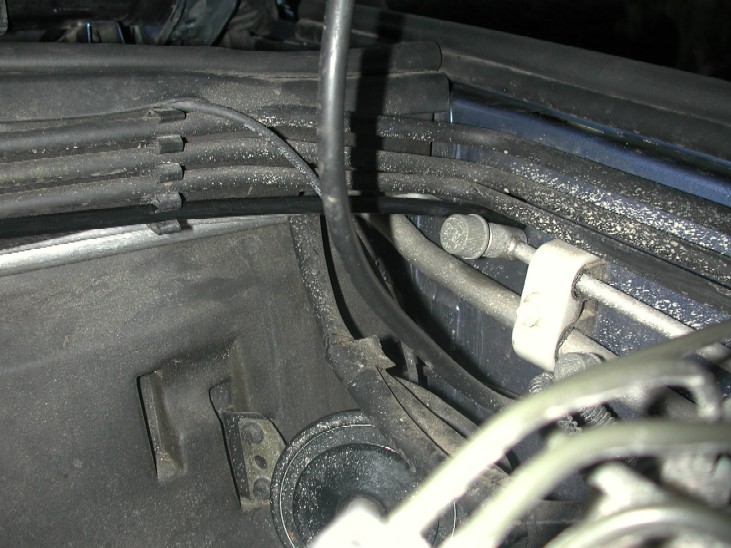
While the snorkel was being fitted, I took the opportunity to re-route my axle / gearbox breathers They originally went up either side of the "A" pillars, How ever after recently needing a new windscreen I had temporarily removed them and changed my mind on how they were going to be fitted. It's common practice to run them up the side of the snorkel, or even inside it. I had the 4 breathers joined into to 2 and then 1 pipe up each "A" pillar. I wanted just one to go up inside the snorkel, so I bought a manifold that connects all of them together and then has 1 larger diameter pipe to route where ever you want.
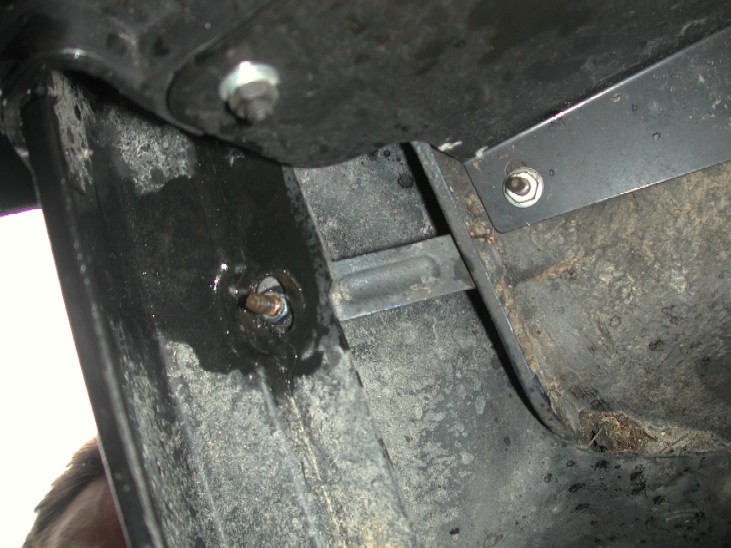
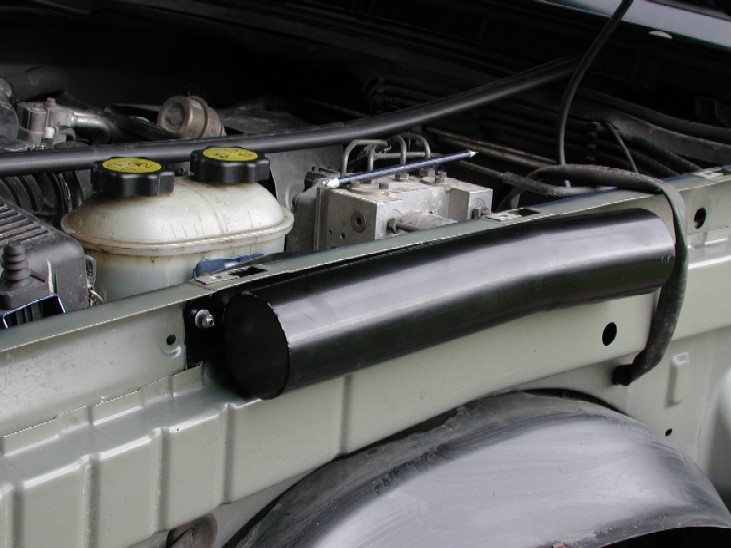
Above is the manifold, it uses the same push fit connectors I had used before, but also has a larger diameter (8mm) one at the top for the final exit. Here you can see I made a small stainless bracket and mounted it to the same location as before, at the fuel reset switch again, as I had in the previous breather install. The top pipe runs along the bulkhead, is clipped into the original clips and exits the inner wing through a hole near the aircon charging point
It then comes out below the flexi section of the new snorkel, and is "P" clipped to the mounting bracket and goes back up through a grommet / seal into the snorkel.
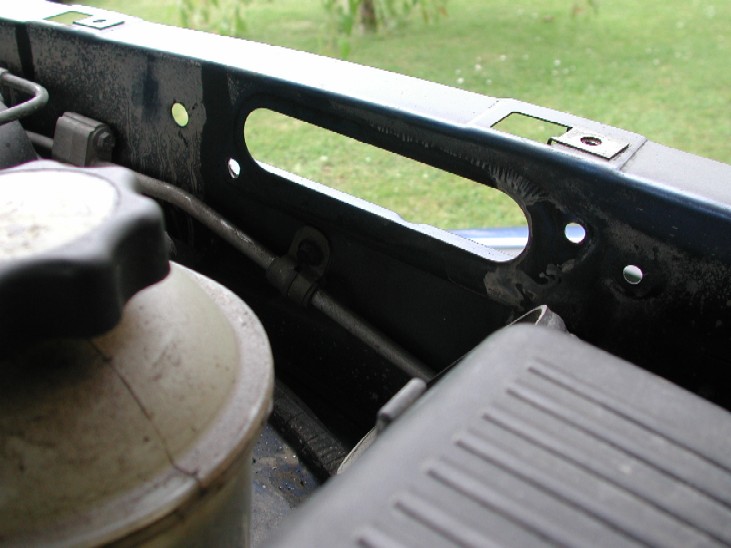
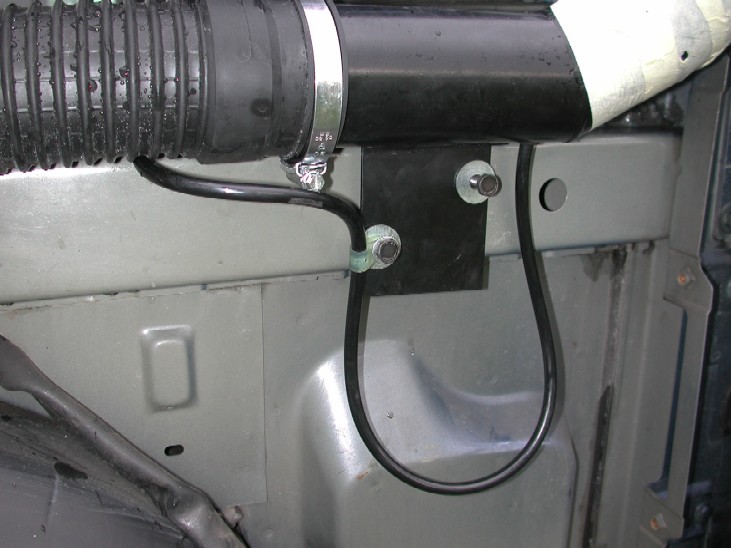
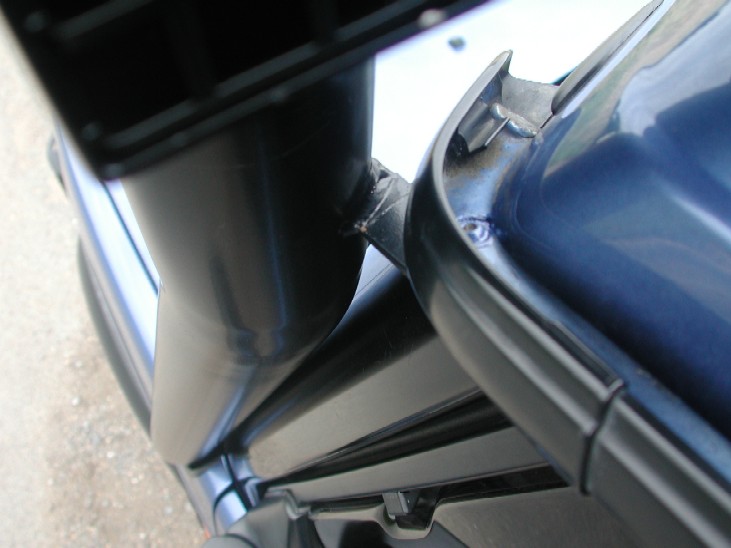
Above you can see the fixed bracket for the upper snorkel tube, It originally has 2 holes in it and some self tapping screws are supplied in the kit to fit it. Well I personally don't consider self tapping screws a good or permanent fixing, so I opened the holes bigger and added 2 rivnuts to the box section on the inner wing, and used bolts and large penny washers to fix the snorkel. You can also see I added masking tape to protect the snorkel from scratching whilst test fitting the wing into place. The flexi duct simply has 2 large jubilee clips and connects the 2 solid pipes of the snorkel together.
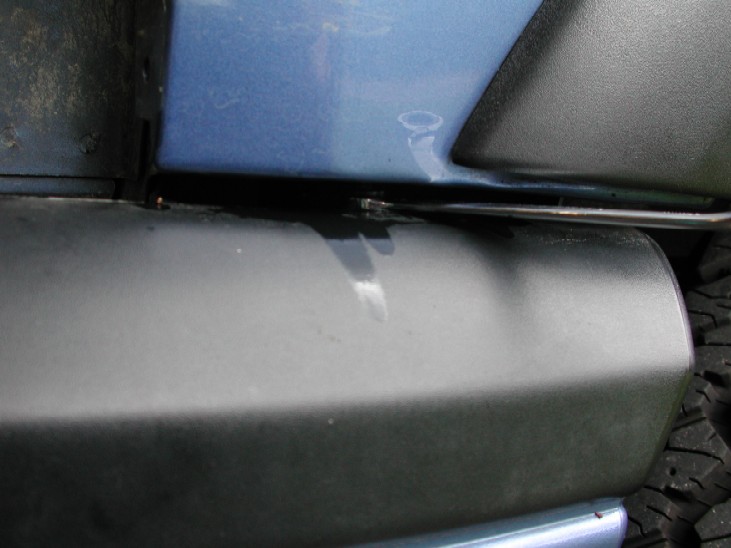
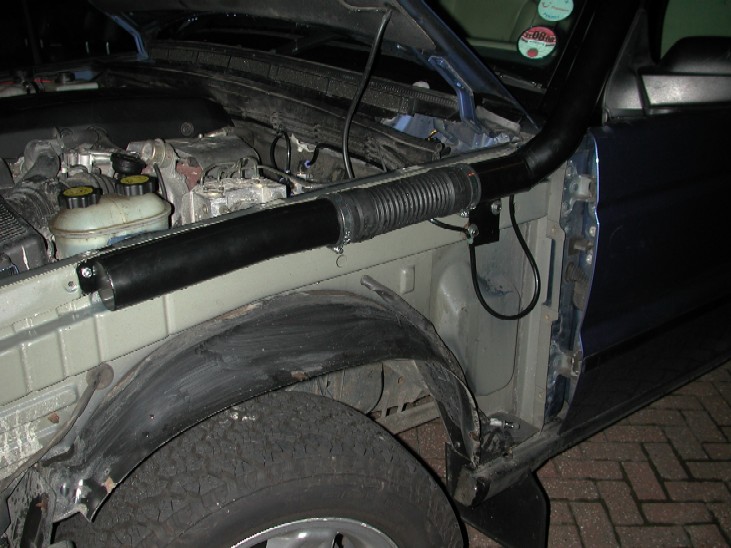
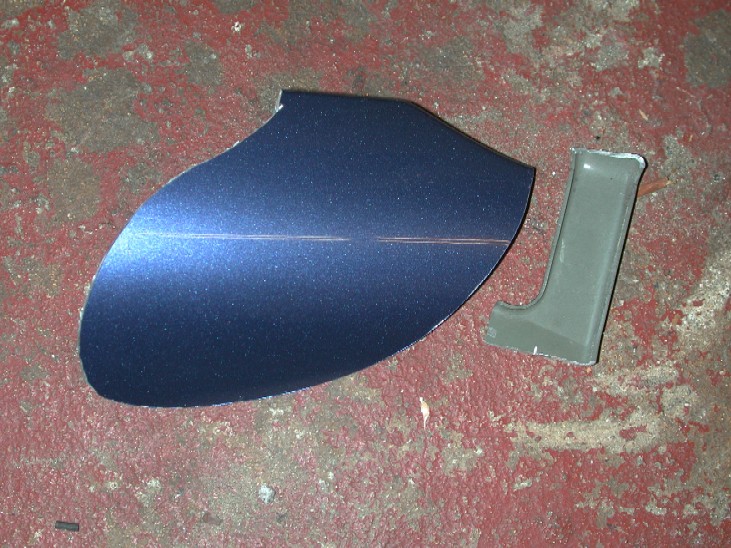
Here is both sections connected together and loosely bolted at the rear of the inner wing. The snorkel also has a fixing at the top into the gutter, but you need to leave that for the moment until you have cut the hole in the wing and test fitted the wing back on to ensure it all fits nicely around the upper tube. Protect the upper A pillar trim with some masking tape to stop it scratching the trim / paint as it will move about when you test fit the wing. To cut the wing, I used a small dremmel like tool with cutting discs, you will need a good supply as the discs can break easily, but the wing is aluminum and easy to cut. Take your time and cut the hole to match the template marking you drew earlier. Below is the shape of the piece you will have to remove, also there is a small strengthening strap at the top corner that will also need to be cut off to allow the wing to "slip" round the snorkel tube easier..
Once the hole is cut, protect the snorkel tube with some masking tape to stop the wing scratching it while you test fit it. You may need to remove a little here and there few times to make it a neat fit. I also had to cut a small piece off the inner wing, up by the rear upper bolt hole of the outer wing. Once your happy with the hole, re paint / protect the cut edge, then add the small trim strip to your new hole and it should look like below when the wing is in place.
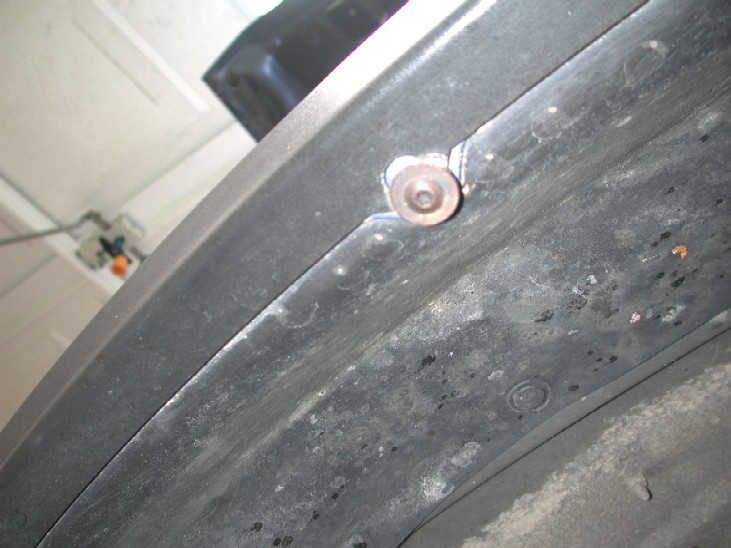
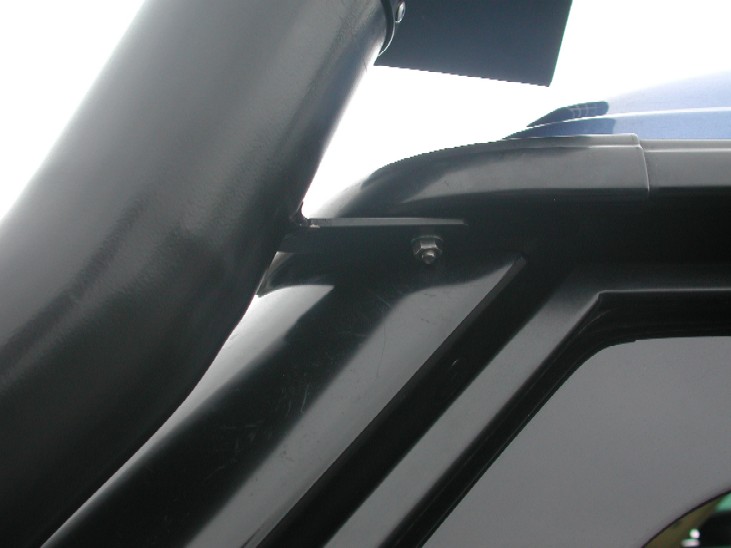
At this point, remove the wing, to make sure both jubilee clips are tightened fully, the 2 bolts (or screws) that hold the upper tube are tight whilst holding the upper tube in its correct position, and then fully refit the wing back into place with the 10 bolts and 3 torx screws removed earlier. Once the wing is fully re-fitted, then you need to drill the hole for the top fixing. It "should" sit between the bottom of the bottom of the gutter and the top of the "A" pillar trim. Its difficult to get straight on it with a drill, so you will no doubt be drilling at a small angle. I found it best to drill from below upwards. Again the kit includes a self tapping screw for this fixing, I used a stainless button head bolt and nut to secure mine. The top of the gutters is actually coated with a body sealant, so as you tighten the fixing, the bolt will "sink" into the sealant. I then painted around the bolt head to protect it.
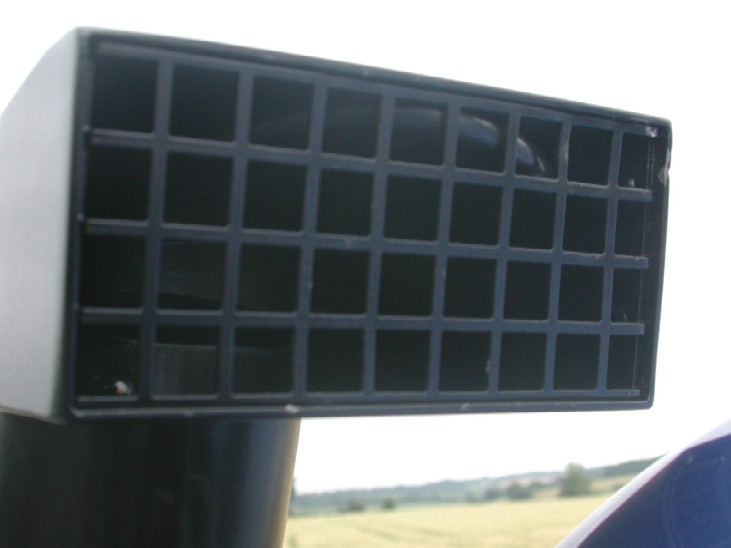
Once you have done that, its time to fit the top part. There is quite a large margin for how high up the tube you fit it, the choice is yours. Yet again self tapping screws are provided to fix the top on, but to stop anyone taking a fancy to it, I pop riveted it in place, one at the front and one at the back. The top is pre drilled, but you will have to drill the snorkel tube. If you run your breathers up the snorkel, it's a good idea to make sure they are "coiled" a little in the top part to stop water getting in.
Finally some pictures of the final look !!
All ready for a swim at the Billing Land Rover show this weekend !!! :o) |